
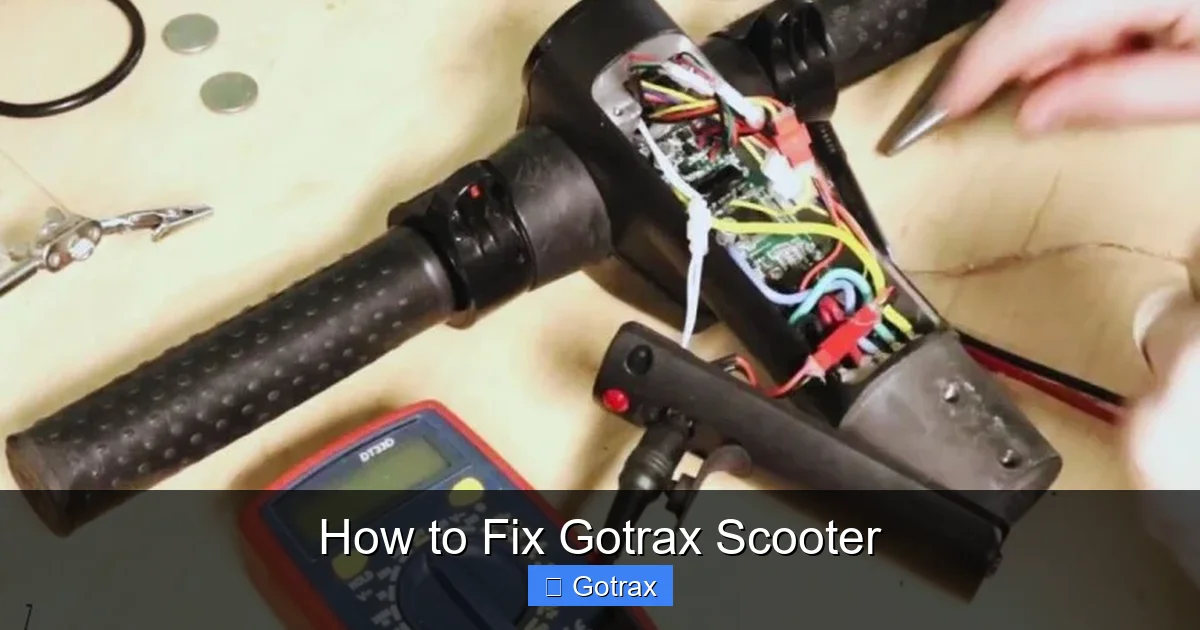
This guide walks you through common Gotrax scooter problems and how to fix them—from battery and motor issues to brake and tire repairs. Save time and money with easy DIY solutions and expert tips.
Key Takeaways
- Battery issues are the #1 cause of Gotrax scooter failure: Learn how to test, charge, and replace your battery safely.
- Motor problems often stem from loose connections: Check wiring and connectors before assuming a motor replacement is needed.
- Brakes can be adjusted or replaced in minutes: Fix squeaky or unresponsive brakes with simple tools.
- Tire flats are common but preventable: Use puncture-resistant tires and maintain proper air pressure.
- Firmware updates can resolve performance glitches: Connect your scooter to the Gotrax app for quick fixes.
- Regular maintenance extends scooter life: Clean, lubricate, and inspect your scooter monthly.
- Safety first: Always power off and unplug your scooter before repairs.
How to Fix Gotrax Scooter: A Complete DIY Guide
Gotrax scooters are popular for their affordability, portability, and smooth rides. But like any electric vehicle, they can develop issues over time. Whether your scooter won’t turn on, the battery drains too fast, or the brakes feel weak, don’t panic—most problems are fixable at home with basic tools and a little patience.
In this guide, you’ll learn how to fix Gotrax scooter issues step by step. We’ll cover the most common problems, from electrical faults to mechanical wear, and show you how to troubleshoot, repair, and maintain your scooter like a pro. No need to spend $100+ at a repair shop—this guide will help you save time, money, and keep your ride running smoothly.
Common Gotrax Scooter Problems and How to Diagnose Them
Visual guide about How to Fix Gotrax Scooter
Image source: electricrideblog.com
Before diving into repairs, it’s important to identify what’s wrong. Here are the most frequent issues Gotrax owners face and how to spot them:
- Scooter won’t turn on: No lights, no response when pressing the power button.
- Battery drains quickly: Loses charge after short rides or won’t hold a charge at all.
- Motor not working: Scooter powers on but doesn’t move when throttle is applied.
- Brake issues: Brakes feel loose, squeak, or don’t stop the scooter effectively.
- Tire problems: Flat tires, poor traction, or uneven wear.
- Display or app errors: Error codes on the screen or connection issues with the Gotrax app.
Start by observing when the problem occurs. Does it happen after charging? Only when going uphill? Right after a ride in the rain? These clues help narrow down the cause.
How to Fix Gotrax Scooter Battery Issues
Battery problems are the most common reason Gotrax scooters stop working. Here’s how to fix them.
Step 1: Check the Charger and Power Source
First, make sure the issue isn’t with your charger or outlet.
- Plug the charger into a different outlet.
- Try a different charger if you have one (must be compatible with your model).
- Look for a green or red light on the charger—no light means no power.
If the charger works but the scooter won’t charge, the problem is likely the battery or charging port.
Step 2: Inspect the Charging Port
Dirt, dust, or bent pins in the charging port can prevent charging.
- Turn off the scooter and unplug it.
- Use a flashlight to check the port for debris.
- Gently clean it with a dry toothbrush or compressed air.
- Look for bent or corroded pins—straighten them carefully with tweezers if needed.
Never use water or liquid cleaners near the charging port.
Step 3: Test the Battery Voltage
A healthy Gotrax battery should read around 36V (for 36V models) when fully charged.
- Use a multimeter to test the battery terminals.
- Set the multimeter to DC voltage (20V or 200V range).
- Touch the red probe to the positive terminal and black to negative.
If the voltage is below 30V, the battery may be damaged or deeply discharged.
Step 4: Recharge or Replace the Battery
If the battery is low but not dead, leave it on the charger for 6–8 hours. Some batteries need a “trickle charge” to wake up.
If it still won’t charge:
- Check the battery’s warranty—Gotrax offers 90 days to 1 year depending on the model.
- Contact Gotrax support for a replacement if under warranty.
- If out of warranty, consider buying a compatible replacement battery online (e.g., from Amazon or Gotrax directly).
⚠️ Warning: Never open or attempt to repair a lithium-ion battery yourself. It can catch fire or explode.
How to Fix Gotrax Scooter Motor Problems
If your scooter powers on but won’t move, the motor or its connections may be faulty.
Step 1: Check the Throttle
Sometimes the issue is with the throttle, not the motor.
- Turn on the scooter and gently twist the throttle.
- Listen for a beep or motor hum—if you hear it, the motor is getting power.
- If no sound, the throttle sensor or wiring may be damaged.
Try cleaning the throttle with isopropyl alcohol and a cotton swab. Dirt can interfere with the sensor.
Step 2: Inspect Wiring and Connectors
Loose or corroded wires are a common cause of motor failure.
- Remove the deck plate (usually held by 4–6 screws).
- Locate the motor controller and battery connections.
- Check for loose, frayed, or disconnected wires.
- Reconnect any loose plugs and secure them with electrical tape if needed.
Look for signs of burning or melted plastic—this indicates a short circuit.
Step 3: Test the Motor Controller
The controller regulates power to the motor. If it fails, the motor won’t run.
- Use a multimeter to test continuity across the controller’s input and output terminals.
- If no continuity, the controller may be dead.
- Replacement controllers are available online for $30–$60.
⚠️ Tip: Before replacing parts, try resetting the scooter by turning it off, unplugging the battery for 10 minutes, then reconnecting.
How to Fix Gotrax Scooter Brake Issues
Brakes are critical for safety. Here’s how to fix common brake problems.
Step 1: Adjust the Brake Pads
Over time, brake pads wear down and lose contact with the wheel.
- Locate the brake caliper near the rear wheel.
- Loosen the two bolts holding the caliper.
- Slide the caliper so the pads are 1–2mm from the rim.
- Tighten the bolts and test the brake lever.
If the lever feels spongy, the cable may need tension adjustment.
Step 2: Tighten the Brake Cable
A loose cable reduces braking power.
- Find the barrel adjuster on the brake lever.
- Turn it counterclockwise to tighten the cable.
- Test the brake—it should engage within the first 1/3 of the lever pull.
If the cable is frayed or snapped, replace it with a new brake cable kit ($10–$15).
Step 3: Replace Worn Brake Pads
Worn pads reduce stopping power and can damage the wheel.
- Remove the old pads by unscrewing the retaining bolt.
- Install new pads, ensuring they align with the rim.
- Tighten securely and test the brakes.
Use rubber or ceramic pads for better performance and quieter operation.
How to Fix Gotrax Scooter Tire Problems
Flat or worn tires affect ride quality and safety.
Step 1: Fix a Flat Tire
Gotrax scooters use either air-filled or solid tires.
For air-filled tires:
- Remove the wheel using a wrench or Allen key.
- Use tire levers to pry the tire off the rim.
- Locate the puncture and patch it with a tire repair kit.
- Reinflate to the recommended PSI (usually 35–45 PSI).
For solid tires:
- Check for cracks or chunks missing.
- If damaged, replace the entire tire (available online for $20–$40).
Step 2: Prevent Future Flats
- Avoid riding over sharp objects or rough terrain.
- Use puncture-resistant tires or tire liners.
- Check tire pressure weekly—underinflated tires wear faster.
How to Fix Gotrax Scooter Display and App Errors
Modern Gotrax models connect to the Gotrax app for diagnostics.
Step 1: Reset the Scooter
- Turn off the scooter.
- Hold the power button for 10 seconds.
- Turn it back on and reconnect to the app.
Step 2: Update Firmware
Outdated firmware can cause glitches.
- Open the Gotrax app and connect your scooter.
- Go to “Settings” > “Firmware Update.”
- Follow the prompts to install the latest version.
Step 3: Clear Error Codes
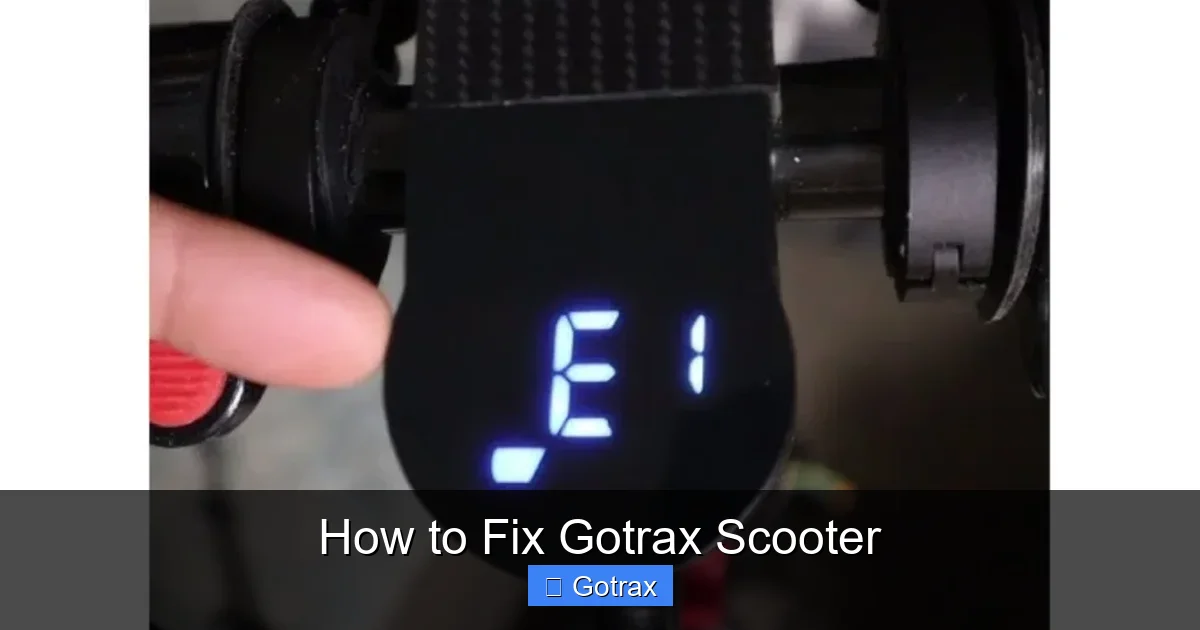
Common error codes:
- E1: Motor error—check wiring.
- E2: Throttle error—clean or replace throttle.
- E3: Battery error—test or replace battery.
Refer to your user manual or Gotrax support for specific codes.
How to Maintain Your Gotrax Scooter
Prevention is better than repair. Follow these tips to keep your scooter in top shape.
Monthly Maintenance Checklist
- Clean the deck, wheels, and frame with a damp cloth.
- Lubricate the folding mechanism and brake pivots with silicone spray.
- Check tire pressure and tread wear.
- Inspect all bolts and screws—tighten if loose.
- Test lights, brakes, and throttle.
Storage Tips
- Store in a dry, cool place away from direct sunlight.
- Charge the battery to 50–70% before long-term storage.
- Avoid extreme temperatures—cold reduces battery life.
Troubleshooting Gotrax Scooter: Quick Fixes
| Problem | Likely Cause | Quick Fix |
|——–|————–|———|
| Won’t turn on | Dead battery | Charge for 6+ hours |
| Short range | Old battery | Replace battery |
| Motor stutters | Loose wire | Check connections |
| Brakes squeak | Dirty pads | Clean with alcohol |
| App won’t connect | Bluetooth issue | Restart phone and scooter |
When to Contact Gotrax Support
While most issues can be fixed at home, some require professional help:
- Water damage (e.g., after riding in heavy rain).
- Cracked frame or fork.
- Internal electrical faults you can’t diagnose.
- Warranty-covered repairs.
Contact Gotrax support via their website or phone. Have your model number and purchase date ready.
Conclusion
Fixing a Gotrax scooter doesn’t require a mechanic—just the right knowledge and tools. From battery troubles to brake adjustments, this guide covers everything you need to keep your scooter running smoothly.
Remember:
- Always power off before repairs.
- Use compatible parts and tools.
- When in doubt, consult the manual or Gotrax support.
With regular maintenance and quick fixes, your Gotrax scooter can last for years. Ride safe, ride smart, and enjoy the freedom of electric mobility!