
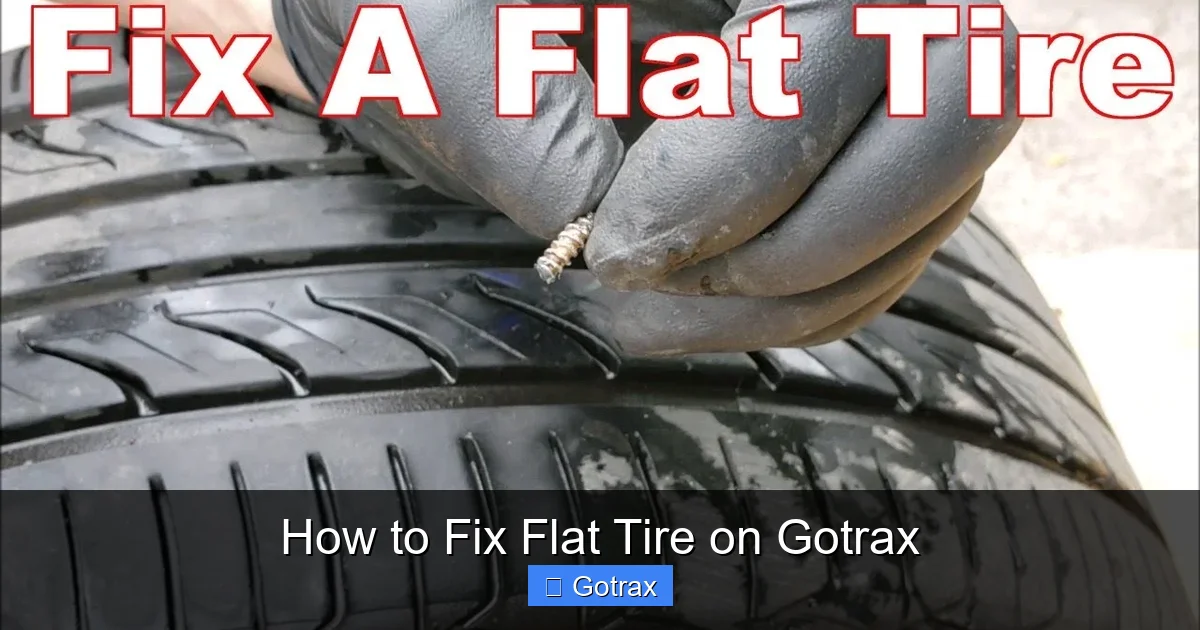
Discover how to fix flat tire on Gotrax electric scooters with this easy-to-follow guide. Whether you’re dealing with a slow leak or a sudden puncture, you’ll learn the tools, techniques, and safety tips to get back on the road fast—no mechanic required.
Key Takeaways
- Always carry a repair kit: A portable tire repair kit with plugs, sealant, and a mini pump can save you from being stranded.
- Know your tire type: Gotrax scooters typically use pneumatic (air-filled) tires, which require different repair methods than solid tires.
- Safety first: Turn off the scooter, remove the battery, and work on a stable surface to prevent accidents.
- Use the right tools: A tire lever, valve core tool, and portable air pump are essential for most flat tire fixes.
- Prevent future flats: Regularly check tire pressure, avoid debris, and inspect tires for wear and tear.
- When to replace, not repair: If the tire is severely damaged or the sidewall is cracked, replacement is safer than patching.
- Practice makes perfect: Try a repair at home before you’re caught on the road to build confidence and skill.
How to Fix Flat Tire on Gotrax: A Complete Step-by-Step Guide
Gotrax electric scooters are built for convenience, speed, and urban commuting—but like any vehicle with pneumatic tires, they’re not immune to flats. Whether you’re cruising down the sidewalk or heading to work, a flat tire can bring your ride to a sudden halt. The good news? You don’t need to be a mechanic to fix flat tire on Gotrax. With the right tools and a little know-how, you can get back on the road in under 30 minutes.
In this comprehensive guide, we’ll walk you through everything you need to know about diagnosing, repairing, and preventing flat tires on your Gotrax scooter. From identifying the type of tire you have to step-by-step repair instructions and troubleshooting tips, this guide is designed for riders of all experience levels. Whether you’re dealing with a slow leak, a nail in the tread, or a completely deflated tire, we’ve got you covered.
By the end of this guide, you’ll be equipped to handle most common flat tire issues confidently and safely. Plus, we’ll share practical tips to help you avoid flats in the future—so you can spend more time riding and less time fixing.
Understanding Your Gotrax Tire
Before you start any repair, it’s important to understand what kind of tire your Gotrax scooter uses. Most Gotrax models—including the GXL, G2, G3, and G4—come equipped with pneumatic (air-filled) tires. These tires offer a smoother ride and better shock absorption than solid rubber tires, but they’re also more prone to punctures and leaks.
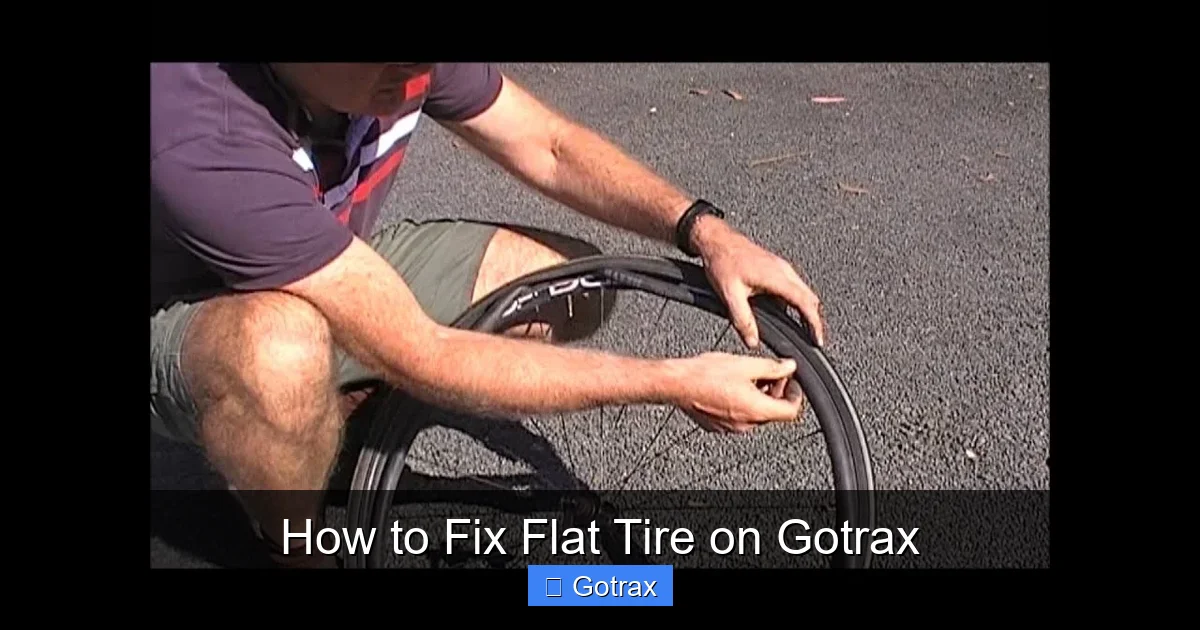
Visual guide about How to Fix Flat Tire on Gotrax
Image source: i.ytimg.com
Types of Gotrax Tires
- Pneumatic Tires: These are the most common on Gotrax scooters. They’re filled with air and provide a comfortable ride, but require regular pressure checks and are vulnerable to punctures.
- Solid Tires (on select models): Some newer or upgraded Gotrax models may come with solid or honeycomb-style tires that don’t require air. These are puncture-proof but offer a firmer ride.
To check your tire type, look at the sidewall of the tire. If it has a valve stem (a small metal or rubber protrusion), it’s pneumatic. If there’s no valve and the tire looks solid throughout, it’s likely a solid tire. For this guide, we’ll focus on repairing pneumatic tires, as they’re the most common and require active maintenance.
Common Causes of Flat Tires on Gotrax
- Punctures: Nails, screws, glass, or sharp debris on the road can pierce the tire tread.
- Valve Stem Leaks: The valve core can loosen or wear out over time, causing slow air loss.
- Pinch Flats: Riding over potholes or curbs at high speed can pinch the inner tube against the rim, causing a blowout.
- Worn Tires: Over time, tires lose tread and become more susceptible to damage.
- Underinflation: Riding with low tire pressure increases the risk of pinch flats and sidewall damage.
Understanding these causes will help you not only fix the current flat but also prevent future ones. Now, let’s get into the repair process.
Tools and Materials You’ll Need
Before you begin, gather the following tools and supplies. Having everything ready will make the repair faster and less frustrating.
Essential Tools
- Tire Repair Kit: Look for a kit that includes rubber plugs, insertion tool, and reamer. Popular brands include Slime, Park Tool, or generic scooter repair kits.
- Portable Air Pump or CO2 Inflator: A mini hand pump or a CO2 cartridge with inflator will help you refill the tire after repair.
- Tire Levers (2–3): These plastic or metal tools help pry the tire off the rim without damaging it.
- Valve Core Tool: A small tool used to tighten or remove the valve core inside the stem.
- Wrench or Allen Key: Depending on your Gotrax model, you may need a 10mm wrench or 4mm/5mm Allen key to remove the wheel.
- Soap and Water (optional): Helps locate slow leaks by creating bubbles where air escapes.
- Gloves and Safety Glasses: Protect your hands and eyes during the repair.
Optional but Helpful
- Tire Sealant: Liquid sealant can be injected through the valve stem to seal small punctures automatically.
- Replacement Inner Tube: If the tube is damaged beyond repair, having a spare can save time.
- Work Stand or Stable Surface: Elevating the scooter makes wheel removal easier.
Most of these items can be found at bike shops, hardware stores, or online. A basic repair kit costs around $10–$20 and is a worthwhile investment for any Gotrax owner.
Step-by-Step Guide: How to Fix Flat Tire on Gotrax
Now that you’re prepared, let’s walk through the repair process. We’ll cover two common scenarios: repairing a puncture with a plug and replacing the inner tube. The plug method is faster and works for most small punctures, while tube replacement is better for larger tears or damaged valves.
Step 1: Safety First
Before touching anything, make sure your scooter is safe to work on:
- Turn off the scooter and remove the battery (if possible).
- Place the scooter on a flat, stable surface. Use a stand or prop it up with a box to keep it upright.
- Wear gloves to protect your hands from dirt, grease, and sharp objects.
Step 2: Remove the Wheel
Most Gotrax scooters have quick-release axles, but some require tools. Here’s how to remove the wheel:
- Flip the scooter upside down so it rests on the handlebars and deck.
- Locate the axle nut or bolt on the side of the wheel. Use a wrench or Allen key to loosen it.
- If your model has a brake caliper, gently move it aside to free the wheel. Don’t disconnect any brake lines.
- Slide the wheel out of the fork or rear dropouts.
Tip: Take a photo before disassembling so you remember how everything fits together.
Step 3: Deflate the Tire Completely
If there’s still air in the tire, release it fully:
- Use the valve core tool to unscrew the valve core inside the stem. This will let all the air out quickly.
- Press down on the tire to ensure no air remains.
Step 4: Remove the Tire from the Rim
This step requires patience to avoid damaging the tube or rim:
- Insert a tire lever between the tire bead and the rim. Hook it to a spoke or rim notch.
- Insert a second lever a few inches away and slide it around the rim to loosen one side of the tire.
- Once one side is off, pull the inner tube out completely.
- Carefully remove the rest of the tire from the rim.
Caution: Be gentle with the tire levers. Metal levers can scratch the rim or puncture the tube.
Step 5: Locate the Puncture
Now it’s time to find where the air is escaping:
- Inflate the inner tube slightly so it holds its shape.
- Listen for hissing or feel for air with your hand.
- If you can’t find the leak, submerge the tube in a bowl of soapy water. Bubbles will appear at the leak site.
- Mark the puncture with a marker or piece of tape.
Common leak locations include the tread area, sidewall, or near the valve stem.
Step 6: Repair the Inner Tube (Plug Method)
For small punctures (under 1/4 inch), a plug is often the quickest fix:
- Use the reamer tool from your repair kit to roughen the area around the puncture. This helps the plug adhere.
- Thread a rubber plug through the insertion tool.
- Push the tool firmly into the puncture until about half the plug is inside the tube.
- Pull the tool out quickly, leaving the plug in place. The plug should seal the hole.
- Trim any excess plug material with scissors.
Note: Plugs work best on tread punctures. Avoid using them on sidewall damage or near the valve.
Step 7: Reinstall the Tube and Tire
Carefully put everything back together:
- Partially inflate the tube (just enough to give it shape).
- Insert the valve stem into the rim hole and tuck the tube inside the tire.
- Starting at the valve, work the tire bead back onto the rim using your hands. Use tire levers only if necessary.
- Ensure the tube isn’t pinched between the tire and rim.
Step 8: Inflate the Tire
Now it’s time to add air:
- Reinstall the valve core using the valve core tool.
- Attach your pump or CO2 inflator to the valve stem.
- Inflate the tire to the recommended PSI (usually 40–50 PSI for Gotrax scooters). Check the sidewall for the exact number.
- Listen for leaks. If air escapes, deflate and recheck the repair.
Step 9: Reattach the Wheel
Secure the wheel back onto the scooter:
- Slide the wheel into the fork or rear dropouts.
- Reconnect the axle nut or bolt and tighten it securely.
- Make sure the wheel spins freely and doesn’t rub against the brake or frame.
- Reattach the battery and turn on the scooter.
Give the scooter a quick test ride in a safe area to confirm the repair holds.
Alternative: Replacing the Inner Tube
If the tube is severely damaged or the puncture is near the valve, replacement may be the best option. Here’s how:
- Follow Steps 1–5 above to remove the wheel and locate the damage.
- Remove the old tube completely.
- Inspect the inside of the tire for sharp objects (like glass or nails) and remove them.
- Insert a new inner tube, starting with the valve stem.
- Reinstall the tire and inflate as described in Steps 7–9.
Replacement tubes are inexpensive (around $5–$10) and widely available online or at bike shops. Make sure to get the correct size (e.g., 8.5×2 or 9×2.125) to match your Gotrax model.
Troubleshooting Common Issues
Even with careful repair, you might run into problems. Here’s how to handle them:
Tire Won’t Hold Air After Repair
- Check if the plug wasn’t inserted properly or the puncture is too large.
- Inspect the valve core—it may be loose or damaged. Tighten or replace it.
- Look for additional punctures you may have missed.
Difficulty Removing or Installing the Tire
- Use more tire levers and work slowly around the rim.
- Warm the tire with a hairdryer to make the rubber more flexible.
- Ensure the tube isn’t pinched before inflating.
Wheel Doesn’t Spin Freely After Reinstallation
- Check that the axle is tightened evenly and not over-tightened.
- Ensure the brake isn’t rubbing against the tire or rim.
- Spin the wheel by hand to identify resistance points.
Recurring Flats
- Inspect the tire tread for embedded debris.
- Check tire pressure regularly—underinflation causes pinch flats.
- Consider upgrading to puncture-resistant tires or adding sealant.
Preventing Future Flat Tires
The best way to deal with a flat tire is to avoid it altogether. Here are some proactive tips:
Check Tire Pressure Weekly
Use a portable pressure gauge to ensure your tires are inflated to the recommended PSI. Low pressure increases the risk of pinch flats and reduces battery life.
Inspect Tires Before Riding
Look for cuts, cracks, embedded objects, or worn tread. Remove any debris you find.
Avoid Hazardous Surfaces
Steer clear of glass, nails, potholes, and sharp curbs when possible. Ride on smooth pavement whenever you can.
Use Tire Sealant
Inject a small amount of liquid sealant (like Slime) through the valve stem. It coats the inside of the tube and automatically seals small punctures as they happen.
Carry a Repair Kit
Keep a compact repair kit in your backpack or scooter storage compartment. Include plugs, a mini pump, and a valve core tool.
Consider Upgrading Tires
If you frequently get flats, consider switching to puncture-resistant tires or solid rubber alternatives (if compatible with your model).
When to Call a Professional
While most flat tires can be fixed at home, there are times when it’s better to seek help:
- The tire sidewall is torn or bulging.
- The rim is damaged or bent.
- You’ve tried multiple repairs and the tire still won’t hold air.
- You’re unsure about the repair process or don’t have the right tools.
Local bike shops or Gotrax service centers can assist with complex repairs or replacements. Some even offer mobile repair services for added convenience.
Conclusion
Knowing how to fix flat tire on Gotrax is a valuable skill that every rider should have. With the right tools and a little practice, you can handle most common tire issues quickly and safely. From identifying the cause of the flat to repairing it with a plug or replacing the tube, this guide has covered everything you need to get back on the road.
Remember, prevention is just as important as repair. Regular maintenance, proper inflation, and smart riding habits can significantly reduce your chances of a flat. And when trouble does strike, stay calm—most flats are fixable in under 30 minutes.
So grab your repair kit, check your tire pressure, and ride with confidence. Your Gotrax scooter is built for adventure, and now you’re ready to handle whatever the road throws your way.