
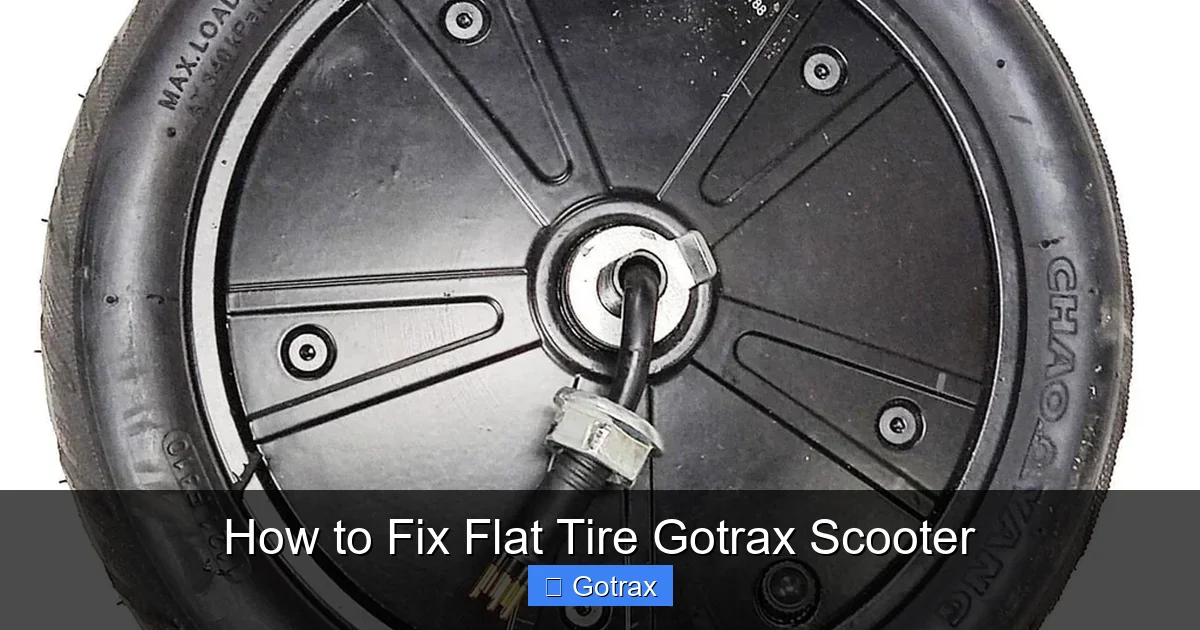
Got a flat tire on your Gotrax scooter? Don’t panic—this guide walks you through the entire repair process, from diagnosing the issue to reassembling your scooter safely. With the right tools and a little patience, you can get back on the road in under an hour.
Key Takeaways
- Identify the type of tire: Gotrax scooters use either solid or pneumatic (air-filled) tires. Only pneumatic tires can go flat and require repair.
- Gather the right tools: You’ll need a tire lever, patch kit, pump, wrench, and possibly a valve core tool depending on your model.
- Safety first: Always turn off the scooter and remove the battery before starting any repair to avoid electrical hazards.
- Patch or replace: Small punctures can often be patched, but severely damaged tires may need full replacement.
- Test before riding: After repair, inflate the tire to the recommended PSI and check for leaks before riding.
- Prevent future flats: Avoid debris, maintain proper tire pressure, and inspect tires regularly.
- Know when to call a pro: If you’re unsure or the damage is extensive, visit a bike or scooter repair shop.
How to Fix a Flat Tire on a Gotrax Scooter: A Complete Step-by-Step Guide
Got a flat tire on your Gotrax scooter? Don’t worry—you’re not alone. Flat tires are one of the most common issues scooter riders face, especially if you ride frequently or travel over rough terrain. The good news? Fixing a flat on a Gotrax scooter is totally doable at home with the right tools and a bit of patience. Whether you’re a beginner or a seasoned rider, this guide will walk you through the entire process, from diagnosing the problem to getting back on the road safely.
In this comprehensive how-to guide, you’ll learn how to identify whether your tire is truly flat, determine if it’s repairable, and follow clear, step-by-step instructions to fix it. We’ll also cover essential tools, safety tips, and how to prevent future flats. By the end, you’ll feel confident handling this common scooter issue like a pro.
Understanding Gotrax Scooter Tires
Before diving into the repair, it’s important to understand the type of tire your Gotrax scooter uses. Gotrax offers several models, and not all of them have the same tire setup. The two main types are:
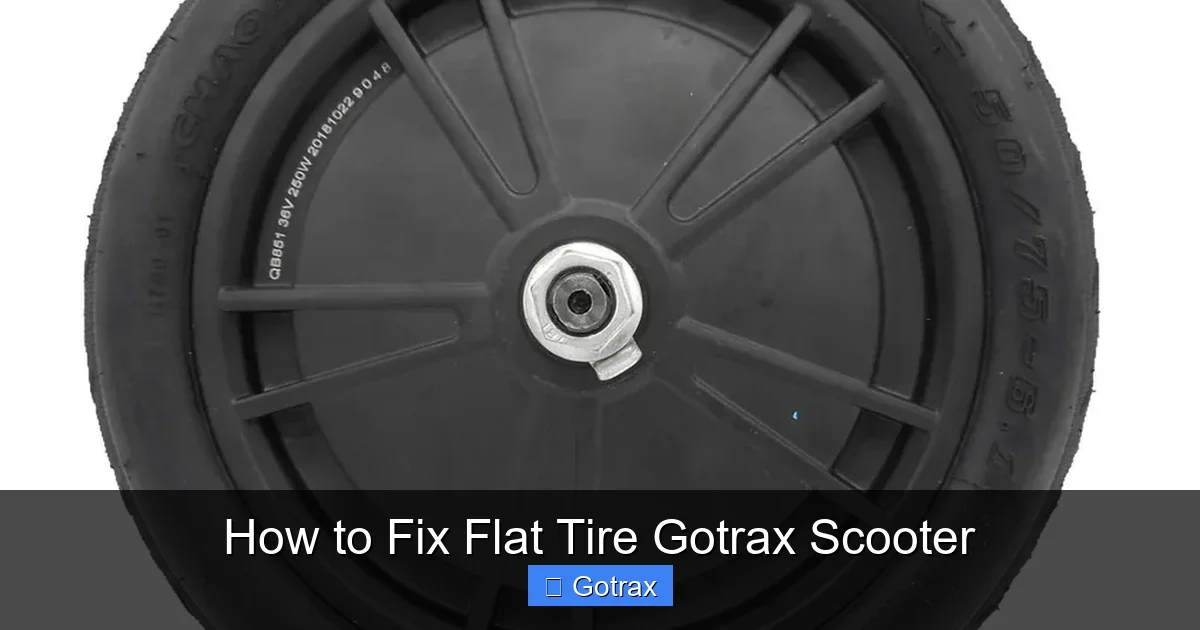
Visual guide about How to Fix Flat Tire Gotrax Scooter
Image source: alphaproscooters.com
- Pneumatic (air-filled) tires: These are the most common on models like the Gotrax GXL, G4, and XR. They use inner tubes filled with air, which can go flat due to punctures, leaks, or wear.
- Solid rubber tires: Found on some budget models like the Gotrax GKS, these tires are puncture-proof but offer a rougher ride. They don’t go flat, so if your scooter feels bumpy, it’s likely not a flat—just the nature of solid tires.
If your scooter has pneumatic tires and it’s sitting lower than usual or feels sluggish, you likely have a flat. The first step is confirming the issue.
How to Confirm a Flat Tire
Here’s how to check if your tire is actually flat:
- Visual inspection: Look at the tire. If it’s visibly sagging or touching the ground, it’s likely flat.
- Spin the wheel: Lift the scooter and spin the wheel. A flat tire will wobble or not spin freely.
- Listen for hissing: If you hear air escaping, you’ve found the leak.
- Use soapy water: Spray a mixture of dish soap and water on the tire. Bubbles will form at the leak site.
Once confirmed, it’s time to gather your tools and get to work.
Tools and Materials You’ll Need
Before starting the repair, make sure you have the following items:
- Tire levers (2–3): Plastic or metal tools to pry the tire off the rim.
- Patch kit: Includes rubber patches, glue, and sandpaper. Make sure it’s compatible with inner tubes.
- Hand pump or electric pump: To reinflate the tire after repair.
- Wrench or Allen key: To remove the wheel. Most Gotrax models use 10mm or 13mm bolts.
- Valve core tool (optional): Helps remove the valve core for faster deflation or tube replacement.
- Bucket of soapy water: For leak detection.
- Clean cloth or rag: To wipe down parts.
- Safety gloves: Protect your hands from dirt and sharp objects.
Having everything ready will save time and frustration during the repair.
Step 1: Safety First – Prepare Your Scooter
Safety is crucial when working on electric scooters. Follow these steps before touching anything:
Turn Off the Scooter
Press and hold the power button to shut down the scooter completely. This prevents accidental activation during repair.
Remove the Battery (If Possible)
On most Gotrax models, the battery is located under the deck. Use a screwdriver or Allen key to remove the cover and disconnect the battery. This eliminates the risk of electrical shock or short circuits.
Find a Stable Work Area
Work on a flat, well-lit surface. A garage, driveway, or clean indoor space works best. Avoid wet or uneven ground.
Lift the Scooter
Use a scooter stand or prop the scooter up with a sturdy object so the flat wheel is off the ground. This makes it easier to remove and work on.
Now you’re ready to begin the repair.
Step 2: Remove the Wheel
The next step is removing the wheel with the flat tire. The process varies slightly depending on whether it’s the front or rear wheel.
Rear Wheel Removal
Most Gotrax scooters have a rear-wheel drive, so the rear wheel is usually more complex to remove.
- Locate the axle nuts: These are on either side of the wheel hub. Use a wrench to loosen them.
- Disconnect the motor cable (if applicable): On rear-wheel models, the motor is connected via a wire. Carefully unplug it by pressing the release tab.
- Slide the wheel out: Once the nuts are loose and the cable is disconnected, gently pull the wheel away from the frame.
Front Wheel Removal
The front wheel is usually simpler:
- Loosen the axle nuts or quick-release lever: Use a wrench or simply flip the lever if your model has one.
- Remove the wheel: Slide it out from the fork.
Set the wheel aside on a clean surface.
Step 3: Deflate the Tire Completely
Before removing the tire, make sure all air is out of the inner tube.
Remove the Valve Cap
Unscrew the small cap on the valve stem (usually a Presta or Schrader valve).
Press the Valve Core
Use a valve core tool or a small pin to press into the center of the valve. This releases any remaining air. You should hear a hiss.
Optional: Remove the Valve Core
If you have a valve core tool, unscrew the core entirely for faster deflation. Just remember to reinsert it later.
Once the tire is fully deflated, you can remove it from the rim.
Step 4: Remove the Tire from the Rim
This is where tire levers come in handy.
Insert the First Tire Lever
Slide one tire lever under the edge of the tire bead (the rubber part that sits on the rim). Hook it onto a spoke or the rim.
Insert the Second Lever
About 2–3 inches away, insert a second lever and lift the bead over the rim.
Work Around the Rim
Continue using the levers to peel the tire off one side of the rim. Once one side is off, the inner tube should be accessible.
Remove the Inner Tube
Gently pull the tube out from under the tire. Start at the valve stem and work your way around.
Inspect the tube for punctures, tears, or wear.
Step 5: Locate the Leak
Now it’s time to find where the air is escaping.
Inflate the Tube Slightly
Blow a little air into the tube so it holds its shape. Don’t overinflate.
Submerge in Soapy Water
Dip the tube into a bucket of soapy water or spray it with the mixture. Watch for bubbles.
Identify the Leak
Bubbles will form at the puncture site. Mark it with a pen or chalk.
Check the Tire Too
While the tube is out, inspect the inside of the tire for embedded objects like nails, glass, or thorns. Run your fingers carefully along the inner surface. Remove any debris with pliers.
If you find a sharp object, note its location—this helps when patching.
Step 6: Patch the Inner Tube
Small punctures (under 1/4 inch) can usually be patched. Here’s how:
Clean the Area
Use the sandpaper from your patch kit to roughen the area around the leak. This helps the patch adhere better.
Apply Glue
Spread a thin, even layer of rubber cement over the sanded area. Let it dry for 30–60 seconds until tacky.
Apply the Patch
Peel the backing off the patch and press it firmly onto the glued area. Hold for 30 seconds to ensure a strong bond.
Let It Cure
Wait at least 5 minutes before reassembling. Don’t rush this step—proper curing ensures the patch holds.
If the tube has a large tear, sidewall damage, or multiple punctures, it’s better to replace it entirely.
Step 7: Reinstall the Inner Tube and Tire
Now it’s time to put everything back together.
Partially Inflate the Tube
Add a small amount of air to the tube so it holds its shape. This prevents pinching during installation.
Insert the Tube
Start by placing the valve stem through the rim hole. Then gently tuck the rest of the tube inside the tire.
Seat the Tire on the Rim
Begin at the valve stem and work the tire bead back onto the rim. Use your hands to push it on. If it’s tight, use tire levers carefully—don’t pinch the tube.
Check for Pinches
Before inflating, run your fingers around the inside edge of the tire to make sure the tube isn’t caught between the tire and rim.
Step 8: Inflate the Tire
Now it’s time to pump it up.
Use a Pump
Attach your pump to the valve stem. Make sure it’s secure.
Inflate Gradually
Pump slowly and check the tire pressure frequently. Most Gotrax scooters recommend 40–50 PSI. Check your user manual for the exact number.
Listen for Leaks
As you inflate, listen for hissing. If you hear air escaping, deflate and recheck the patch or installation.
Final Check
Once inflated, spin the wheel to ensure it’s seated properly and doesn’t wobble.
Step 9: Reinstall the Wheel
With the tire fixed, it’s time to put the wheel back on.
Align the Wheel
Slide the wheel back into the fork or rear dropouts. Make sure it’s centered.
Reconnect the Motor Cable (Rear Wheel)
If you disconnected the motor wire, plug it back in securely.
Tighten the Axle Nuts
Use a wrench to tighten the nuts evenly on both sides. Don’t overtighten—this can damage the axle.
Test the Wheel
Spin the wheel to ensure it turns freely and doesn’t rub against the brake or frame.
Step 10: Reconnect the Battery and Test Ride
Almost done!
Reattach the Battery
Replace the battery cover and reconnect the battery. Make sure all connections are secure.
Power On the Scooter
Turn the scooter back on. Check the display to ensure everything is functioning.
Take a Short Test Ride
Ride slowly in a safe area. Listen for unusual noises and feel for vibrations. If everything feels smooth, you’re good to go!
Troubleshooting Common Issues
Even with careful repair, problems can arise. Here’s how to handle them:
Tire Won’t Hold Air
If the tire goes flat again quickly, the patch may not have adhered properly. Recheck the glue application and patch placement. Consider replacing the tube.
Wheel Wobbles After Reinstallation
This could mean the wheel isn’t seated properly or the axle nuts are uneven. Loosen, realign, and retighten.
Brake Rubs the Tire
If the brake pad is touching the tire, adjust the brake caliper or realign the wheel.
Valve Stem Leaks
If air escapes from the valve, the core may be loose. Use a valve core tool to tighten it.
Preventing Future Flats
An ounce of prevention is worth a pound of cure. Here’s how to avoid flats in the future:
- Maintain proper tire pressure: Check PSI weekly. Underinflated tires are more prone to pinch flats.
- Avoid debris: Steer clear of glass, nails, and sharp objects on the road.
- Inspect tires regularly: Look for cuts, cracks, or embedded objects.
- Use tire liners or sealant: Products like Slime or tire liners add extra protection.
- Ride smoothly: Avoid potholes and curbs to reduce impact damage.
When to Replace the Tire or Tube
Not all flats can be fixed. Replace the tube or tire if:
- The tube has a large tear or sidewall damage.
- The tire is cracked, bald, or has deep cuts.
- You’ve patched the same tube multiple times.
- The rim is damaged or bent.
Replacement tubes are inexpensive and widely available online or at bike shops.
Conclusion
Fixing a flat tire on your Gotrax scooter might seem intimidating at first, but with the right approach, it’s a straightforward task. By following this guide, you’ve learned how to safely remove the wheel, locate and patch the leak, and get your scooter back in working order. Not only does this save you money on repair shops, but it also gives you greater confidence as a rider.
Remember, regular maintenance and careful riding can prevent most flats. But when they do happen, you now have the skills to handle them like a pro. So the next time your Gotrax scooter gets a flat, don’t panic—grab your tools and get rolling again.