
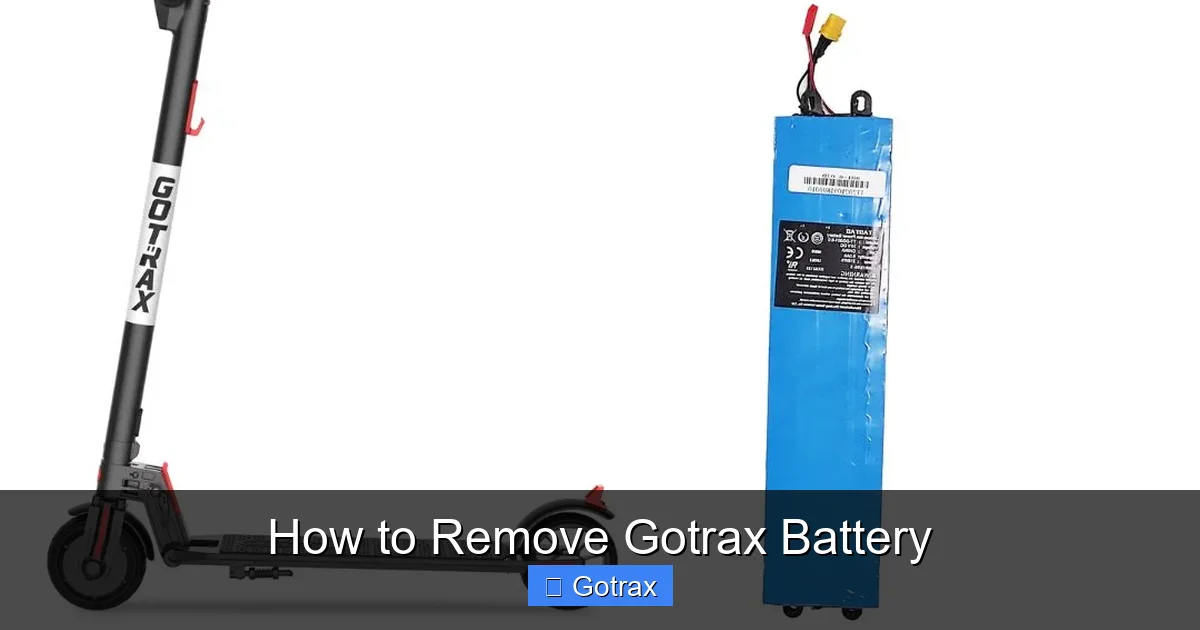
Removing a Gotrax battery is simple with the right tools and precautions. This guide walks you through every step to safely extract your scooter’s battery for charging, storage, or replacement—without damaging your device.
Key Takeaways
- Safety first: Always power off your Gotrax scooter and wear protective gear like gloves and safety glasses before handling the battery.
- Use the right tools: A Phillips-head screwdriver is typically required; avoid using excessive force to prevent damage.
- Know your model: Battery removal steps vary slightly between Gotrax models (e.g., GXL, XR, G4), so check your user manual first.
- Handle with care: Lithium-ion batteries are sensitive—avoid puncturing, dropping, or exposing them to extreme temperatures.
- Store properly: If removing for long-term storage, keep the battery at 50% charge in a cool, dry place.
- Reinstall correctly: Ensure the battery is fully seated and secured before reassembling and testing your scooter.
- Seek help if unsure: If you encounter resistance or damage, contact Gotrax support or a certified technician.
How to Remove Gotrax Battery: A Complete Step-by-Step Guide
If you own a Gotrax electric scooter, you’ve likely enjoyed the freedom and convenience it brings to your daily commute or weekend adventures. But like any electric vehicle, your Gotrax scooter relies on a rechargeable lithium-ion battery to keep it running. Over time, you may need to remove the battery—whether for charging, storage, maintenance, or replacement. Knowing how to remove Gotrax battery safely and correctly is essential to protect both your scooter and yourself.
In this comprehensive guide, we’ll walk you through the entire process of removing the battery from your Gotrax scooter. Whether you’re a first-time owner or a seasoned rider, this step-by-step tutorial will ensure you can handle the task with confidence. We’ll cover safety precautions, required tools, model-specific differences, troubleshooting tips, and best practices for battery care.
By the end of this guide, you’ll be able to remove your Gotrax battery quickly and safely—without risking damage to your scooter or injury to yourself.
Why You Might Need to Remove the Gotrax Battery
Visual guide about How to Remove Gotrax Battery
Image source: m.media-amazon.com
Before diving into the removal process, it’s helpful to understand why you might need to take out the battery in the first place. Here are the most common reasons:
- Charging: While many Gotrax models allow you to charge the battery while it’s still in the scooter, some users prefer to remove it for convenience—especially if the charging port is hard to reach or if they want to charge multiple batteries.
- Storage: If you’re not using your scooter for an extended period (e.g., winter months), removing the battery helps prevent degradation and extends its lifespan.
- Maintenance: Cleaning the battery compartment or inspecting connections may require removal.
- Replacement: If your battery is old, damaged, or no longer holds a charge, you’ll need to remove it to install a new one.
- Travel: Some airlines require lithium-ion batteries to be removed and carried separately when transporting electric scooters.
Understanding your reason for removal will help you prepare properly and choose the right approach.
Safety First: Precautions Before Removing the Battery
Lithium-ion batteries are powerful but can be dangerous if mishandled. Before you begin, take these essential safety steps:
1. Power Off the Scooter
Always turn off your Gotrax scooter completely. Press and hold the power button until the display turns off. This prevents accidental activation during the removal process.
2. Disconnect from Power Sources
If the scooter is plugged into a charger, unplug it immediately. Never remove the battery while it’s charging or connected to any power source.
3. Wear Protective Gear
Put on a pair of gloves to protect your hands from sharp edges or battery acid (in rare cases of leakage). Safety glasses are also recommended to shield your eyes.
4. Work in a Clean, Dry Area
Choose a well-lit, dry workspace with plenty of room to lay out tools and parts. Avoid working on carpet or near water sources.
5. Allow the Battery to Cool
If you’ve recently ridden the scooter, let it sit for 15–30 minutes. Batteries can get warm during use, and handling a hot battery increases the risk of burns or damage.
6. Check for Damage
Inspect the battery compartment and surrounding area for signs of swelling, leakage, or corrosion. If you notice any damage, do not proceed—contact Gotrax support immediately.
Tools You’ll Need
Most Gotrax scooters use standard screws to secure the battery compartment, so you won’t need specialized equipment. Here’s what to gather:
- Phillips-head screwdriver (size #1 or #2): This is the most common tool required. A magnetic tip can help prevent screws from falling.
- Small container or magnetic tray: To keep screws organized and prevent loss.
- Soft cloth or towel: To protect the scooter’s finish and cushion the battery during removal.
- Flashlight (optional): Helps illuminate tight spaces, especially if your model has a hidden battery compartment.
- Owner’s manual: Always refer to your specific model’s manual for exact instructions and diagrams.
Having these tools ready will make the process smoother and reduce the risk of mistakes.
Step-by-Step Guide to Removing the Gotrax Battery
Now that you’re prepared, let’s walk through the actual removal process. While steps may vary slightly depending on your Gotrax model, the general procedure is consistent across most scooters.
Step 1: Locate the Battery Compartment
The battery is typically housed under the deck (footboard) of the scooter. On most Gotrax models, including the GXL, XR, and G4, you’ll find a rectangular panel on the underside of the deck secured with four to six screws.
To access it:
- Flip the scooter upside down, resting it on the handlebars and rear fender. Use a soft surface like a towel to prevent scratches.
- Look for a panel with visible screws. It’s usually centered and may have a small label indicating “Battery” or “Do Not Remove.”
- If you can’t find it, consult your owner’s manual—some models have side-access panels or internal compartments.
Step 2: Remove the Screws
Using your Phillips-head screwdriver:
- Carefully unscrew each fastener in a counterclockwise direction.
- Place screws in your container or magnetic tray as you go. Label them if needed (e.g., “front left,” “rear right”).
- If a screw feels stuck, don’t force it. Apply gentle pressure and wiggle slightly. For rusted or stripped screws, use a screw extractor or contact support.
Tip: Take a photo of the screw layout before removing them. This helps during reassembly.
Step 3: Open the Battery Cover
Once all screws are removed:
- Gently lift the cover plate. It may be held in place by clips or adhesive, so avoid prying aggressively.
- If it doesn’t come off easily, check for hidden screws or tabs. Some models have secondary fasteners near the edges.
- Set the cover aside on a clean surface.
Step 4: Disconnect the Battery Connector
Inside the compartment, you’ll see the battery pack connected to the scooter’s wiring via a plug or connector.
- Locate the main power connector—it’s usually a thick, multi-pin plug with a locking mechanism.
- Press the release tab (if present) and carefully pull the connector apart. Do not yank or twist the wires.
- If there’s no tab, gently wiggle the plug while pulling straight out.
- Avoid touching the metal pins with your fingers to prevent static discharge.
Important: Never cut or disconnect wires unless instructed by a technician. Tampering with wiring voids your warranty and can cause electrical hazards.
Step 5: Remove the Battery Pack
With the connector disconnected:
- Grasp the battery firmly by its sides or handle (if equipped). Do not lift by the wires.
- Slide the battery out of the compartment. It may fit snugly, so use even pressure.
- If it’s stuck, check for retention clips or brackets that need to be released first.
- Place the battery on a non-conductive surface like wood or plastic—never on metal or concrete.
Tip: Some Gotrax models have a battery release lever or button. If yours does, press it before sliding the battery out.
Step 6: Inspect and Store the Battery
Once removed:
- Check the battery for signs of wear, swelling, or leakage. If damaged, do not reuse—dispose of it properly at a certified e-waste facility.
- If storing, charge it to about 50% before placing it in a cool, dry place away from direct sunlight or heat sources.
- Label the battery with the removal date if you plan to reinstall it later.
Model-Specific Tips
While the general process is similar, here are some model-specific notes:
Gotrax GXL V2
- Battery is under the deck, secured with four screws.
- Connector has a red locking tab—press it before unplugging.
- Battery is relatively lightweight and easy to slide out.
Gotrax XR Elite
- Uses a side-access panel on the left side of the deck.
- Requires removal of two screws and a plastic clip.
- Battery connector is tucked near the motor—use a flashlight to locate it.
Gotrax G4
- Battery compartment is under the deck with six screws.
- Includes a built-in battery handle for easier removal.
- Connector is color-coded (red and black)—match during reinstallation.
Always refer to your model’s manual for exact diagrams and instructions.
Troubleshooting Common Issues
Even with careful preparation, you might run into problems. Here’s how to handle them:
Battery Won’t Come Out
- Check for hidden screws or clips you may have missed.
- Ensure the connector is fully disconnected—sometimes it’s partially plugged in.
- Gently rock the battery side to side while pulling—don’t force it.
Screws Are Stripped or Rusted
- Use a rubber band between the screwdriver and screw head for better grip.
- Apply a small amount of penetrating oil (like WD-40) and wait 10 minutes before trying again.
- If all else fails, contact Gotrax support—they may send replacement parts.
Connector Won’t Disengage
- Look for a small tab or button on the side of the plug—press it firmly.
- Never pull on the wires—always grip the connector housing.
- If it’s stuck, wiggle it gently while pressing the release.
Battery Feels Hot
- Stop immediately and let it cool for at least 30 minutes.
- Do not charge or handle a hot battery—it could be a sign of internal damage.
Lost a Screw
- Check the area thoroughly—screws often fall into crevices.
- Use a magnet or flashlight to locate it.
- If missing, contact Gotrax for a replacement—don’t operate the scooter with loose parts.
Best Practices for Battery Care
Proper care extends battery life and ensures safe operation:
- Charge regularly: Don’t let the battery drop below 20% frequently.
- Avoid extreme temperatures: Don’t charge in freezing cold or direct heat.
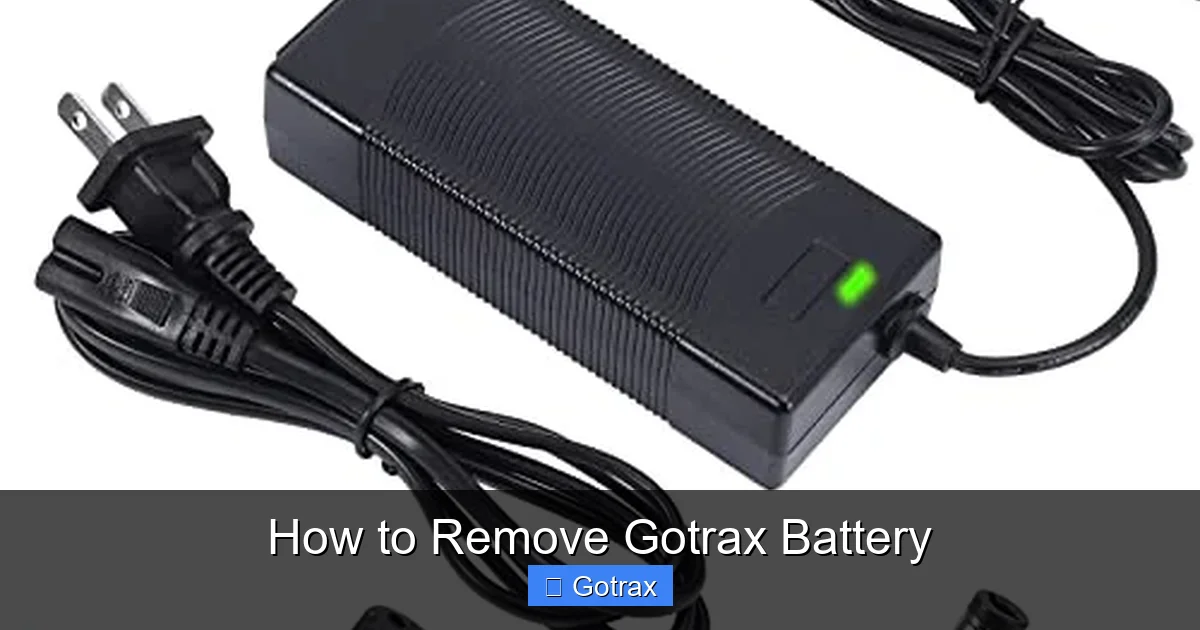
- Use the correct charger: Only use the charger provided by Gotrax or an approved replacement.
- Clean the contacts: Wipe the battery terminals with a dry cloth every few months.
- Store properly: For long-term storage, keep the battery at 50% charge and check it every 3 months.
When to Replace Your Gotrax Battery
Even with good care, batteries degrade over time. Consider replacement if:
- Range has significantly decreased (e.g., you used to get 15 miles, now only 8).
- Charging takes much longer than usual.
- The battery swells, leaks, or emits a strange odor.
- The scooter shuts off unexpectedly during use.
Gotrax offers official replacement batteries for most models. Always buy from authorized sellers to ensure compatibility and safety.
Reinstalling the Battery
When you’re ready to put the battery back:
- Ensure the connector is clean and undamaged.
- Align the battery correctly in the compartment.
- Push the connector in until it clicks or seats fully.
- Replace the cover and secure all screws evenly.
- Test the scooter before riding—check power, lights, and throttle response.
Never ride the scooter if the battery isn’t fully secured.
Conclusion
Removing the Gotrax battery is a straightforward task when you follow the right steps and prioritize safety. Whether you’re charging, storing, or replacing your battery, this guide equips you with the knowledge to do it confidently and correctly. Remember to always power off the scooter, use the proper tools, and handle the battery with care. With regular maintenance and safe practices, your Gotrax scooter will continue to deliver reliable performance for years to come.
If you ever feel unsure or encounter unexpected issues, don’t hesitate to reach out to Gotrax customer support or visit an authorized service center. Your safety and the longevity of your scooter are worth the extra caution.