

Removing the battery from your Gotrax Hoverfly is essential for maintenance, storage, or replacement. This guide walks you through the process safely and efficiently, ensuring you avoid damage to your hoverboard.
Key Takeaways
- Safety first: Always power off the hoverboard and wear protective gear before starting.
- Use the right tools: A Phillips screwdriver and plastic pry tools are essential for disassembly.
- Follow a systematic approach: Work step by step to avoid damaging internal components.
- Handle the battery carefully: Lithium-ion batteries are sensitive and can be dangerous if mishandled.
- Reassemble correctly: Ensure all screws are tightened and connections are secure before testing.
- Know when to seek help: If you’re unsure, consult a professional or contact Gotrax support.
Introduction: Why You Might Need to Remove the Battery
Gotrax Hoverfly hoverboards are popular for their sleek design, smooth ride, and reliable performance. Whether you’re commuting to work, cruising around campus, or just having fun, your hoverboard depends heavily on its battery to keep you moving. Over time, you may find yourself needing to remove the battery for various reasons—routine maintenance, long-term storage, battery replacement, or troubleshooting power issues.
While the Gotrax Hoverfly is designed to be user-friendly, accessing and removing the battery isn’t as simple as popping open a compartment. Unlike some electric scooters or skateboards, the Hoverfly’s battery is housed inside the main deck, protected by a durable plastic shell. This means you’ll need to disassemble part of the hoverboard to reach it. But don’t worry—this guide will walk you through the entire process, step by step, so you can do it safely and confidently.
In this comprehensive how-to guide, you’ll learn exactly how to remove the battery from your Gotrax Hoverfly. We’ll cover the tools you need, safety precautions, detailed disassembly instructions, battery handling tips, and how to reassemble your hoverboard properly. Whether you’re a first-time DIYer or a seasoned tinkerer, this guide is designed to be clear, practical, and easy to follow.
By the end of this guide, you’ll not only know how to remove the battery, but you’ll also understand how to care for it and when it might be time for a replacement. Let’s get started!
Tools and Materials You’ll Need
Before you begin, it’s important to gather all the necessary tools and materials. Having everything ready will make the process smoother and reduce the risk of damaging your hoverboard. Here’s what you’ll need:
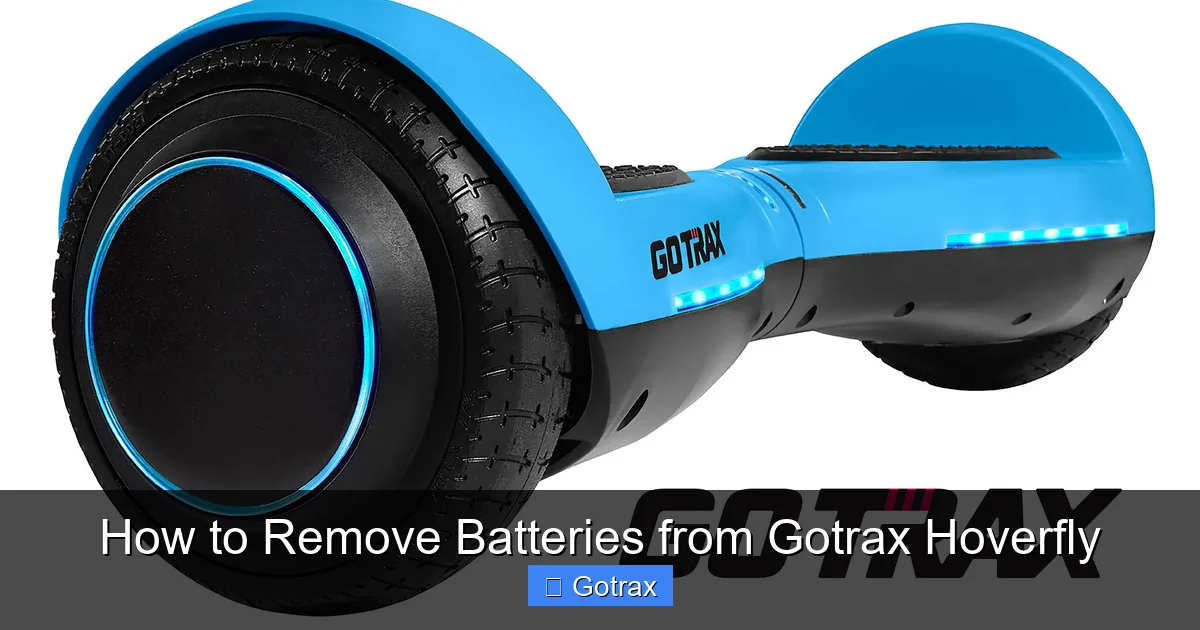
Visual guide about How to Remove Batteries from Gotrax Hoverfly
Image source: bike.cc
- Phillips-head screwdriver (size #1 or #2): Most Gotrax Hoverfly models use Phillips screws to secure the deck panels. A magnetic tip can help prevent losing small screws.
- Plastic pry tools or a guitar pick: These help gently separate the top and bottom shells without scratching or cracking the plastic.
- Small container or magnetic tray: Use this to store screws as you remove them. This prevents losing tiny parts and makes reassembly easier.
- Anti-static wrist strap (optional but recommended): This helps protect the internal electronics from static discharge, which can damage sensitive components.
- Clean, well-lit workspace: Choose a flat, stable surface with good lighting. A table or workbench is ideal.
- Gloves (optional): Nitrile or rubber gloves can protect your hands and improve grip.
- Multimeter (optional): Useful if you want to test the battery voltage before or after removal.
Having these tools on hand will ensure you’re prepared for every step of the process. Avoid using metal pry tools or excessive force, as they can damage the plastic casing or internal wiring.
Safety Precautions Before Starting
Safety should always be your top priority when working with electronic devices, especially those containing lithium-ion batteries. The Gotrax Hoverfly uses a high-capacity lithium-ion battery pack, which, while generally safe, can pose risks if mishandled. Here are some essential safety tips to follow:
- Power off the hoverboard completely: Before you begin, make sure the hoverboard is turned off. Press and hold the power button until the LED lights turn off. This prevents accidental activation during disassembly.
- Disconnect from any chargers: Ensure the hoverboard is not plugged into a charger or power source. Working on a live device increases the risk of electric shock or short circuits.
- Work in a dry environment: Avoid working in damp or humid conditions. Moisture can damage electronics and increase the risk of short circuits.
- Wear safety glasses: Small parts or debris could dislodge during disassembly. Protecting your eyes is a simple but important precaution.
- Handle the battery with care: Lithium-ion batteries can overheat, leak, or even catch fire if punctured, crushed, or exposed to high temperatures. Never puncture, bend, or drop the battery.
- Keep away from children and pets: Store tools and small parts out of reach. The process involves small screws and electrical components that could be hazardous if swallowed.
- Know your limits: If at any point you feel unsure or uncomfortable, stop and consult a professional. It’s better to be safe than sorry.
Taking these precautions seriously will help ensure a safe and successful battery removal process. Remember, the goal is to maintain your hoverboard—not damage it or put yourself at risk.
Step-by-Step Guide to Removing the Battery
Now that you’re prepared and safety-conscious, let’s dive into the actual process of removing the battery from your Gotrax Hoverfly. This step-by-step guide is designed to be clear and easy to follow, even if you’ve never opened a hoverboard before.
Step 1: Power Down and Prepare the Hoverboard
Start by turning off your Gotrax Hoverfly completely. Press and hold the power button until all LED indicators turn off. Next, place the hoverboard on a stable, flat surface with the wheels facing down. This gives you easy access to the top deck where the screws are located.
Remove any accessories, such as a carrying strap or decals, that might interfere with the disassembly. If your hoverboard has a charging port cover, gently lift it to ensure it won’t get damaged during the process.
Step 2: Locate and Remove the Deck Screws
The top deck of the Gotrax Hoverfly is secured with multiple Phillips-head screws. These are typically located around the perimeter of the board, often hidden under rubber foot pads or near the edges.
Use your Phillips screwdriver to carefully remove each screw. Place them in your small container or magnetic tray as you go. Keep track of which screws go where—some may be slightly different lengths or positions, so taking a photo before removing them can help during reassembly.
Tip: If a screw feels stuck, don’t force it. Apply gentle pressure and turn slowly. Forcing it could strip the screw head or damage the plastic.
Step 3: Gently Separate the Top and Bottom Shells
Once all screws are removed, it’s time to separate the top deck from the bottom shell. This is where plastic pry tools come in handy. Insert the pry tool into the seam between the top and bottom halves, starting at one end.
Gently work your way around the perimeter, applying even pressure. The two halves are held together with clips, so you’ll need to release them carefully. Avoid using metal tools, as they can scratch or crack the plastic.
If you encounter resistance, double-check that all screws have been removed. Sometimes a hidden screw or clip can prevent the shells from separating.
Step 4: Access the Internal Components
With the top deck lifted, you’ll now have access to the internal components of the hoverboard. You should see the battery pack, motor controllers, wiring harnesses, and the main circuit board.
Take a moment to observe the layout. The battery is usually a rectangular block located near the center of the deck, connected to the main board via a thick wire harness. It may be secured with Velcro, zip ties, or small brackets.
Do not disconnect any wires yet. First, ensure the battery is fully discharged. If you’re unsure, use a multimeter to check the voltage. A fully charged battery should read around 36V (for a 36V model), but it’s safer to work with a lower charge.
Step 5: Disconnect the Battery Wires
Locate the main power connector that links the battery to the hoverboard’s electronics. This is typically a thick, multi-pin connector with a locking mechanism.
Carefully unplug the connector by pressing the release tab (if present) and gently pulling it apart. Avoid pulling on the wires themselves—always grip the connector housing.
If the connector feels tight, wiggle it slightly while pulling. Never use excessive force, as this can damage the pins or wiring.
Once disconnected, set the connector aside in a safe place. You may want to label it or take a photo to remember how it connects during reassembly.
Step 6: Remove the Battery Pack
Now that the battery is disconnected, you can remove it from the deck. If it’s held in place with Velcro or zip ties, carefully peel back the Velcro or cut the zip ties with wire cutters. Be cautious not to damage nearby components.
Lift the battery straight up and out of the compartment. Lithium-ion batteries can be heavy, so use both hands and lift with your legs, not your back.
Place the battery on a non-conductive surface, such as a wooden table or rubber mat. Avoid placing it on metal, concrete, or other conductive materials.
Step 7: Inspect and Store the Battery
With the battery removed, take a moment to inspect it for any signs of damage—swelling, leaks, burns, or frayed wires. If you notice any of these issues, do not attempt to reinstall the battery. Instead, contact Gotrax support or a certified technician.
If the battery appears in good condition, store it in a cool, dry place away from direct sunlight or heat sources. For long-term storage, it’s best to keep the battery at around 50% charge.
Label the battery with the date of removal if you plan to reinstall it later. This helps track its usage and lifespan.
Troubleshooting Common Issues
Even with careful preparation, you might encounter some challenges during the battery removal process. Here are a few common issues and how to resolve them:
Stuck or Stripped Screws
If a screw won’t budge, try applying a small drop of penetrating oil (like WD-40) and let it sit for a few minutes. Use a properly sized screwdriver to avoid stripping the head. If the screw is already stripped, use a rubber band between the screwdriver and screw head for extra grip.
Shells Won’t Separate
If the top and bottom shells won’t come apart, double-check that all screws have been removed. Some models have hidden screws under the foot pads. Use a flashlight to inspect the edges carefully.
Connector Won’t Unplug
If the battery connector is stuck, ensure you’re pressing the release tab correctly. Some connectors have a small latch that must be fully depressed. If it still won’t budge, gently wiggle it while pulling—never yank the wires.
Battery Feels Hot
If the battery is warm or hot to the touch, stop immediately. Allow it to cool down in a safe, open area before proceeding. A hot battery could indicate a short circuit or internal damage.
Missing or Damaged Parts
If you lose a screw or damage a clip during disassembly, don’t panic. Most hardware stores carry replacement screws, and Gotrax may provide spare parts upon request. Avoid reassembling the hoverboard without all necessary components.
Reassembling Your Gotrax Hoverfly
Once you’ve removed the battery and completed your maintenance or replacement, it’s time to put your hoverboard back together. Follow these steps in reverse order to ensure a safe and functional reassembly:
Step 1: Reinstall the Battery
Carefully place the battery back into its compartment, ensuring it sits flat and secure. Reattach any Velcro straps or brackets that held it in place.
Step 2: Reconnect the Battery Wires
Align the battery connector with the corresponding port on the main board. Press it firmly until it clicks into place. Double-check that it’s fully seated and secure.
Step 3: Reattach the Top Deck
Lower the top deck back onto the bottom shell, aligning the clips and screw holes. Press down gently around the edges to snap the clips into place.
Step 4: Replace the Screws
Reinsert all screws in their original positions. Tighten them evenly but don’t over-tighten, as this can crack the plastic. Use your screwdriver with moderate pressure.
Step 5: Test the Hoverboard
Once reassembled, power on the hoverboard and test its functionality. Stand on it briefly to ensure it balances and responds correctly. Check the battery indicator to confirm it’s charging and holding a charge.
When to Replace the Battery
Even with proper care, hoverboard batteries have a limited lifespan. Most lithium-ion batteries last between 300 to 500 charge cycles before their capacity begins to degrade. Here are signs it might be time for a replacement:
- Reduced ride time: If your hoverboard doesn’t last as long as it used to on a full charge, the battery may be losing capacity.
- Slow charging: If the battery takes much longer to charge than usual, it could indicate internal wear.
- Swelling or bulging: A swollen battery is a serious safety hazard and should be replaced immediately.
- Frequent power cuts: If the hoverboard shuts off unexpectedly during use, the battery may no longer hold a stable charge.
- Old age: If your hoverboard is more than 2–3 years old and you use it regularly, the battery may be nearing the end of its life.
Replacing the battery can breathe new life into your Gotrax Hoverfly, restoring its performance and extending its usability. Always use a genuine or compatible replacement battery to ensure safety and compatibility.
Conclusion
Removing the battery from your Gotrax Hoverfly may seem intimidating at first, but with the right tools, preparation, and careful attention to detail, it’s a manageable task. Whether you’re performing routine maintenance, preparing for long-term storage, or replacing an aging battery, this guide has equipped you with the knowledge and confidence to do it safely and effectively.
Remember to always prioritize safety, handle the battery with care, and follow the steps in order. If you ever feel unsure, don’t hesitate to seek professional help. Your hoverboard is an investment, and proper care will ensure it continues to deliver smooth, reliable rides for years to come.
Now that you know how to remove the battery from your Gotrax Hoverfly, you’re one step closer to becoming a hoverboard maintenance pro. Happy riding!