
Changing a Gotrax tire might seem tricky at first, but with the right tools and guidance, it’s totally doable at home. This guide walks you through every step—from removing the wheel to installing a new tire—so you can get back to riding smoothly and safely.
Key Takeaways
- Use the right tools: A tire lever, wrench, and air pump are essential for a smooth tire change.
- Check tire type first: Gotrax scooters use either pneumatic (air-filled) or solid tires—know which one you have before starting.
- Work in a clean, well-lit space: Good lighting and a clutter-free area reduce mistakes and make the process safer.
- Take photos during disassembly: Snap pictures of each step to help you reassemble everything correctly.
- Inflate to recommended PSI: Over- or under-inflating pneumatic tires can affect performance and safety.
- Test ride after installation: Always do a short test ride to ensure the tire is secure and balanced.
- Replace worn tires promptly: Delaying a tire change can damage the wheel or cause accidents.
How to Change Gotrax Tire: A Complete Step-by-Step Guide
Gotrax electric scooters are built for fun, convenience, and daily commuting. But like any vehicle with wheels, they eventually need maintenance—especially when it comes to tires. Whether you’ve got a flat, a worn-out tread, or you’re upgrading to a better grip, knowing how to change a Gotrax tire is a valuable skill that saves time and money.
In this guide, we’ll walk you through the entire process of changing a Gotrax tire—whether it’s a front or rear tire, pneumatic or solid. You’ll learn what tools you need, how to safely remove the wheel, replace the tire, and get your scooter back on the road. No mechanic required!
By the end of this guide, you’ll feel confident handling tire changes on your own. We’ll also share practical tips, troubleshooting advice, and safety reminders to make the job easier and safer.
Let’s get started!
Why You Might Need to Change a Gotrax Tire
Visual guide about How to Change Gotrax Tire
Image source: i5.walmartimages.com
Before diving into the how-to, it’s helpful to understand why tire changes are necessary. Gotrax scooters are durable, but their tires take a beating from daily use—potholes, curbs, gravel, and weather all take a toll.
Common reasons to change a Gotrax tire include:
- Flat tires: Punctures from nails, glass, or sharp debris can cause air leaks in pneumatic tires.
- Worn tread: Over time, the tire’s grip surface wears down, reducing traction and increasing the risk of slipping.
- Cracks or bulges: These are signs of aging or damage and can lead to blowouts.
- Upgrade for performance: Some riders switch to wider or off-road tires for better stability or grip.
- Solid tire replacement: Solid tires can crack or lose shape, especially in extreme temperatures.
Ignoring tire issues can lead to poor handling, reduced battery efficiency, or even accidents. That’s why regular inspection and timely replacement are key.
Tools and Materials You’ll Need
Before you begin, gather all the necessary tools and supplies. Having everything ready will make the process faster and less frustrating.
Here’s what you’ll need:
- Tire levers (2–3): Plastic or metal tools to pry the tire off the rim.
- Wrench or Allen key: Most Gotrax models use either a 13mm wrench or a hex (Allen) key to remove bolts.
- Air pump (for pneumatic tires): A portable bike pump or electric inflator with a pressure gauge.
- New tire: Make sure it matches your scooter model and size (e.g., 8.5”, 9”, or 10”).
- Soapy water or tire lubricant: Helps slide the new tire onto the rim without damaging it.
- Clean cloth or rag: For wiping down parts and keeping your workspace tidy.
- Safety gloves: Protect your hands from sharp edges and dirt.
- Workstand or stable surface: Flip the scooter upside down or use a stand to keep it steady.
Optional but helpful:
- Valve core tool: For removing and reinstalling the valve core in pneumatic tires.
- Torque wrench: Ensures bolts are tightened to the correct specification.
- Camera or phone: Take photos during disassembly to help with reassembly.
Step 1: Identify Your Tire Type
Gotrax scooters come with two main types of tires:
- Pneumatic (air-filled) tires: These have an inner tube and require regular inflation. They offer a smoother ride and better shock absorption.
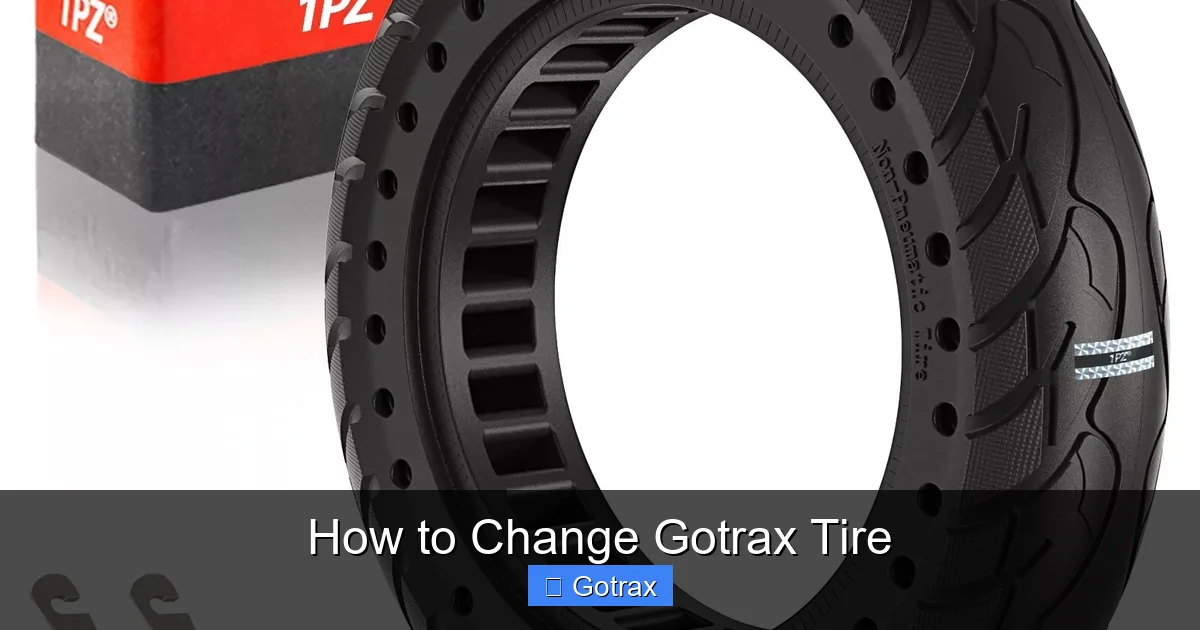
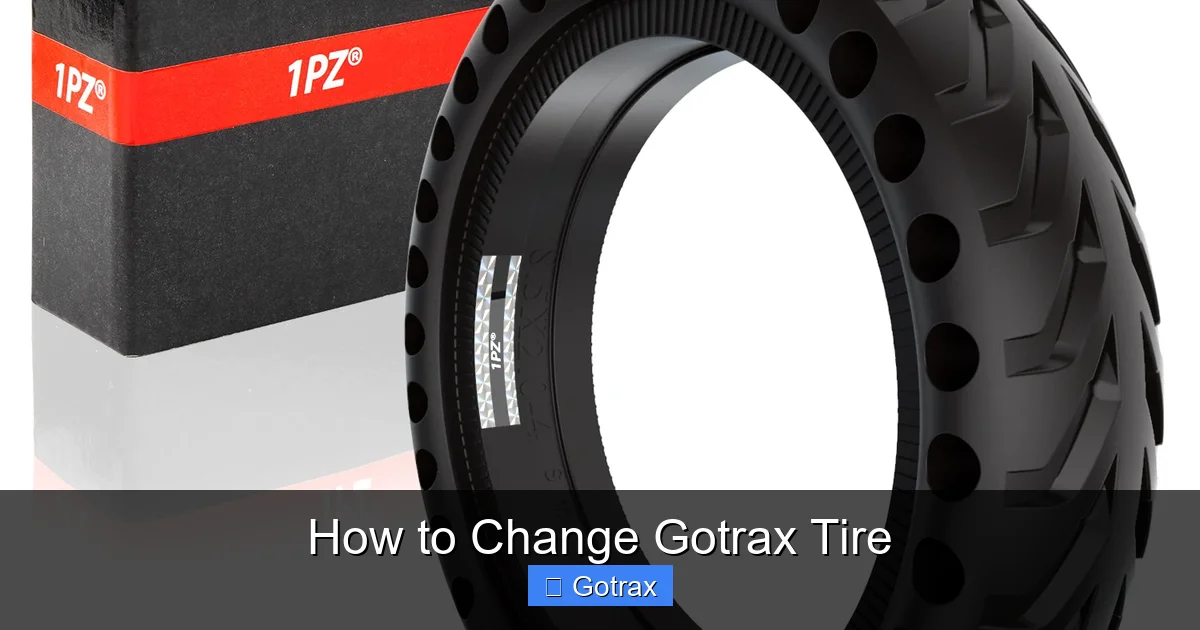
- Solid tires: Made from dense rubber with no air. They’re puncture-proof but offer a firmer ride.
To determine your tire type:
- Look at the sidewall of the tire. Pneumatic tires usually have a valve stem (a small metal or rubber protrusion).
- Solid tires have no valve and are completely solid rubber.
Knowing your tire type is crucial because the replacement process differs slightly. Pneumatic tires require careful handling of the inner tube, while solid tires are simpler but harder to install due to their rigidity.
Step 2: Prepare Your Workspace
A clean, well-lit, and stable workspace makes a big difference. Here’s how to set up:
- Choose a flat, hard surface: A garage floor, driveway, or workbench works best.
- Ensure good lighting: Natural light or a bright lamp helps you see small parts and avoid mistakes.
- Clear the area: Remove clutter, tools, or obstacles that could trip you or roll away.
- Flip the scooter upside down: Carefully turn your Gotrax so it rests on the handlebars and deck. Use a soft surface (like a towel) to protect the display and controls.
Safety tip: Always wear gloves to protect your hands from sharp edges, grease, or pinch points.
Step 3: Remove the Wheel
Now it’s time to take off the wheel. Whether it’s the front or rear tire, the process is similar.
For the Rear Wheel (Motorized)
The rear wheel is connected to the motor, so extra care is needed.
- Disconnect the motor cable (if applicable): Some Gotrax models have a quick-release connector. Gently unplug it to avoid damaging wires.
- Loosen the axle nuts: Use a 13mm wrench or Allen key to loosen the nuts on both sides of the axle. Don’t remove them completely yet.
- Slide the wheel out: Once the nuts are loose, gently wiggle the wheel to free it from the dropouts (the fork slots). It may take a little pressure.
For the Front Wheel (Non-Motorized)
The front wheel is simpler since it’s not connected to a motor.
- Loosen the axle bolts: Use the appropriate tool to loosen the bolts on both sides.
- Remove the wheel: Slide the wheel straight out of the fork.
Tip: If the wheel is stuck, gently tap the axle with a rubber mallet or use a flathead screwdriver to pry it loose—just be careful not to damage the frame.
Step 4: Deflate the Tire (Pneumatic Only)
If you’re replacing a pneumatic tire, you must fully deflate it before removal.
- Remove the valve cap: Unscrew the small cap on the valve stem.
- Press the valve pin: Use a valve core tool or a small screwdriver to press the pin inside the valve. This releases all the air.
- Wait until fully deflated: You should hear the air hiss out. Squeeze the tire to confirm no air remains.
Never skip this step—trying to remove a pressurized tire can damage the rim or cause injury.
Step 5: Remove the Old Tire
Now comes the tricky part: getting the tire off the rim.
For Pneumatic Tires
- Insert tire levers: Slide one tire lever under the bead (edge) of the tire and hook it to a spoke.
- Lift the bead over the rim: Use a second lever a few inches away to lift another section of the bead.
- Work around the rim: Continue using the levers to pry the entire bead over the rim. Be gentle to avoid pinching the inner tube.
- Remove the inner tube: Once one side is off, pull out the inner tube completely.
- Remove the tire: Slide the tire off the rim.
Tip: If the tire is stubborn, apply soapy water to the bead to reduce friction.
For Solid Tires
Solid tires are harder to remove because they don’t stretch.
- Use tire levers and patience: Insert levers between the tire and rim and work slowly around the circumference.
- Rock the tire back and forth: This helps break the seal between the tire and rim.
- Apply lubricant: A small amount of soapy water or silicone spray can help.
Warning: Avoid using sharp tools like screwdrivers, which can scratch or crack the rim.
Step 6: Inspect the Rim and Hub
Before installing the new tire, take a moment to inspect the wheel components.
- Check the rim: Look for cracks, dents, or rust. A damaged rim can cause flats or unsafe riding.
- Inspect spokes (if applicable): Ensure they’re tight and not bent.
- Clean the rim: Wipe away dirt, grease, or debris with a cloth.
- Check the hub and axle: Make sure the bearings spin smoothly and there’s no play or wobble.
If you notice any damage, consider replacing the wheel or consulting a professional.
Step 7: Install the New Tire
Now it’s time to put on the new tire. Take your time—rushing can lead to mistakes.
For Pneumatic Tires
- Partially inflate the inner tube: Add just enough air so it holds its shape (about 5–10 PSI). This prevents pinching.
- Insert the tube into the tire: Place the tube inside the tire, aligning the valve stem with the valve hole.
- Start mounting the tire: Begin at the valve stem. Push one side of the tire bead over the rim.
- Use tire levers if needed: For the last section, you may need levers to stretch the bead over the rim.
- Ensure the tube isn’t pinched: Run your fingers around the inside to check for trapped tube.
- Inflate gradually: Add air in small increments, checking that the tire seats evenly on the rim.
- Inflate to recommended PSI: Check your scooter’s manual or the tire sidewall for the correct pressure (usually 30–50 PSI).
Tip: If the tire won’t seat, deflate slightly, adjust the bead, and reinflate.
For Solid Tires
- Apply lubricant: Use soapy water or tire lubricant on the rim and tire bead.
- Start at one point: Push one section of the tire onto the rim.
- Work around slowly: Use your hands and tire levers to stretch the tire over the rim. Take breaks if needed.
- Ensure full seating: The tire should sit evenly around the rim with no gaps.
Solid tires require more force, so be patient and avoid using excessive tools that could damage the tire.
Step 8: Reinstall the Wheel
With the new tire on, it’s time to put the wheel back on the scooter.
For the Rear Wheel
- Align the wheel: Slide the axle into the dropouts, making sure the motor connector lines up.
- Reconnect the motor cable: Plug it back in securely.
- Tighten the axle nuts: Use a wrench to tighten both sides evenly. Don’t overtighten—this can damage the axle or bearings.
- Check alignment: Spin the wheel to ensure it’s straight and doesn’t rub against the brake or frame.
For the Front Wheel
- Slide the axle into the fork: Make sure it’s seated properly in the dropouts.
- Tighten the bolts: Use the correct tool to secure both sides.
- Test the steering: Turn the handlebars to ensure smooth movement.
Tip: Use a torque wrench if available to avoid over-tightening.
Step 9: Final Checks and Test Ride
Before hitting the road, do a few final checks:
- Check tire pressure: Use a gauge to confirm the correct PSI.
- Spin the wheel: Make sure it rotates freely without wobbling or rubbing.
- Test the brakes: Squeeze the brake lever to ensure it engages properly.
- Inspect all bolts: Double-check that axle nuts and bolts are tight.
- Take a short test ride: Ride slowly in a safe area to confirm everything feels stable.
If you notice any issues—like wobbling, noise, or poor handling—stop and recheck your work.
Troubleshooting Common Issues
Even with careful work, problems can arise. Here’s how to fix common issues:
Tire Won’t Seat Properly
- Deflate the tire completely.
- Adjust the bead and ensure the tube isn’t twisted.
- Reinflate slowly, checking for even seating.
Wheel Wobbles After Installation
- Check axle tightness—loosen and retighten evenly.
- Inspect bearings for wear or damage.
- Ensure the wheel is centered in the frame.
Air Leaks After Installation
- Check the valve core—tighten or replace if needed.
- Inspect the tire for punctures or damaged bead.
- Ensure the rim tape is intact and covering spoke holes.
Solid Tire Won’t Fit
- Use more lubricant.
- Work in small sections, taking breaks.
- Consider warming the tire slightly (e.g., in the sun) to make it more flexible.
Safety Tips and Best Practices
Changing a tire is generally safe, but follow these tips to avoid injury or damage:
- Always wear gloves and eye protection.
- Never inflate a tire beyond the recommended PSI.
- Use only tools designed for tire work.
- Don’t force anything—if it’s stuck, reassess.
- Dispose of old tires responsibly—recycle if possible.
- Keep a repair kit handy for future flats.
Conclusion
Changing a Gotrax tire might seem intimidating at first, but with the right tools, patience, and this guide, it’s a task anyone can master. Whether you’re fixing a flat, upgrading your ride, or performing routine maintenance, knowing how to change a Gotrax tire saves time, money, and frustration.
Remember to work in a clean space, use the correct tools, and take photos during disassembly. Always double-check your work and test ride before heading out. With practice, you’ll be able to swap tires quickly and confidently.
Keep your Gotrax in top shape, and enjoy every ride with peace of mind.