
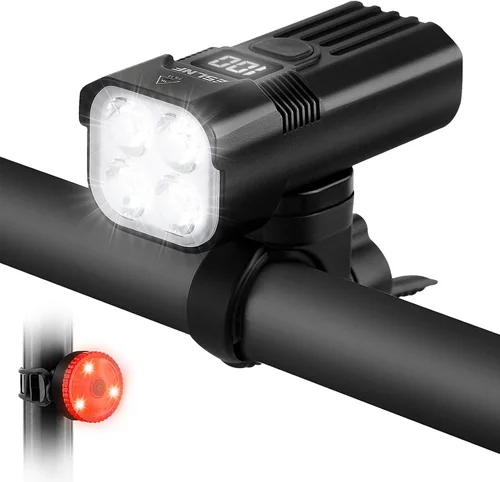
Riding a bicycle at night or in low-light conditions isn’t just about visibility—it’s about safety, confidence, and control. Whether you’re commuting through city streets after sunset, exploring mountain trails at dawn, or simply navigating poorly lit neighborhood roads, a reliable rechargeable bicycle headlight is no longer a luxury—it’s a necessity. In recent years, advancements in LED technology, battery efficiency, and smart features have transformed bike lights from basic accessories into sophisticated safety tools. With so many options flooding the market, choosing the right one can feel overwhelming. That’s where this guide comes in.
This comprehensive buying guide is designed to cut through the noise and help you make an informed decision. We’ll walk you through every critical factor—from lumens and beam patterns to battery life, durability, and mounting systems—so you can find a headlight that fits your riding style, budget, and needs. Whether you’re a casual weekend rider, a daily commuter, or a serious cyclist tackling long night rides, we’ve got you covered. You’ll learn how to avoid common pitfalls, understand what specs actually matter, and discover which models offer the best value for your money. By the end, you’ll have the knowledge and confidence to choose a rechargeable bike light that keeps you safe and visible on every ride.
The market for rechargeable bicycle headlights has exploded in the past decade. What once consisted of bulky, short-lived halogen or incandescent bulbs has evolved into sleek, high-performance LED systems powered by lithium-ion batteries. Today’s lights offer thousands of lumens, multiple brightness modes, USB-C charging, waterproof ratings, and even smartphone integration. Brands like Cygolite, NiteRider, Lezyne, and Bontrager dominate the premium space, while budget-friendly options from brands like BV, Bright Eyes, and RockBros deliver impressive performance at lower price points. With such variety, it’s easy to get lost in specs and marketing claims. But don’t worry—we’ll break it all down in simple, actionable terms so you can focus on what really matters: riding safely and confidently, no matter the time of day.
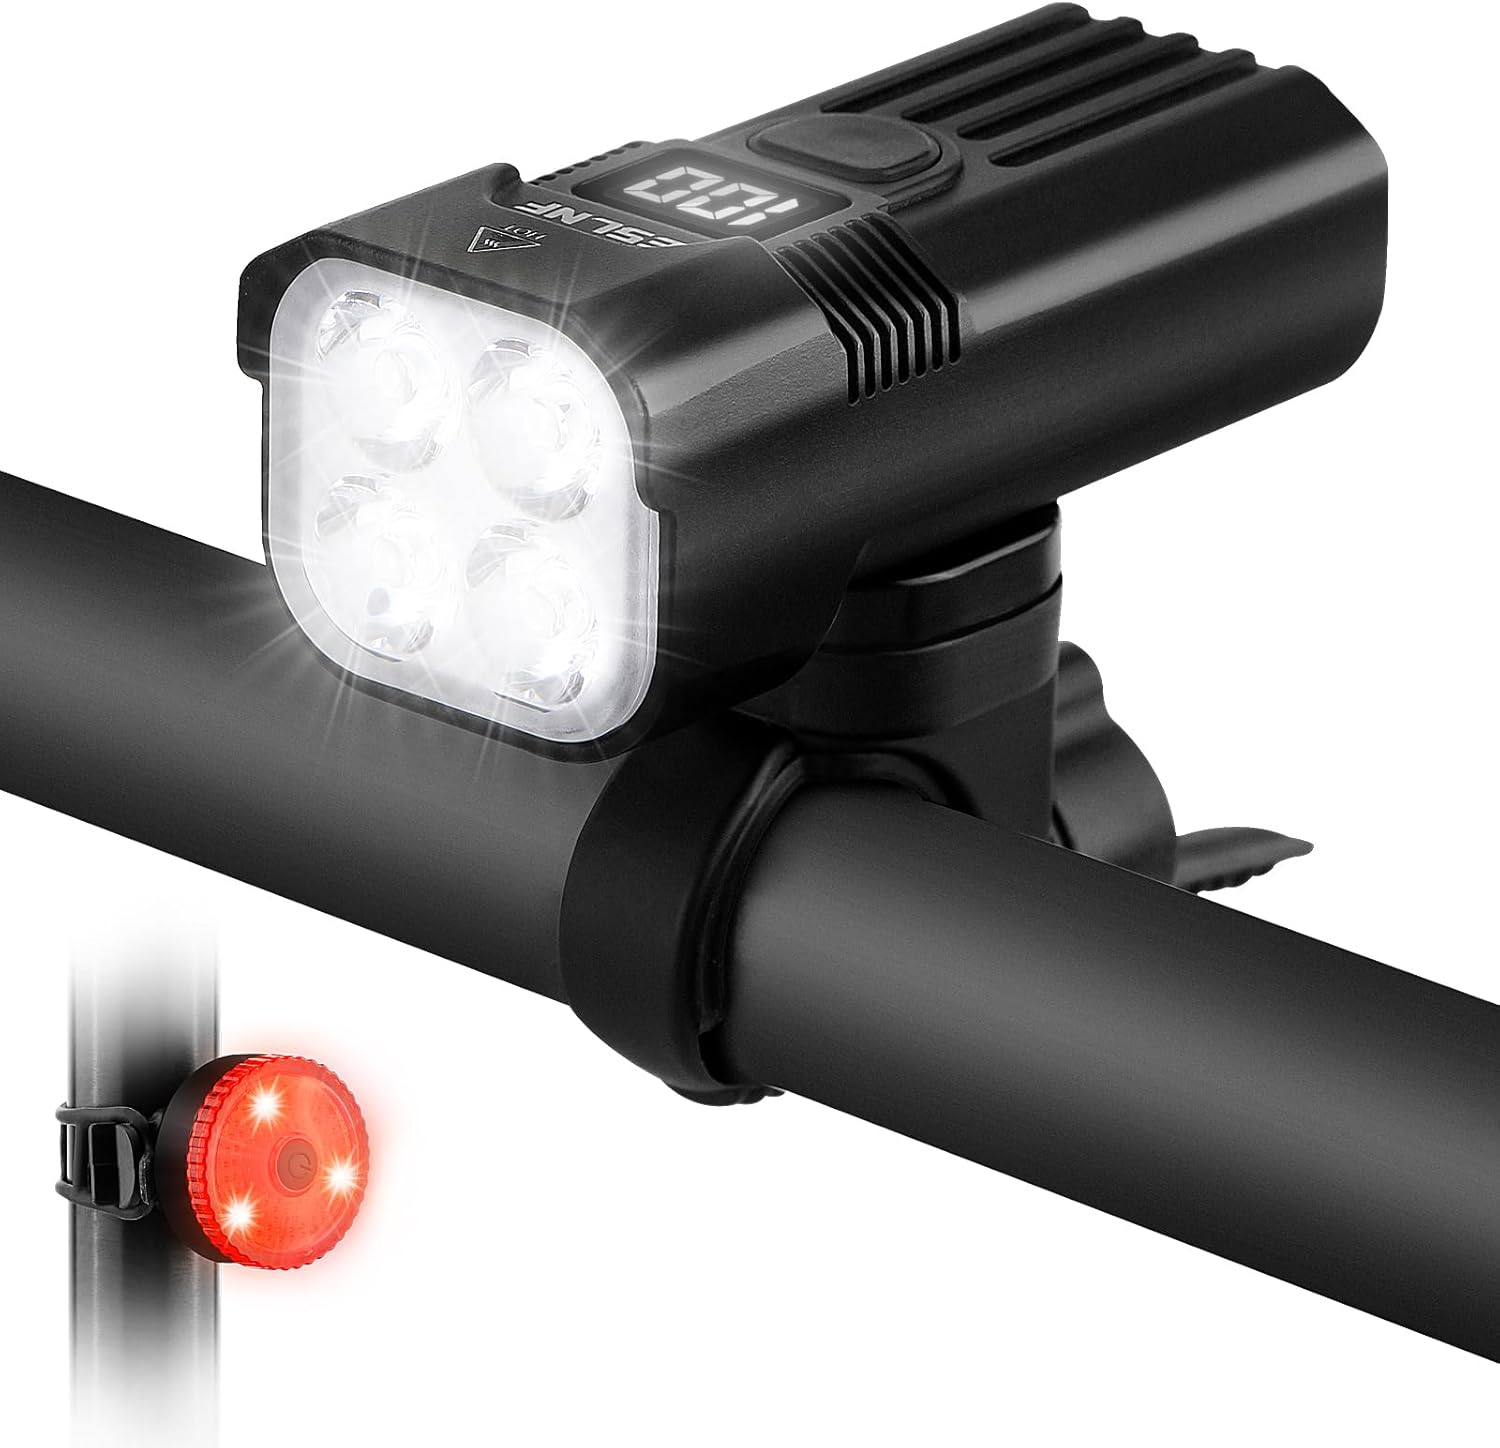
What to Look for When Buying a Rechargeable Bicycle Headlight
1. Brightness (Lumens)
Brightness is the most obvious—and often most misunderstood—specification when shopping for a bike light. Measured in lumens, it tells you how much total light the headlight emits. But more lumens don’t always mean better visibility. For urban commuting, 200–500 lumens is usually sufficient to make you visible to drivers and illuminate sidewalks or bike lanes. On rural roads or trails with no streetlights, you’ll want 800–1500+ lumens to light up the path ahead. Over 2000 lumens is typically reserved for off-road mountain biking or high-speed descents where maximum visibility is critical.
However, brightness isn’t just about raw output—it’s also about how that light is distributed. A light with 1000 lumens but a narrow, focused beam might leave your peripheral vision in darkness, while a wider beam pattern spreads light more evenly across the road. Some high-end models offer adjustable beam angles or dual LEDs to balance throw (distance) and flood (width). Always check real-world reviews to see how the light performs in actual riding conditions, not just lab tests.
2. Battery Life & Runtime
Battery life determines how long you can ride before needing to recharge. Most rechargeable bike lights use lithium-ion or lithium-polymer batteries, which offer high energy density and long cycle life. Runtime varies widely depending on brightness mode. For example, a light might claim 10 hours on low (100 lumens) but only 1.5 hours on high (1000+ lumens). Always check the runtime at your preferred brightness level—not just the maximum.
Look for lights with multiple power modes (e.g., high, medium, low, flash/strobe). This flexibility lets you extend battery life when full brightness isn’t needed. Some advanced models include a battery indicator (LED or via app) so you know when it’s time to recharge. USB-C charging is now standard on most new models and offers faster, more reliable charging than older micro-USB ports.
Consider your typical ride duration. If you regularly ride for 2+ hours at night, aim for a light with at least 3–4 hours of runtime on medium brightness. For longer adventures, look for models with removable batteries or the option to carry a backup power bank.
3. Beam Pattern & Optics
A great beam pattern does more than just shine light—it shapes it to match your riding environment. A well-designed headlight should provide a balanced mix of throw (light reaching far ahead) and flood (wide coverage near the bike). This helps you see potholes, debris, or turns in advance while also making you visible from the sides.
Many premium lights use advanced optics like TIR (Total Internal Reflection) lenses or reflectors to control light distribution. Some even offer customizable beam patterns—narrow for high-speed roads, wide for technical trails. Pay attention to whether the light has a “daytime running” mode with a pulsing or flashing pattern that increases visibility without blinding oncoming traffic.
Avoid lights with overly focused beams that create a “tunnel vision” effect. These can leave you blind to obstacles at the edges of your path. Similarly, avoid lights that scatter light too widely—this wastes energy and reduces effective range.
4. Mounting System & Stability
A light is only useful if it stays securely mounted during your ride. Vibrations from rough roads or trails can loosen poorly designed mounts, causing the light to shift or fall off. Look for a mounting system that’s easy to install, adjustable, and secure.
Most lights use handlebar mounts with rubber straps, O-rings, or clamp-style brackets. Rubber strap mounts are common on budget models but can stretch or slip over time. Clamp mounts (often made of aluminum or reinforced plastic) offer superior stability and are preferred for off-road or high-vibration riding. Some high-end lights include quick-release mechanisms for easy removal when parking your bike.
Check compatibility with your handlebar diameter (typically 22.2mm, 25.4mm, or 31.8mm). Many lights come with adapters, but it’s worth confirming. Also, consider whether the mount allows for vertical adjustment—this lets you angle the beam correctly to avoid blinding oncoming cyclists or drivers.
5. Water & Weather Resistance
You never know when you’ll get caught in the rain, so water resistance is non-negotiable. Look for an IP (Ingress Protection) rating—specifically IPX4 or higher. IPX4 means the light can withstand splashing water from any direction, which is sufficient for most riding conditions. IPX6 or IPX7 offers protection against heavy rain or temporary submersion, ideal for all-weather commuters or mountain bikers.
Avoid lights with no IP rating or vague claims like “water-resistant” without certification. These may fail in real-world conditions. Also, check the charging port—some lights have sealed or magnetic charging ports that prevent water ingress, while others use exposed USB ports that can corrode over time.
6. Build Quality & Durability
A bike light takes a beating—bumps, drops, temperature changes, and exposure to dirt and grime. A well-built light should feel solid, not flimsy. Look for housings made from aluminum or high-grade polycarbonate. Aluminum offers excellent heat dissipation and impact resistance, while polycarbonate is lightweight and shatterproof.
Check the lens material. Glass lenses offer superior clarity and scratch resistance but can be heavy. Polycarbonate lenses are lighter and more durable against impacts but may scratch over time. Some premium models use coated lenses to reduce glare and improve light transmission.
Also consider the internal components. Lights with poor thermal management may overheat and dim prematurely. Look for models with heat sinks or thermal throttling features that maintain performance without damaging the LED.
7. Ease of Use & Interface
You shouldn’t need to fumble with buttons while riding. A good headlight has an intuitive interface—usually a single button or touchpad—that lets you cycle through modes quickly. Some lights remember your last used setting, so you don’t have to reset it every time.
Backlit buttons or LED indicators can help in low light. Avoid lights with overly complex menus or multiple buttons that require memorization. Simplicity is key when your focus should be on the road.
Advanced models may include Bluetooth connectivity and companion apps. These allow you to customize modes, check battery status, or even control the light from your phone. While convenient, these features add cost and complexity—only choose them if you’ll actually use them.
8. Weight & Size
While not as critical as brightness or battery life, weight and size matter—especially for long rides or minimalist setups. A bulky light can affect bike handling or feel cumbersome on your handlebars. Most modern lights weigh between 80–200 grams, with premium models trending lighter thanks to compact LEDs and efficient batteries.
Consider where the light mounts. Some designs place the battery in the light housing, while others use remote battery packs connected by a cable. Remote batteries can reduce handlebar clutter but add complexity. For most riders, an integrated design offers the best balance of simplicity and performance.
Different Types of Rechargeable Bicycle Headlights

Common Buying Mistakes to Avoid
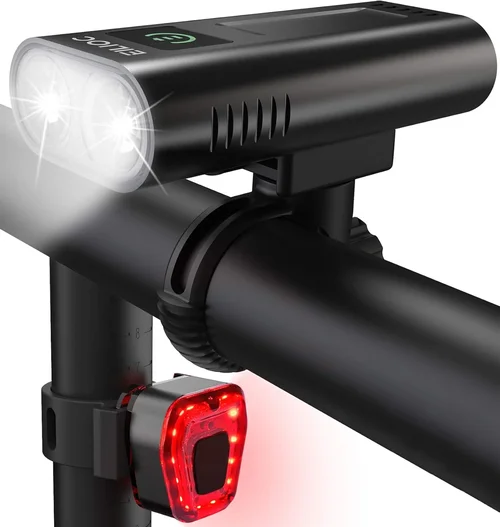
❌ Mistake: Choosing Based Solely on Max Lumens
Why it’s bad: A light with 3000 lumens might sound impressive, but if it can only sustain that for 10 minutes before dimming, it’s not practical for real riding. Many budget lights inflate lumen ratings using misleading testing methods.
What to do instead: Focus on sustained brightness and runtime at your preferred setting. Read real-user reviews to see how the light performs over time.
❌ Mistake: Ignoring Beam Pattern
Why it’s bad: A light that’s too focused can blind oncoming traffic or leave you in the dark on turns. A light that’s too wide wastes energy and reduces range.
What to do instead: Look for lights with adjustable or optimized beam patterns. Watch video reviews to see how the light illuminates the road.
❌ Mistake: Overlooking Mounting Stability
Why it’s bad: A loose mount can cause the light to vibrate, shift, or fall off—especially on rough terrain. This not only ruins your ride but can be dangerous.
What to do instead: Choose a light with a secure, adjustable mount. Test it on your bike before heading out. Consider upgrading to a clamp-style mount if your current one slips.
❌ Mistake: Skimping on Water Resistance
Why it’s bad: Riding in the rain with a non-waterproof light can lead to failure, corrosion, or even electrical shorts.
What to do instead: Always check the IP rating. IPX4 is the minimum for safe use in wet conditions. Avoid lights with exposed charging ports.
❌ Mistake: Buying the Cheapest Option Without Research
Why it’s bad: Ultra-cheap lights often use low-quality LEDs, poor batteries, and flimsy construction. They may fail quickly or not provide adequate light.
What to do instead: Set a reasonable budget and compare options within that range. Sometimes spending $20 more gets you a light that lasts years instead of months.
❌ Mistake: Not Considering Charging Convenience
Why it’s bad: Lights with proprietary chargers or slow charging can leave you stranded if you forget to charge them.
What to do instead: Choose lights with USB-C charging and fast charge support. Some models can charge to 50% in 30 minutes—perfect for last-minute rides.
❌ Mistake: Forgetting About Battery Replacement
Why it’s bad: Most rechargeable lights have sealed batteries that can’t be replaced. Once the battery degrades (after 300–500 cycles), the light becomes useless.
What to do instead: Look for models with user-replaceable batteries or long warranty periods. Some premium brands offer battery replacement services.
Budget Guidelines: How Much Should You Spend?
Entry-Level ($15–$40): These lights are ideal for occasional riders or as backup lights. Expect 100–400 lumens, basic mounting, and limited runtime (1–3 hours on high). Build quality may be lower, and water resistance is often minimal. Brands like BV, RockBros, and Bright Eyes offer decent options in this range. While not built for heavy use, they’re better than riding with no light at all.
Mid-Range ($40–$100): This is the sweet spot for most riders. You’ll find lights with 500–1000 lumens, reliable battery life (3–6 hours), better optics, and improved durability. USB-C charging, multiple modes, and IPX4+ ratings are common. Models from Lezyne, Cygolite, and NiteRider often fall here. These lights balance performance, features, and value—perfect for daily commuters and weekend warriors.
Premium ($100–$250): Designed for serious cyclists, these lights offer 1000+ lumens, advanced beam control, long runtime (6+ hours), and rugged construction. Features like Bluetooth connectivity, app control, and thermal management are standard. Brands like NiteRider, Exposure, and Light & Motion dominate this tier. Ideal for trail riders, long-distance cyclists, and those who demand top performance.
Luxury ($250+): The top tier includes professional-grade lights with cutting-edge technology. Think 2000+ lumens, customizable beam patterns, dual LEDs, and integrated power meters. These are used by competitive mountain bikers and endurance athletes. While overkill for most, they offer unmatched reliability and innovation. Expect to pay a premium for craftsmanship and brand reputation.
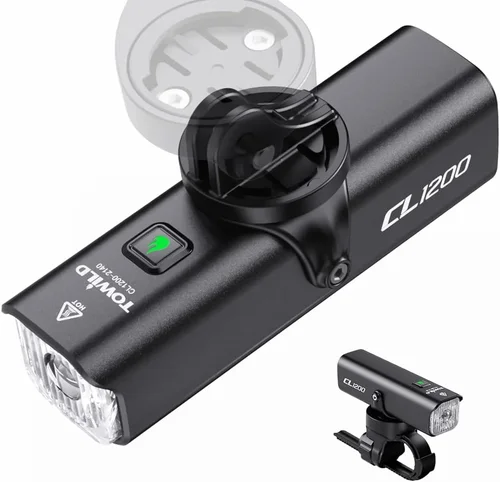
Expert Tips for Getting the Best Deal
1. Buy During Off-Season Sales: Bike lights are often discounted in spring and summer when demand is lower. Look for deals around Earth Day, Memorial Day, or during online shopping events like Prime Day.
2. Check Retailer Return Policies: Some stores offer generous return windows (30–90 days). This lets you test the light in real conditions and return it if it doesn’t meet expectations.
3. Compare Prices Across Platforms: Don’t just buy from the first site you find. Compare prices on Amazon, REI, Competitive Cyclist, and direct brand websites. Sometimes the manufacturer offers exclusive bundles or discounts.
4. Look for Bundles: Many brands sell headlight and taillight sets at a discount. If you need both, this can save you 20–30% compared to buying separately.
5. Read Long-Term Reviews: Short-term reviews can be misleading. Look for reviews that cover several months of use—these reveal issues like battery degradation, mount failure, or water ingress.
6. Consider Refurbished or Open-Box: Certified refurbished lights from reputable sellers often come with warranties and cost 20–40% less. Great way to get premium features on a budget.
7. Test Before Commuting: If possible, try the light on a short night ride before relying on it for your daily commute. This helps you assess brightness, beam pattern, and comfort.
8. Register for Warranties: Many brands offer extended warranties if you register your product. This can be crucial if the battery fails after a year.
Frequently Asked Questions
Q: How many lumens do I really need for city riding?
A: For urban commuting, 200–500 lumens is usually sufficient. The goal is visibility—not illumination. A bright, flashing mode during the day and a steady beam at night will make you stand out to drivers without blinding others.
Q: Can I use a bike light while it’s charging?
A: Most modern lights allow this, but it’s not recommended. Charging while in use can reduce battery lifespan and cause overheating. Only do this in emergencies.
Q: How often should I recharge my bike light?
A: Recharge after every use, even if the battery isn’t fully drained. Lithium-ion batteries perform best when kept between 20% and 80% charge. Avoid letting them drop to 0% regularly.
Q: Are more expensive lights worth it?
A: It depends on your needs. If you ride frequently at night or in challenging conditions, a premium light offers better reliability, safety, and longevity. For occasional use, a mid-range model is often sufficient.
Q: Can I mount a headlight on my helmet?
A: Yes, many lights come with helmet mounts. This gives you more flexibility—you can point the light where you’re looking, not just where your bike is pointing. Great for technical trails.
Q: What’s the difference between steady and flashing modes?
A: Steady modes provide constant illumination, ideal for seeing the road. Flashing modes are more visible to others but offer less light for navigation. Use flashing during the day and steady at night.
Q: How do I clean my bike light?
A: Use a soft, damp cloth to wipe the lens and body. Avoid harsh chemicals or high-pressure water. Dry thoroughly before charging.
Q: Will a bright light blind other cyclists?
A: It can, if the beam is too high or focused. Angle your light slightly downward so it illuminates the road without shining into others’ eyes. Many lights have a “low-beam” mode for group rides.
Q: Can I replace the battery in my rechargeable light?
A: Most cannot be user-replaced due to sealed designs. Check the manufacturer’s policy—some offer battery replacement services for a fee.
Q: Is it legal to ride at night without a light?
A: In most places, yes—but it’s highly discouraged and often illegal. Always check local laws. In the U.S., most states require a white front light visible from 500 feet.
Our Final Recommendations
Best for Budget-Conscious Buyers: BV Litesprite 500 – At under $30, this light delivers 500 lumens, USB-C charging, and a solid mount. It’s not the brightest, but it’s reliable for city commuting and offers great value.
Best Overall Value: Lezyne Macro Drive 1300XXL – With 1300 lumens, 6-hour runtime, and a rugged aluminum body, this light excels in both urban and trail environments. Priced around $90, it’s a favorite among commuters and weekend riders.
Best Premium Option: NiteRider Lumina 1800 Boost – Boasting 1800 lumens, advanced optics, and a 7-hour runtime, this light is built for serious night riding. Its boost mode and thermal management make it ideal for long, demanding rides. Worth the $150 investment for enthusiasts.
Best for Beginners: Cygolite Metro 650 – Simple to use, with intuitive controls and a bright 650-lumen output. The included handlebar mount is secure and easy to install. Perfect for new riders who want reliability without complexity.
Best for Advanced Users: Exposure Sirius MK11 – A professional-grade light with 2000 lumens, customizable beam patterns, and app control. Designed for mountain bikers and endurance athletes, it’s built to perform in the toughest conditions. Priced at $300+, it’s for those who demand the best.
Conclusion: Making the Right Choice
Choosing the best rechargeable bicycle headlight isn’t just about picking the brightest or most expensive model—it’s about finding the right balance of performance, durability, and usability for your specific needs. Whether you’re navigating city streets, exploring forest trails, or commuting after dark, the right light can make all the difference in your safety and enjoyment.
We’ve covered everything from lumen output and beam patterns to battery life, mounting systems, and budget considerations. We’ve highlighted common mistakes to avoid and shared expert tips to help you get the best deal. Now, it’s time to take action.
Start by assessing your riding habits: How often do you ride at night? Where do you ride? What’s your budget? Use this guide to narrow down your options and prioritize the features that matter most to you. Don’t rush the decision—investing in a quality light is investing in your safety.
Remember, the best light is the one you’ll actually use. So choose wisely, charge regularly, and ride with confidence. The road ahead is brighter when you’re prepared.