

This guide walks you through how to put together a Gotrax scooter with easy-to-follow steps, safety tips, and expert advice. Whether you’re a first-time rider or upgrading your ride, you’ll have your scooter ready in under 30 minutes.
Key Takeaways
- Unbox carefully: Remove all parts gently and check for damage before starting assembly.
- Follow the manual: Always refer to the official Gotrax instruction guide included in the box.
- Use the right tools: A hex key (Allen wrench) and adjustable wrench are typically all you need.
- Tighten bolts securely: Ensure handlebar, stem, and deck bolts are properly fastened to prevent wobbling.
- Charge before riding: Fully charge the battery before your first ride for optimal performance.
- Test safety features: Check brakes, lights, and throttle response before hitting the road.
- Store tools for future use: Keep the hex key in a safe place for adjustments and maintenance.
How to Put Together a Gotrax Scooter: A Complete Step-by-Step Guide
So, you’ve just unboxed your brand-new Gotrax scooter—congratulations! Whether you’ve chosen the popular Gotrax GXL, the compact Gotrax XR, or another model, you’re about to enjoy a fun, eco-friendly way to get around. But before you zip down the sidewalk, you’ll need to put it together. Don’t worry—it’s easier than it looks.
In this guide, we’ll walk you through how to put together a Gotrax scooter from start to finish. You’ll learn how to safely assemble the handlebar, attach the stem, secure the deck, charge the battery, and perform a final safety check. We’ll also share pro tips, troubleshooting advice, and answers to common questions.
By the end of this guide, your Gotrax scooter will be ready for its first ride—smooth, safe, and fully functional. Let’s get started!
What’s in the Box?
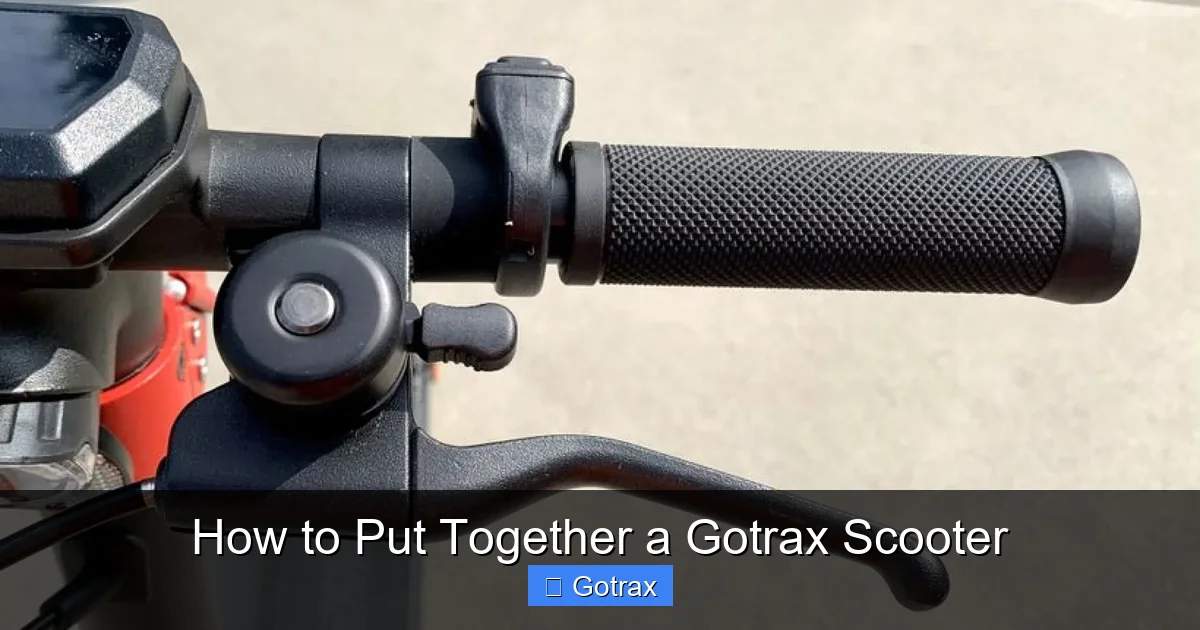
Visual guide about How to Put Together a Gotrax Scooter
Image source: electricscooterinsider.com
Before you begin assembly, it’s important to know what you’re working with. Every Gotrax scooter comes with a standard set of components, though the exact model may vary slightly. Here’s what you should find inside the box:
- Scooter deck with wheels and motor – This is the main body of the scooter, including the front and rear wheels, deck plate, and folding mechanism.
- Handlebar assembly – Includes the handlebars, brake levers, throttle, and display screen (if applicable).
- Stem (steering column) – The vertical tube that connects the handlebar to the front wheel.
- Battery pack – Pre-installed in most models, but may need charging.
- Charging cable – Used to charge the lithium-ion battery.
- Hex key (Allen wrench) – Usually a 5mm or 6mm tool for tightening bolts.
- User manual and warranty card – Essential for setup and future reference.
- Safety leaflet – Contains important riding and maintenance tips.
Take a moment to lay everything out on a clean, flat surface. Check for any visible damage, especially to the deck, wheels, or battery compartment. If anything looks cracked, bent, or missing, contact Gotrax customer support before proceeding.
Tools You’ll Need
The good news? You probably already have everything you need. Gotrax scooters are designed for easy assembly with minimal tools. Here’s what you’ll use:
- Hex key (Allen wrench) – Included in the box. Usually 5mm or 6mm.
- Adjustable wrench or pliers – Optional, but helpful for tightening nuts.
- Clean cloth – To wipe down parts and remove dust.
- Flat, stable workspace – A table or garage floor works best.
Avoid using power tools like electric drills or impact wrenches—they can over-tighten bolts and damage the scooter’s frame.
Step 1: Unbox and Inspect the Scooter
Before touching any tools, take time to unbox your scooter carefully.
Open the Box Gently
Use scissors or a box cutter to slice open the cardboard. Avoid prying or forcing the scooter out—it’s secured with foam inserts and plastic wrap.
Remove All Components
Lift the scooter out and place it on its side. Remove the handlebar, stem, and any loose parts from the packaging. Keep small items like bolts and washers in a container so they don’t get lost.
Inspect for Damage
Check the deck for cracks, the wheels for dents, and the battery compartment for leaks. Look at the folding mechanism—it should move smoothly without resistance. If you notice anything unusual, take photos and contact Gotrax support.
Read the Manual
Flip through the user manual. It contains model-specific instructions, safety warnings, and diagrams. Even if you’re experienced, it’s worth a quick read.
Step 2: Attach the Handlebar to the Stem
Now it’s time to start assembling. The first step is connecting the handlebar to the stem.
Locate the Handlebar Clamp
On the top of the stem, you’ll see a clamp with two bolts. These hold the handlebar in place.
Insert the Handlebar
Slide the handlebar into the clamp. Make sure it’s centered—both sides should extend equally from the stem.
Tighten the Bolts
Use the hex key to tighten the two bolts evenly. Turn them a quarter-turn at a time, alternating sides, to avoid warping the clamp. Don’t overtighten—just enough to hold the handlebar firmly.
Check Alignment
Stand in front of the scooter and look down the stem. The handlebar should be straight and parallel to the front wheel. If it’s crooked, loosen the bolts slightly, adjust, and retighten.
Step 3: Insert the Stem into the Deck
With the handlebar attached, it’s time to connect the stem to the scooter’s main body.
Open the Folding Mechanism
Most Gotrax scooters have a folding stem. Pull the release lever (usually near the deck) to unlock it. The stem should lift upright.
Align the Stem
Make sure the stem is fully extended and locked into the upright position. You should hear a click when it’s secure.
Secure the Stem Bolt
At the base of the stem, there’s a large bolt or clamp. Use the hex key to tighten it. This bolt is critical—it keeps the stem stable while riding. Give it a firm turn, but don’t force it.
Test the Lock
Try wiggling the stem side to side. It should feel solid with no play. If it moves, tighten the bolt more.
Step 4: Check the Wheels and Brakes
Before riding, make sure the wheels spin freely and the brakes work properly.
Spin the Wheels
Lift the scooter and spin both wheels. They should rotate smoothly without wobbling or rubbing against the fender.
Inspect the Tires
Check for cuts, punctures, or low air pressure (if pneumatic). Gotrax scooters often use solid or honeycomb tires, so no pumping is needed—just look for damage.
Test the Brakes
Squeeze the rear brake lever (usually on the left handle). The brake pad should press firmly against the rear wheel. If it feels loose or doesn’t stop the wheel, adjust the brake cable using the barrel adjuster near the lever.
Check the Throttle
Twist the throttle (right side) gently. The motor should respond immediately. If it’s sticky or unresponsive, check the connection under the handlebar.
Step 5: Charge the Battery
Your Gotrax scooter won’t go far without a full charge. Most models come with a partially charged battery, but it’s best to charge it fully before the first ride.
Locate the Charging Port
Find the charging port—usually on the side or rear of the deck. It’s a small, round port covered by a rubber flap.
Plug in the Charger
Connect the charger to the port and plug it into a wall outlet. The LED light on the charger will turn red while charging and green when complete.
Wait for a Full Charge
Charging typically takes 4–6 hours, depending on the model. Don’t unplug it early—partial charges can reduce battery life over time.
Unplug and Store the Charger
Once charged, unplug the charger and store it in a dry place. Keep the charging port cover closed to prevent dust and moisture.
Step 6: Perform a Final Safety Check
Before you ride, do a quick safety inspection. This takes just a few minutes but can prevent accidents.
Check All Bolts
Go over every bolt—handlebar, stem, deck, and wheels. Tighten any that feel loose.
Test the Folding Mechanism
Fold and unfold the scooter a few times. Make sure it locks securely in both positions.
Inspect the Deck
Look for cracks, loose screws, or worn grip tape. The deck should feel solid underfoot.
Check Lights (if equipped)
Turn on the headlight and taillight. Make sure they’re bright and functional.
Test the Bell or Horn
Press the bell or horn button. It should be loud enough to alert pedestrians.
Troubleshooting Common Assembly Issues
Even with careful assembly, you might run into a few hiccups. Here’s how to fix the most common problems.
Handlebar Wobbles or Feels Loose
This is usually caused by loose bolts. Use the hex key to tighten the handlebar clamp and stem bolt. If the problem persists, check for stripped threads or damaged parts.
Stem Won’t Lock in Place
Make sure the folding mechanism is fully engaged. Sometimes dirt or debris blocks the lock. Clean the area and try again. If it still won’t lock, contact Gotrax support.
Brake Doesn’t Work Properly
Adjust the brake cable using the barrel adjuster. Turn it clockwise to tighten, counterclockwise to loosen. If the brake pad is worn, replace it.
Throttle Doesn’t Respond
Check the throttle connection under the handlebar. It may have come loose during shipping. Reconnect it and test again.
Scooter Won’t Turn On
Ensure the battery is fully charged. Press and hold the power button for 3 seconds. If it still doesn’t turn on, check the battery connection or contact customer service.
Pro Tips for a Smooth Assembly
Want to make the process even easier? Try these expert tips:
- Work in a well-lit area – Good lighting helps you see small parts and avoid mistakes.
- Keep the manual nearby – Refer to it if you’re unsure about a step.
- Don’t rush – Take your time, especially with tightening bolts.
- Ask for help – Have a friend hold the scooter while you tighten parts.
- Keep the hex key handy – Store it in a small pouch or attach it to the scooter with a clip.
Conclusion
Putting together a Gotrax scooter is a simple process that takes less than 30 minutes—even for beginners. By following this guide, you’ve learned how to put together a Gotrax scooter safely and correctly, from unboxing to final safety checks.
Remember: always charge the battery fully, tighten all bolts, and test the brakes and throttle before riding. With proper assembly and care, your Gotrax scooter will provide years of reliable, eco-friendly transportation.
Now that you’re all set, it’s time to hit the road. Stay safe, wear a helmet, and enjoy the ride!