
Keeping your Gotrax scooter tires properly inflated is essential for safety, performance, and battery life. This guide walks you through the simple process of checking and pumping up your scooter’s tires using the right tools and techniques.
Key Takeaways
- Check tire pressure regularly: Most Gotrax scooters recommend 35–40 PSI. Use a reliable gauge to monitor levels weekly.
- Use the right pump: A standard bike pump with a pressure gauge or a portable electric pump works best for Gotrax tires.
- Inspect for damage before inflating: Look for cracks, punctures, or worn treads that could affect safety or air retention.
- Remove the valve cap carefully: Keep it in a safe place to avoid losing it during inflation.
- Inflate gradually and check pressure often: Overinflating can damage the tire or inner tube; underinflating reduces efficiency.
- Store your scooter properly: Keep it in a cool, dry place to prevent air loss and tire degradation.
- Replace worn tires promptly: Damaged or bald tires compromise grip and braking, especially in wet conditions.
How to Pump Up Gotrax Scooter: A Complete Step-by-Step Guide
Riding a Gotrax electric scooter is fun, eco-friendly, and convenient—but only if it’s in good working condition. One of the most overlooked yet critical maintenance tasks is keeping your scooter’s tires properly inflated. Whether you own a Gotrax GXL, G4, G2, or any other model, maintaining the correct tire pressure ensures a smoother ride, better battery efficiency, improved safety, and longer tire life.
In this comprehensive guide, we’ll walk you through everything you need to know about how to pump up your Gotrax scooter. From understanding why tire pressure matters to choosing the right tools, performing the inflation process, and troubleshooting common issues, this guide has you covered. By the end, you’ll feel confident maintaining your scooter like a pro—no mechanic required.
Why Proper Tire Pressure Matters for Your Gotrax Scooter
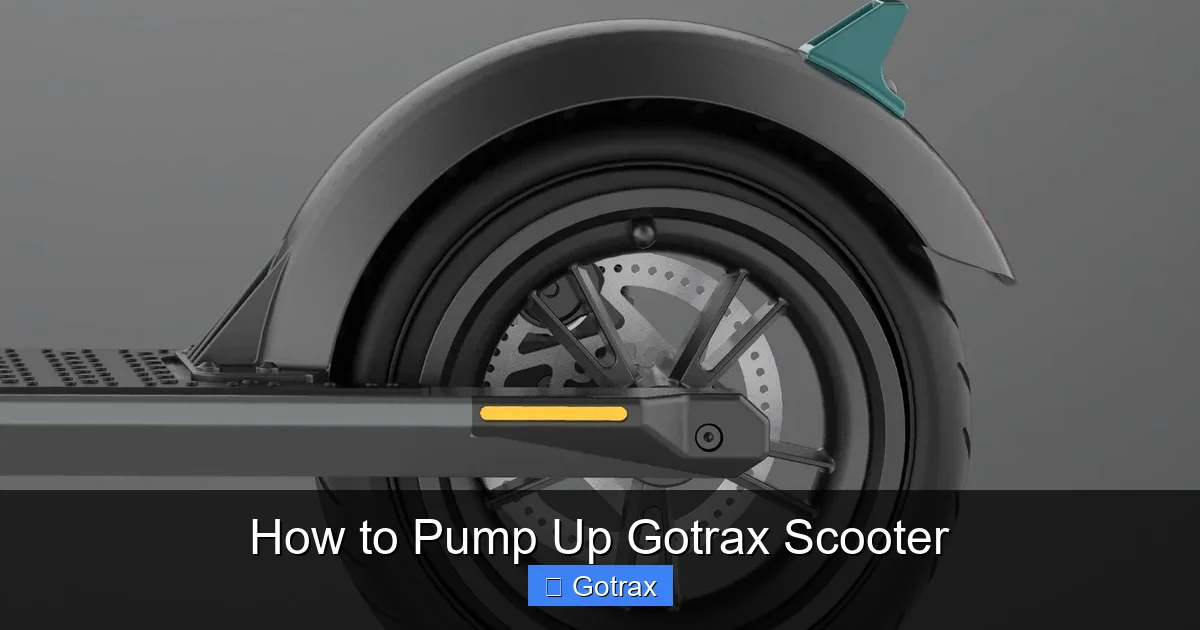
Visual guide about How to Pump Up Gotrax Scooter
Image source: cdn.shopify.com
Before diving into the how-to, let’s talk about the why. Why does tire pressure even matter? It might seem like a small detail, but it has a big impact on your riding experience.
First, correct tire pressure improves ride comfort. Underinflated tires make your scooter feel sluggish and bumpy, especially on rough pavement or sidewalks. Overinflated tires, on the other hand, can make the ride too stiff and increase the risk of punctures from sharp objects.
Second, proper inflation extends battery life. When your tires are underinflated, your scooter’s motor has to work harder to move forward. This drains the battery faster, reducing your range per charge. Studies show that underinflated tires can reduce electric scooter range by up to 10–15%.
Third, safety is at stake. Tires that are too soft can wobble or lose grip during turns, increasing the risk of accidents. Properly inflated tires provide better traction, especially in wet or slippery conditions.
Finally, maintaining tire pressure prolongs tire life. Tires that are consistently underinflated wear out faster on the edges, while overinflated tires wear down the center. Either way, you’ll be replacing them sooner than necessary.
Most Gotrax scooters use pneumatic (air-filled) tires with a recommended pressure range of 35 to 40 PSI (pounds per square inch). Always check your owner’s manual or the sidewall of your tire for the exact specification.
Tools You’ll Need to Pump Up Your Gotrax Scooter
You don’t need fancy equipment to inflate your Gotrax scooter tires. A few simple tools will do the job. Here’s what you’ll need:
- A reliable bike pump with a pressure gauge: Look for a floor pump or hand pump designed for bicycles. Make sure it has a built-in gauge so you can monitor PSI accurately.
- Portable electric pump (optional but convenient): If you want a faster, hands-free option, consider a small electric tire inflator. Many are USB-rechargeable and come with preset PSI settings.
- Tire pressure gauge (if your pump doesn’t have one): A standalone digital or analog gauge ensures accuracy, especially if your pump’s gauge is old or unreliable.
- Valve adapter (if needed): Most Gotrax scooters use standard Presta or Schrader valves. If your pump doesn’t fit, you may need a small adapter (usually included with pumps).
- Clean cloth or rag: Useful for wiping dirt off the valve before inflating.
Pro tip: Keep your pump and gauge in a small toolkit or backpack so you can inflate your tires on the go. Many riders store theirs in a backpack or under the scooter’s deck if there’s space.
Step-by-Step Guide: How to Pump Up Gotrax Scooter Tires
Now that you understand the importance and have your tools ready, let’s get into the actual process. Follow these steps carefully to inflate your Gotrax scooter tires safely and effectively.
Step 1: Prepare Your Scooter
Start by placing your scooter on a flat, stable surface. Turn it off and make sure the battery is disconnected if you’re doing maintenance for an extended period. This prevents accidental activation.
Next, locate the tires. Most Gotrax models have two pneumatic tires—one on the front and one on the rear. Some newer models (like the Gotrax GXL V2) may have solid tires, which don’t require inflation. Check your model to confirm.
If your scooter has air-filled tires, you’ll see a small valve stem on the side of each tire. It looks like a tiny metal pin—this is where you’ll attach the pump.
Step 2: Check Current Tire Pressure
Before adding air, it’s important to know how much pressure is already in the tire. Use your tire pressure gauge to check both tires.
To do this:
- Remove the valve cap by unscrewing it counterclockwise. Place it in a safe spot—don’t lose it!
- Press the gauge firmly onto the valve stem. You’ll hear a slight hiss as air escapes—that’s normal.
- Read the PSI on the gauge. Compare it to the recommended range (usually 35–40 PSI).
If the pressure is below 35 PSI, you’ll need to add air. If it’s above 40 PSI, you may need to release some air by pressing the valve pin gently with a small tool or the back of the gauge.
Step 3: Inspect the Tire and Valve
While the valve is exposed, take a moment to inspect the tire and valve for damage.
Look for:
- Cracks or cuts in the rubber: These can lead to slow leaks or blowouts.
- Embedded debris: Nails, glass, or thorns can puncture the inner tube.
- Worn tread: If the tread is smooth or bald, it’s time to replace the tire.
- Valve damage: A bent or leaking valve can prevent proper inflation.
If you find any serious damage, consider replacing the tire or taking your scooter to a repair shop. Never inflate a damaged tire—it could burst.
Step 4: Attach the Pump
Now it’s time to connect your pump. The method depends on your pump type and valve type.
Most Gotrax scooters use Schrader valves (the same as car tires), but some older models may have Presta valves (thinner, with a locking nut). Here’s how to handle each:
For Schrader valves:
- Press the pump head straight onto the valve.
- Flip the lever on the pump head to lock it in place. You should feel it seal tightly.
For Presta valves:
- Unscrew the small nut at the top of the valve (don’t remove it completely).
- Press the pump head onto the valve and lock it with the lever.
Make sure the connection is secure. If air is escaping around the pump head, reposition it and try again.
Step 5: Inflate the Tire Gradually
Now begin pumping. Whether you’re using a hand pump or electric inflator, go slowly and check the pressure frequently.
For hand pumps:
- Pump in steady, full strokes.
- After every 5–10 pumps, stop and check the pressure with your gauge.
- Stop when you reach the recommended PSI (e.g., 38 PSI).
For electric pumps:
- Set the desired PSI on the digital display (if available).
- Press start and let the pump do the work.
- It will automatically stop when the target pressure is reached.
Avoid overinflating. Even a few PSI over the limit can reduce tire lifespan and increase puncture risk.
Step 6: Detach the Pump and Replace the Valve Cap
Once the tire is properly inflated:
- Unlock the pump lever and gently remove the pump head.
- You may hear a small puff of air—this is normal.
- Screw the valve cap back on clockwise until it’s snug. Don’t overtighten.
Repeat the entire process for the other tire. It’s common for one tire to lose air faster than the other, so always check both.
Step 7: Test Ride and Recheck
After inflating both tires, take your scooter for a short test ride. Pay attention to:
- How it feels—should be smooth and responsive.
- Any unusual noises or wobbling.
- Brake performance and grip.
After riding, recheck the tire pressure. It’s normal for pressure to increase slightly due to heat from friction. If it’s significantly higher, release a little air to bring it back to the recommended range.
Tips for Maintaining Proper Tire Pressure
Inflating your tires is just the first step. To keep your Gotrax scooter in top shape, follow these maintenance tips:
- Check pressure weekly: Air naturally leaks over time, especially in colder weather. Make it a habit to check before long rides.
- Adjust for temperature: Cold weather reduces tire pressure. If you ride in winter, check more often and add air as needed.
- Avoid overloading: Exceeding your scooter’s weight limit puts extra strain on tires and can cause underinflation.
- Store indoors: Extreme heat or cold can degrade rubber and cause air loss. Keep your scooter in a garage or shed when not in use.
- Use tire sealant (optional): For added protection against small punctures, consider adding a liquid tire sealant through the valve. This can help seal minor leaks automatically.
Troubleshooting Common Issues
Even with proper care, you might run into problems. Here are some common issues and how to fix them:
Tire Won’t Hold Air
If your tire loses pressure quickly after inflation, you likely have a slow leak. Possible causes:
- Puncture: Check for embedded objects. Use a soapy water solution—bubbles will form at the leak site.
- Valve leak: Tighten the valve core or replace it if damaged.
- Inner tube damage: The tube may be cracked or worn. Replacement may be necessary.
Pump Won’t Fit the Valve
If your pump doesn’t attach properly:
- Confirm the valve type (Schrader vs. Presta).
- Use an adapter if needed.
- Ensure the pump head is clean and undamaged.
Overinflated Tire
If you accidentally overinflate:
- Press the valve pin gently with a small tool or key to release air.
- Check pressure frequently until it’s back in range.
- Never ride on an overinflated tire—it’s unsafe.
Tire Feels Flat but Holds Air
Sometimes a tire may feel soft even if the pressure is correct. This could be due to:
- Tire wear: Old tires lose structural integrity.
- Inner tube damage: A folded or pinched tube can cause uneven inflation.
- Rim damage: A bent rim can prevent a proper seal.
In these cases, professional inspection or tire replacement may be needed.
When to Replace Your Gotrax Scooter Tires
No tire lasts forever. Even with perfect maintenance, Gotrax scooter tires typically last 1,000 to 2,000 miles depending on usage, terrain, and care.
Signs it’s time to replace:
- Tread is worn smooth or bald.
- Frequent flats or leaks.
- Visible cracks, bulges, or dry rot.
- Tire feels unstable or wobbles during rides.
Replacing tires is a bit more advanced, but many Gotrax models allow DIY replacement with basic tools. Always use compatible tires and follow manufacturer guidelines.
Conclusion
Learning how to pump up your Gotrax scooter is a simple but essential skill every rider should master. Proper tire pressure keeps your rides smooth, safe, and efficient. By checking your tires weekly, using the right tools, and following the steps in this guide, you’ll extend the life of your scooter and enjoy every mile.
Remember: a well-maintained scooter is a happy scooter. Don’t wait until you feel a flat or notice poor performance—stay proactive. With a little effort, you’ll keep your Gotrax rolling strong for years to come.