
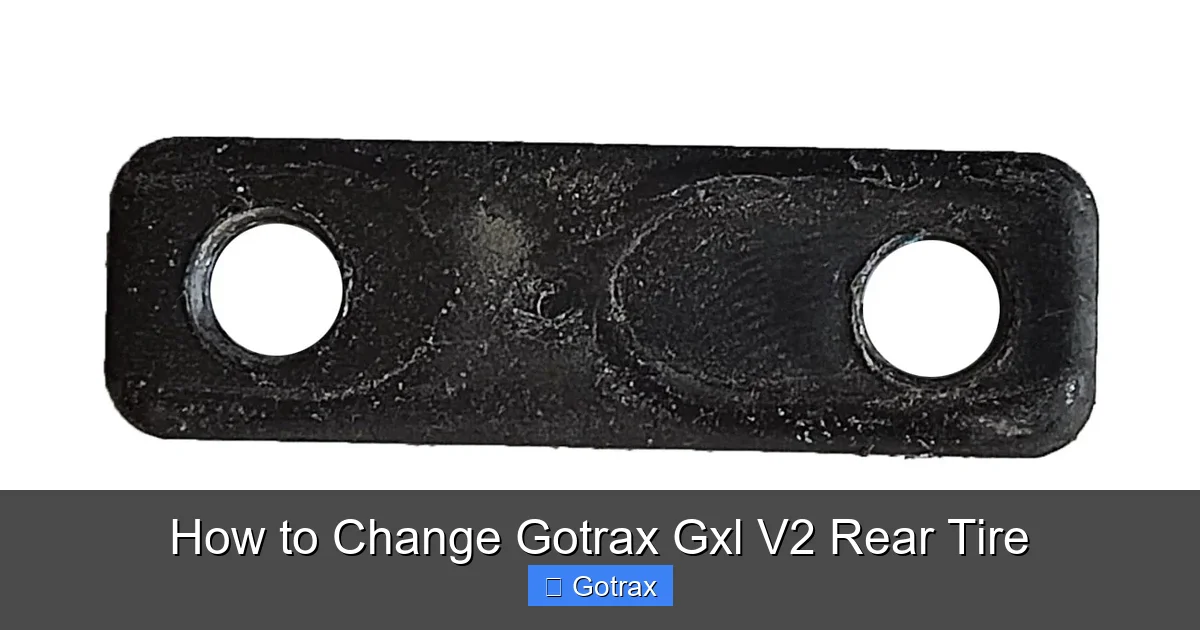
This guide walks you through how to change Gotrax GXL V2 rear tire with clear, easy-to-follow steps. You’ll save time and money by doing it yourself using basic tools and safety precautions.
Key Takeaways
- Always power off the scooter before starting any maintenance to prevent accidental activation or injury.
- Gather the right tools—socket wrench, tire levers, air pump, and replacement inner tube or tire—before you begin.
- Remove the rear wheel carefully by loosening the axle nuts and disconnecting the motor cable if needed.
- Inspect the tire and rim for damage, debris, or wear that could cause future flats.
- Use tire levers gently to avoid pinching the inner tube during installation.
- Inflate the new tire gradually and check for even seating on the rim before reassembly.
- Test ride slowly after reassembly to ensure everything is secure and functioning properly.
How to Change Gotrax GXL V2 Rear Tire
If you own a Gotrax GXL V2 electric scooter, you know how convenient and fun it is to ride. But like any vehicle with tires, flats and wear are inevitable. One of the most common maintenance tasks you’ll face is changing the rear tire—whether it’s due to a puncture, wear, or damage. The good news? You don’t need to be a mechanic to do it. With the right tools, a little patience, and this step-by-step guide, you can replace your Gotrax GXL V2 rear tire at home in under an hour.
In this comprehensive guide, we’ll walk you through everything you need to know—from safety precautions and tool preparation to removing the old tire, installing the new one, and testing your scooter. Whether you’re replacing just the inner tube or the entire tire, we’ve got you covered. By the end, you’ll feel confident handling this repair yourself, saving you time and money on professional service.
Let’s get started!
Why You Might Need to Change the Rear Tire
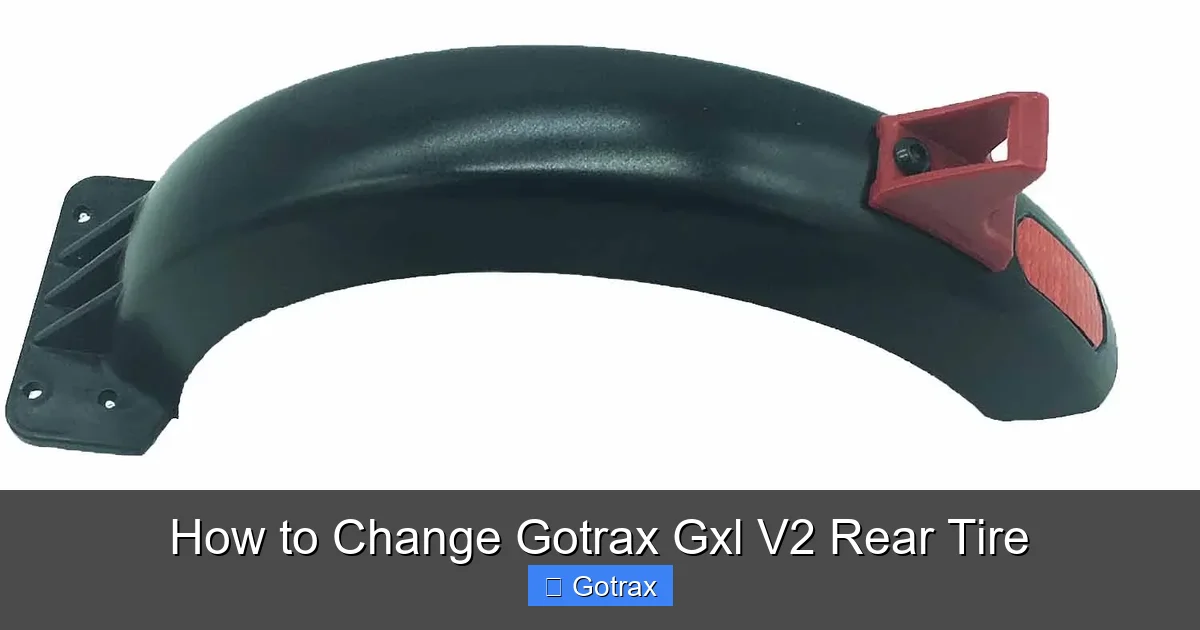
Visual guide about How to Change Gotrax Gxl V2 Rear Tire
Image source: gotrax.com
Before diving into the how-to, it’s helpful to understand why you might need to change the rear tire on your Gotrax GXL V2. The rear tire is especially prone to wear and damage because it’s connected to the motor and bears a lot of the scooter’s weight and torque. Here are the most common reasons:
– **Punctures from sharp objects** like nails, glass, or thorns.
– **Worn tread** from regular use, which reduces grip and increases the risk of slipping.
– **Cracks or dry rot** in the rubber, often caused by exposure to sunlight or extreme temperatures.
– **Bulges or deformities** in the tire sidewall, indicating internal damage.
– **Frequent flats** due to a damaged rim or valve stem.
Ignoring these signs can lead to unsafe riding conditions or even motor damage. Replacing the tire promptly ensures a smooth, safe ride and extends the life of your scooter.
Tools and Materials You’ll Need
Before you begin, make sure you have the following tools and materials ready. Having everything on hand will make the process faster and less frustrating.
Essential Tools
- Socket wrench set (10mm and 13mm sockets are most common)
- Tire levers (2–3 plastic or metal levers)
- Air pump with pressure gauge (preferably a floor pump)
- Phillips head screwdriver
- Needle-nose pliers (optional, for cable management)
- Work gloves (to protect your hands)
Replacement Parts
- New inner tube (8.5 x 2.0 size, compatible with Gotrax GXL V2)
- Or a new tire (if the outer tire is damaged)
- Valve stem cap (optional, but recommended)
Safety Gear
- Safety glasses (to protect eyes from debris)
- Work in a well-lit, flat area
Optional but Helpful
- Bike stand or scooter stand (to lift the scooter off the ground)
- Lubricant (like soapy water) to ease tire installation
- Zip ties (to secure loose cables during reassembly)
Pro tip: Always buy a high-quality inner tube from a reputable brand. Cheap tubes may fail sooner or be harder to install.
Safety First: Preparing Your Workspace
Safety is critical when working on any electric vehicle. The Gotrax GXL V2 has a battery and motor, so you must take precautions to avoid shocks, short circuits, or accidental activation.
Step 1: Power Off the Scooter
Turn off the scooter completely using the power button. Then, remove the key if your model has one. This ensures the motor won’t engage while you’re working.
Step 2: Disconnect the Battery (Optional but Recommended)
For extra safety, especially if you’re removing the rear wheel entirely, consider disconnecting the battery. On the GXL V2, the battery is located under the deck. Use a Phillips head screwdriver to remove the screws on the battery cover. Carefully disconnect the battery connector. Label the wires if needed to avoid confusion during reassembly.
Step 3: Choose a Safe Work Area
Work on a flat, stable surface like a garage floor or driveway. Avoid grass, gravel, or uneven ground. If possible, use a scooter stand or prop the scooter up with a sturdy object so the rear wheel is off the ground. This makes it easier to remove and install the tire.
Step 4: Wear Protective Gear
Put on your gloves and safety glasses. Tire beads can snap back unexpectedly, and small debris may fly during removal.
Step-by-Step: Removing the Rear Wheel
Now that you’re prepared, it’s time to remove the rear wheel. This is the most involved part of the process, but with patience, it’s totally doable.
Step 1: Loosen the Axle Nuts
The rear wheel is held in place by two axle nuts on either side. Use a 13mm socket wrench to loosen them. Turn counterclockwise. You may need to hold the other side with a wrench or use a second tool to prevent the axle from spinning.
Tip: Don’t remove the nuts completely yet—just loosen them enough so the wheel can move.
Step 2: Disconnect the Motor Cable
The rear wheel is connected to the motor via a cable that runs through the frame. Locate the motor connector near the axle. It’s usually a black or white plug with multiple wires.
Gently unplug the connector by pressing the release tab and pulling it apart. Be careful not to yank the wires. If the connector is tight, wiggle it slightly while pulling.
Note: Some users prefer to leave the cable connected and work around it. If you do this, secure the cable with a zip tie to prevent strain.
Step 3: Slide the Wheel Out
Once the axle nuts are loose and the motor cable is disconnected, gently wiggle the wheel back and forth while pulling it downward. The wheel should slide out of the dropouts (the slots in the frame).
If it’s stuck, check that the nuts are fully loosened and that no cables are snagging. Avoid forcing it—this could damage the motor or frame.
Step 4: Remove the Tire and Inner Tube
With the wheel off, place it on a clean surface. Now you’ll remove the tire to access the inner tube.
Deflate the Tube Completely
Press the valve stem to release all air. If it’s a Schrader valve (like a car tire), you may need to press the pin inside with a small tool.
Use Tire Levers to Break the Bead
Insert one tire lever under the edge of the tire and hook it to a spoke. Insert a second lever a few inches away and slide it along the rim to lift one side of the tire over the edge.
Work your way around the rim until one entire side of the tire is off.
Remove the Inner Tube
Pull the inner tube out from under the tire. Start at the valve stem and gently pull the tube free.
Inspect the tube for punctures, tears, or wear. If you’re replacing it, discard the old one.
Remove the Tire (If Replacing)
If you’re replacing the entire tire, slide the second side of the tire off the rim using the levers. Be careful not to scratch the rim.
Installing the New Inner Tube or Tire
Now it’s time to install the new inner tube—or the new tire and tube combo. This step requires care to avoid pinching the tube or damaging the tire.
Step 1: Inspect the Rim and Tire
Before installing anything, check the inside of the rim for sharp edges, debris, or damage. Run your fingers along the rim tape (the strip covering the spoke holes). If it’s loose or damaged, replace it to prevent punctures.
Also, inspect the inside of the tire for embedded objects like glass or thorns. Even a small piece can cause another flat.
Step 2: Partially Inflate the New Tube
Give the new inner tube a small puff of air—just enough to give it shape. This prevents it from getting pinched during installation.
Step 3: Insert the Tube into the Tire
Place the tube inside the tire, starting at the valve stem. Make sure the valve stem is aligned with the hole in the rim.
Gently work the tube into place, ensuring it’s not twisted or kinked.
Step 4: Mount the Tire onto the Rim
Start by placing one side of the tire onto the rim. This is usually the easier side.
Then, work the second side over the rim. Use your hands first—press down firmly and work your way around.
When it gets tight near the valve stem, use tire levers carefully. Insert one lever under the tire and hook it to a spoke. Use a second lever to slide the tire over the rim.
Avoid using metal levers aggressively—they can pinch the tube.
Tip: If the tire is very tight, use a small amount of soapy water on the bead to help it slide on.
Step 5: Check for Pinches and Seat the Tire
Before inflating, run your fingers around the inside edge of the tire to make sure the tube isn’t pinched between the tire and rim.
Also, ensure the tire is seated evenly on both sides of the rim. You should see equal amounts of tire on each side when viewed from above.
Inflating the Tire
Proper inflation is crucial for performance and safety. The Gotrax GXL V2 rear tire should be inflated to **35–40 PSI** (pounds per square inch). Check the sidewall of the tire for the exact recommended pressure.
Step 1: Attach the Pump
Use a pump with a pressure gauge. Attach it securely to the valve stem. For Schrader valves, press the pump head down and lock it in place.
Step 2: Inflate Gradually
Pump air slowly and check the pressure frequently. Stop at 30 PSI to check that the tire is seating properly. You may hear a “pop” as the bead seats—this is normal.
Continue inflating to the recommended pressure.
Step 3: Check for Leaks
Listen for hissing sounds. You can also spray soapy water around the valve stem and tire bead. Bubbles indicate a leak.
If you find a leak, deflate the tire and recheck the installation.
Step 4: Replace the Valve Cap
Screw on the valve cap to keep dirt and moisture out.
Reinstalling the Rear Wheel
With the new tire installed and inflated, it’s time to put the wheel back on the scooter.
Step 1: Align the Wheel in the Dropouts
Slide the wheel back into the frame dropouts. Make sure the axle sits securely in the slots.
Step 2: Reconnect the Motor Cable
Plug the motor connector back in. Ensure it clicks into place. Avoid forcing it—match the shape and orientation.
Step 3: Tighten the Axle Nuts
Hand-tighten the axle nuts first, then use the socket wrench to tighten them securely. Alternate between sides to ensure even pressure.
Don’t overtighten—this can damage the axle or frame. Use moderate force.
Step 4: Reconnect the Battery (If Disconnected)
If you disconnected the battery, reconnect the connector and replace the battery cover. Secure it with screws.
Step 5: Power On and Test
Turn the scooter back on. Stand back and gently press the throttle to see if the wheel spins smoothly.
Listen for unusual noises or vibrations. If everything sounds good, proceed to a test ride.
Troubleshooting Common Issues
Even with careful work, you might run into problems. Here’s how to handle the most common issues.
Issue: Tire Won’t Inflate or Keeps Losing Air
– Check for punctures in the tube or tire.
– Ensure the valve stem is tight and not damaged.
– Verify the rim tape is intact and covering spoke holes.
Issue: Wheel Wobbles or Doesn’t Spin Freely
– Make sure the axle nuts are tightened evenly.
– Check that the wheel is seated properly in the dropouts.
– Inspect the motor for damage or misalignment.
Issue: Motor Doesn’t Engage After Reassembly
– Double-check the motor cable connection.
– Ensure the battery is reconnected and charged.
– Try resetting the scooter by turning it off and on.
Issue: Tire Rubs Against the Fender or Frame
– Loosen the axle nuts and adjust the wheel position.
– Ensure the tire is inflated to the correct pressure—underinflation can cause bulging.
Maintenance Tips to Prevent Future Flats
Now that your tire is changed, keep it in good shape with these tips:
– **Check tire pressure weekly.** Underinflated tires are more prone to pinch flats.
– **Avoid rough terrain.** Potholes, curbs, and debris increase the risk of damage.
– **Inspect tires regularly.** Look for cuts, cracks, or embedded objects.
– **Use tire sealant.** Some riders add sealant to the inner tube for extra protection.
– **Store indoors.** UV rays and extreme temperatures degrade rubber over time.
Conclusion
Changing the rear tire on your Gotrax GXL V2 might seem daunting at first, but it’s a manageable task with the right approach. By following this guide, you’ve learned how to safely remove the wheel, replace the inner tube or tire, and reinstall everything correctly. Not only does this save you money on repairs, but it also gives you greater control over your scooter’s maintenance.
Remember: safety comes first. Always power off the scooter, use the right tools, and take your time. With practice, you’ll be able to handle this repair in under 30 minutes.
Keep your tires in good condition, and your Gotrax GXL V2 will keep delivering smooth, reliable rides for miles to come.