
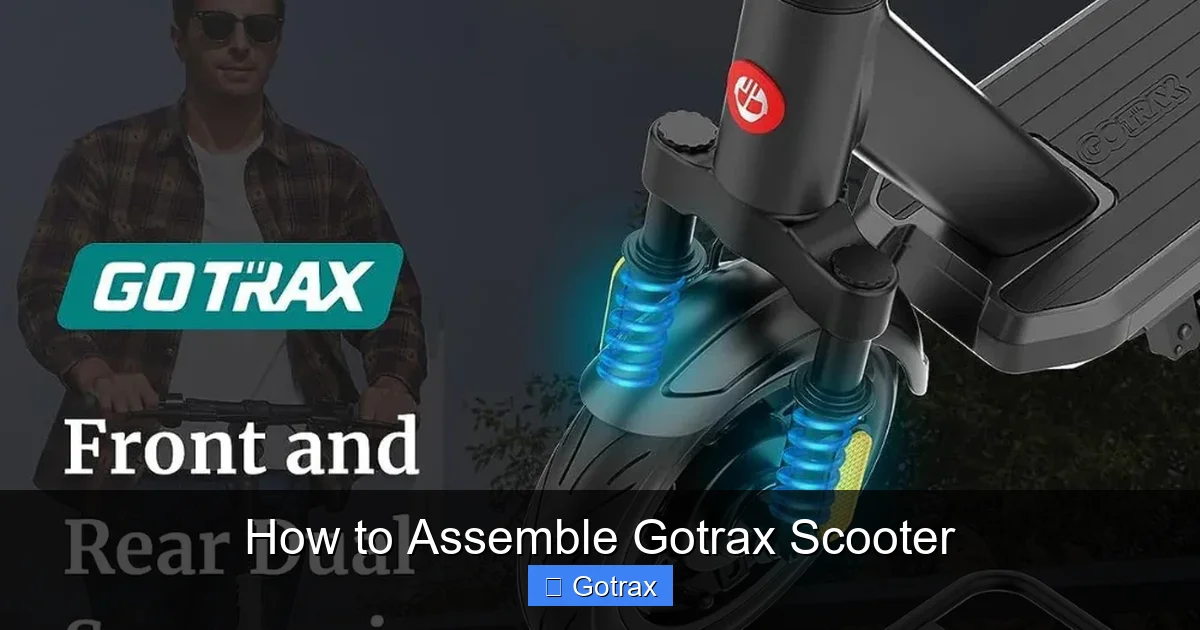
This guide walks you through how to assemble a Gotrax scooter in simple, easy-to-follow steps. Whether you’re a first-time rider or upgrading your ride, you’ll learn how to safely set up your scooter, test its functions, and troubleshoot common issues.
Key Takeaways
- Unbox carefully: Remove all parts gently and check for damage or missing components before starting assembly.
- Follow the manual: Always refer to the official Gotrax user manual for model-specific instructions and safety warnings.
- Use the right tools: Most Gotrax scooters require only an Allen wrench (usually included) and your hands—no extra tools needed.
- Tighten securely: Ensure all bolts and screws are properly tightened to prevent wobbling or instability during rides.
- Charge before first use: Fully charge the battery before your first ride to maximize performance and battery life.
- Test before riding: Always do a safety check—brakes, throttle, lights, and tires—before hitting the road.
- Store and maintain: Keep your scooter clean, dry, and stored in a cool place to extend its lifespan.
How to Assemble Gotrax Scooter: A Complete Step-by-Step Guide
So, you’ve just unboxed your brand-new Gotrax scooter—congratulations! Whether it’s the popular Gotrax GXL, the compact Gotrax XR, or the powerful Gotrax G4, assembling your electric scooter is easier than you might think. In this comprehensive guide, we’ll walk you through how to assemble a Gotrax scooter safely and efficiently, from unboxing to your first test ride.
No need to panic if you’re not mechanically inclined. Gotrax designs its scooters for quick and user-friendly setup. Most models take less than 15 minutes to assemble, and you won’t need any fancy tools. With a little patience and attention to detail, you’ll be cruising around in no time.
This guide covers the general assembly process for most Gotrax models. While specific steps may vary slightly depending on your scooter (like the Gotrax G2 vs. G4), the core principles remain the same. We’ll also include practical tips, safety reminders, and troubleshooting advice to ensure your scooter is ready for smooth, safe rides.
Let’s get started!
What’s in the Box?
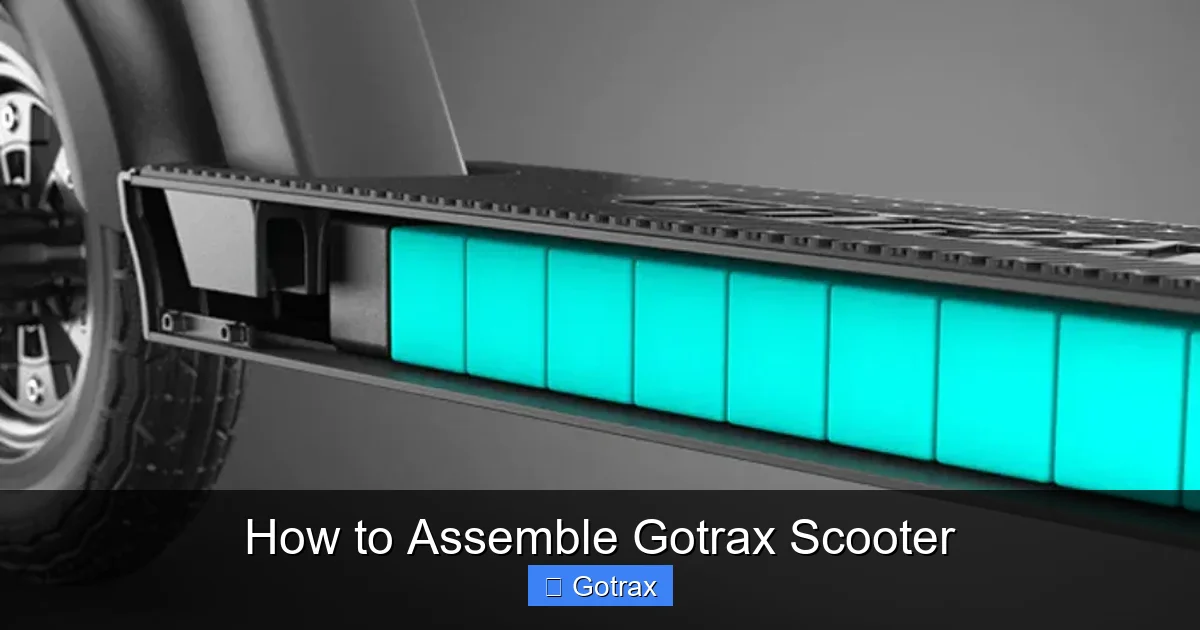
Visual guide about How to Assemble Gotrax Scooter
Image source: gotrax.ca
Before you begin assembling your Gotrax scooter, it’s important to verify that all parts are present and undamaged. Open the box carefully and lay out the components on a clean, flat surface.
Here’s what you should typically find inside:
- Scooter body (folded) – This is the main frame, including the deck, handlebars, and wheels.
- Handlebar stem – Usually detached and needs to be attached to the front fork.
- Allen wrench (hex key) – Used for tightening bolts; often included in a small pouch.
- Charging cable – For recharging the lithium-ion battery.
- User manual and safety guide – Always keep this handy for reference.
- Safety leaflet and warranty card – Important for registration and support.
Some models may also include:
- Reflective stickers
- Spare fuses (if applicable)
- Phone mount (on select models like the Gotrax G4)
Pro Tip: Take a photo of the unboxed contents before you start. This can help if you need to contact customer support about missing parts.
Step 1: Unfold the Scooter
Most Gotrax scooters arrive folded to save space during shipping. The first step is to unfold the scooter and prepare it for assembly.
Locate the folding mechanism
On the deck near the front wheel, you’ll find a folding latch or lever. This is usually a red or black handle that locks the scooter in the folded position.
Release the latch
Pull or lift the latch to unlock the scooter. You should feel it release with a slight click. Be gentle—don’t force it.
Lift the handlebar stem
Once unlocked, slowly lift the handlebar stem upward until it’s fully extended and perpendicular to the deck. You’ll hear or feel a second click as the stem locks into place.
Safety Note: Never ride the scooter if the stem isn’t fully locked. A loose stem can cause loss of control.
Secure the stem lock
After lifting, double-check that the stem is securely locked. Some models have a secondary locking pin or clamp. Make sure it’s engaged.
Example: On the Gotrax GXL, the stem locks automatically when raised. On the Gotrax XR, you may need to tighten a clamp using the included Allen wrench.
Step 2: Attach the Handlebars (If Detached)
On some models, especially the Gotrax G4 or G2, the handlebars may be shipped separately from the stem. If yours are detached, follow these steps:
Align the handlebars
Slide the handlebars into the top of the stem. The grip ends should face outward, and the brake levers should be on the correct sides (left for rear brake, right for front brake on most models).
Insert and tighten the bolts
Use the included Allen wrench to insert the bolts into the pre-drilled holes on the stem. Tighten them evenly in a crisscross pattern (like tightening lug nuts on a car wheel). This ensures even pressure and prevents warping.
Tip: Don’t overtighten. Snug is enough. Over-tightening can strip the threads or crack the stem.
Check alignment
Make sure the handlebars are straight and parallel to the front wheel. If they’re crooked, loosen the bolts slightly, adjust, and retighten.
Step 3: Inflate the Tires (If Necessary)
Gotrax scooters typically come with pneumatic (air-filled) tires. However, they may lose air during shipping.
Check tire pressure
Use a tire pressure gauge to check the PSI. Most Gotrax models recommend 40–50 PSI, but check your manual for exact specs.
Inflate using a pump
Use a standard bike pump or electric pump with a Presta or Schrader valve adapter. Most Gotrax tires use Schrader valves (same as car tires).
Warning: Do not exceed the recommended PSI. Overinflated tires can burst or reduce traction.
Test the tires
Press down on the tire gently. It should feel firm but slightly flexible. If it feels too soft, add more air.
Step 4: Charge the Battery
Before your first ride, it’s essential to fully charge the battery. This ensures optimal performance and helps calibrate the battery management system.
Locate the charging port
The charging port is usually on the side or rear of the deck, near the rear wheel. It’s covered by a rubber flap to protect against dust and water.
Connect the charger
Plug the charger into the port and then into a wall outlet. The LED light on the charger will turn red while charging and green when fully charged.
Charging time: Typically 4–6 hours, depending on the model and battery capacity.
Do not overcharge
Once the light turns green, unplug the charger. While modern Gotrax scooters have overcharge protection, it’s still best practice to avoid leaving it plugged in overnight.
Pro Tip: Charge your scooter in a dry, cool area away from flammable materials.
Step 5: Test the Electronics
Now that your scooter is assembled and charged, it’s time to test the electronic components.
Power on the scooter
Press and hold the power button (usually on the handlebar or deck) for 2–3 seconds. The display should light up, showing battery level, speed mode, and other indicators.
Check the display
Make sure all icons are functioning. Look for:
- Battery indicator
- Speed mode (Eco, Normal, Sport)
- Brake light activation
- Headlight and taillight (if equipped)
Test the throttle
Gently twist or press the throttle (depending on your model). The motor should engage smoothly. If it jerks or doesn’t respond, check the connection or consult the manual.
Test the brakes
Squeeze both brake levers. The motor should cut off immediately, and the brake light (if present) should activate. Listen for any unusual sounds.
Safety Reminder: Never test the throttle while the scooter is on its stand or lifted off the ground.
Step 6: Adjust the Handlebar Height (If Applicable)
Some Gotrax models, like the Gotrax G4, allow you to adjust the handlebar height for comfort.
Loosen the clamp
Use the Allen wrench to loosen the height adjustment clamp on the stem.
Set your preferred height
Slide the handlebars up or down to a comfortable position. Your arms should be slightly bent when gripping the handlebars.
Retighten securely
Once adjusted, tighten the clamp firmly. Test by pulling up and down on the handlebars—there should be no movement.
Step 7: Perform a Safety Check
Before your first ride, conduct a thorough safety inspection.
Check all bolts and screws
Go over every bolt, especially those on the stem, handlebars, and wheels. Tighten any that feel loose.
Inspect the deck and frame
Look for cracks, dents, or loose parts. Ensure the deck is clean and dry.
Test the folding mechanism
Fold and unfold the scooter once to ensure it operates smoothly and locks securely.
Verify lights and reflectors
Turn on the headlight and taillight. Make sure they’re bright and functioning. Check that reflectors are clean and undamaged.
Check the kickstand
Deploy and retract the kickstand. It should hold the scooter upright without wobbling.
Troubleshooting Common Assembly Issues
Even with careful assembly, you might run into a few hiccups. Here’s how to fix the most common problems.
Handlebar won’t lock in place
- Make sure the stem is fully extended.
- Check for debris in the locking mechanism.
- Lubricate the latch with a small amount of silicone spray if stiff.
Throttle not responding
- Ensure the scooter is powered on.
- Check the battery level—low charge can limit throttle response.
- Inspect the throttle cable for damage or loose connections.
Brake levers feel loose or unresponsive
- Tighten the brake cable using the barrel adjuster near the lever.
- Check brake pads for wear or misalignment.
- Ensure the motor cutoff switch is engaged when brakes are applied.
Scooter wobbles or feels unstable
- Check tire pressure—underinflated tires cause instability.
- Ensure all bolts are tightened, especially on the front fork and stem.
- Verify the wheels are properly seated and not bent.
Battery not charging
- Confirm the charger is plugged in correctly.
- Check the charging port for dirt or damage.
- Try a different outlet or charger if available.
- Contact Gotrax support if the issue persists.
First Ride Tips
Now that your Gotrax scooter is fully assembled and tested, it’s time for your first ride! Follow these tips for a safe and enjoyable experience.
Start slow
Begin in a safe, open area like a parking lot or quiet street. Start in Eco mode to limit speed and get a feel for the controls.
Wear safety gear
Always wear a helmet, and consider knee and elbow pads, especially if you’re new to scooters.
Practice braking
Test your brakes at low speed. Learn how much pressure is needed to stop smoothly.
Stay aware of your surroundings
Watch for pedestrians, potholes, and traffic. Avoid wet or uneven surfaces.
Follow local laws
Check your city’s regulations regarding electric scooters. Some areas require helmets, lights, or restrict where you can ride.
Maintenance and Care
To keep your Gotrax scooter in top condition, regular maintenance is key.
Clean regularly
Wipe down the deck and frame with a damp cloth. Avoid spraying water directly into electrical components.
Lubricate moving parts
Apply a small amount of lubricant to the folding mechanism and brake pivots every few months.
Check tire pressure monthly
Air leaks over time, so regular checks help maintain performance and safety.
Store properly
Keep your scooter in a dry, cool place. Avoid extreme temperatures, which can damage the battery.
Update firmware (if applicable)
Some newer models support firmware updates via the Gotrax app. Check for updates periodically.
Conclusion
Assembling your Gotrax scooter is a straightforward process that anyone can master with a little patience and attention to detail. From unboxing and unfolding to charging and testing, each step ensures your scooter is safe, functional, and ready for adventure.
By following this guide on how to assemble a Gotrax scooter, you’ve not only saved time and avoided frustration—you’ve also learned how to maintain and troubleshoot your ride for long-term enjoyment.
Remember, safety comes first. Always wear a helmet, follow traffic rules, and perform regular checks. With proper care, your Gotrax scooter will deliver reliable, eco-friendly transportation for years to come.
Now, go enjoy the ride!