
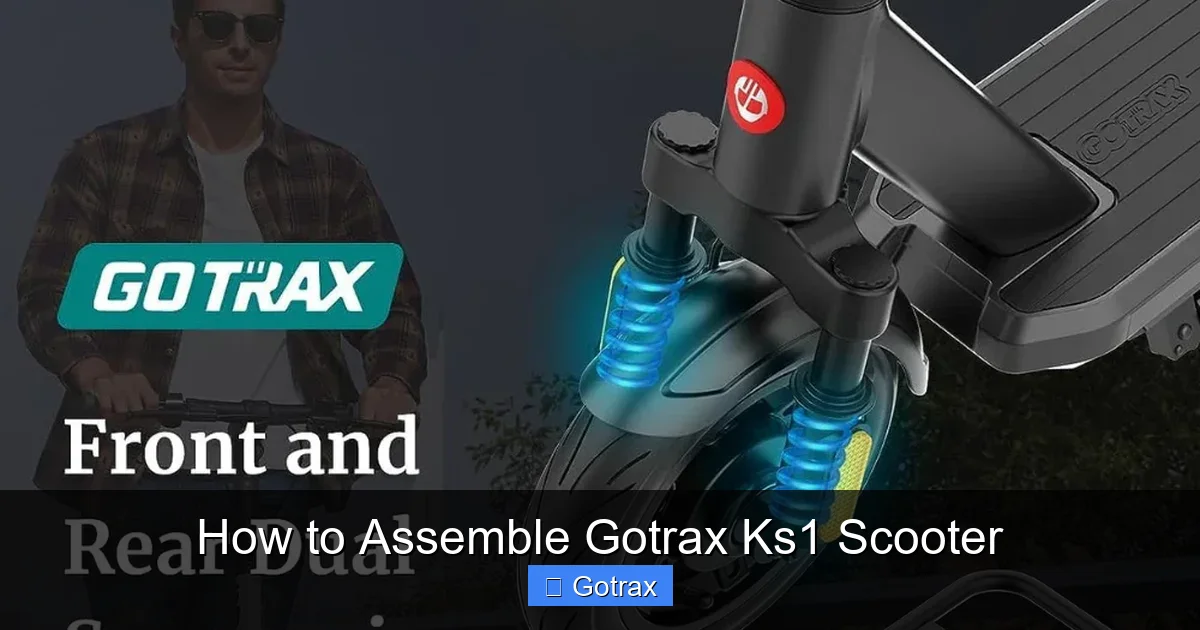
This guide walks you through assembling the Gotrax KS1 scooter from unboxing to first ride. You’ll learn each step clearly, with helpful tips and common mistakes to avoid.
Key Takeaways
- Unbox carefully: Remove all parts gently and check for damage before starting assembly.
- Use the right tools: A hex key (included) and adjustable wrench are essential for tightening bolts securely.
- Attach the handlebar first: Align it properly with the front fork to ensure smooth steering.
- Tighten all bolts gradually: Avoid over-tightening, which can strip threads or damage components.
- Check tire pressure: Inflate the front tire to 40–50 PSI for optimal performance and safety.
- Test before riding: Ensure brakes, throttle, and folding mechanism work correctly.
- Charge the battery fully: First-time use requires a complete charge for best range and performance.
How to Assemble Gotrax KS1 Scooter: A Complete Step-by-Step Guide
So, you’ve just unboxed your brand-new Gotrax KS1 electric scooter—congratulations! Whether you’re a first-time e-scooter owner or upgrading from an older model, assembling the Gotrax KS1 is quick, straightforward, and designed for beginners. In this comprehensive guide, we’ll walk you through every step of the assembly process, from unboxing to your first smooth glide down the sidewalk.
You’ll learn exactly what tools you need, how to attach each component safely, and how to avoid common pitfalls that could lead to frustration or safety issues. We’ll also share practical tips to ensure your scooter performs at its best right out of the box. By the end of this guide, you’ll not only have a fully assembled Gotrax KS1 but also the confidence to maintain and enjoy it for miles to come.
Let’s get started!
What’s in the Box?
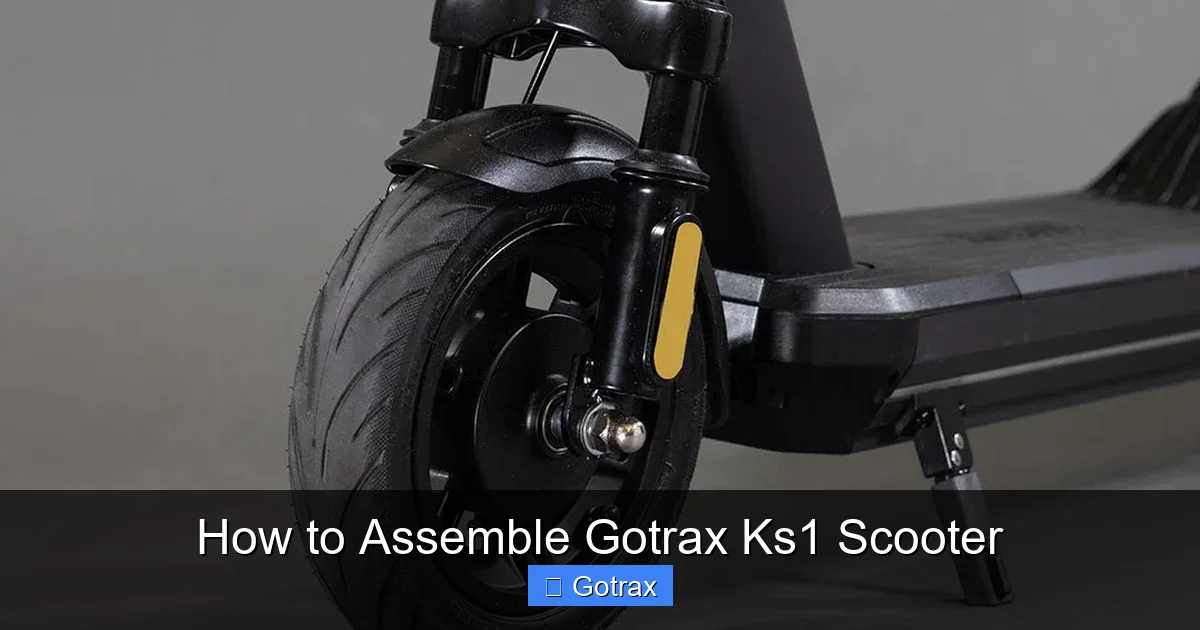
Visual guide about How to Assemble Gotrax Ks1 Scooter
Image source: gotrax.com
Before you begin assembling your Gotrax KS1, it’s important to verify that all parts are present and undamaged. The KS1 comes mostly pre-assembled, which means you’ll only need to attach a few key components. Here’s what you should find inside the box:
- Main scooter body (deck, motor, rear wheel, and battery installed)
- Handlebar assembly (includes grips, brake lever, throttle, and display)
- Front wheel (pre-inflated or partially inflated)
- Front fork (attached to the deck but may need alignment)
- Hex key (Allen wrench) – usually 4mm or 5mm
- Adjustable wrench or spanner (sometimes included; if not, you’ll need your own)
- User manual and quick start guide
- Safety leaflet and warranty information
Take a moment to lay everything out on a clean, flat surface—like a garage floor or large table. This will help you keep track of parts and avoid losing small components like bolts or washers.
Pro tip: Keep the original box and packaging until you’ve fully tested the scooter. If anything is missing or damaged, you’ll want to contact Gotrax customer support right away.
Tools You’ll Need
The Gotrax KS1 is designed for easy assembly, and most of the tools you need are included. However, having a few extras on hand can make the process even smoother.
Here’s what you’ll need:
- Hex key (Allen wrench) – usually 4mm or 5mm (included in the box)
- Adjustable wrench or spanner – for tightening nuts on the front wheel and handlebar
- Bike pump with pressure gauge – to check and adjust tire pressure
- Clean cloth – for wiping down parts and removing dust
- Small container or tray – to hold bolts and washers so they don’t get lost
If you don’t have an adjustable wrench, a standard wrench that fits 10mm or 12mm nuts will work. Most hardware stores carry affordable options, or you may already have one in your toolbox.
Step 1: Unbox and Inspect the Scooter
The first step in assembling your Gotrax KS1 is to carefully remove it from the packaging. The scooter is typically secured with foam inserts, zip ties, and plastic straps, so take your time to avoid scratching the deck or damaging components.
Remove the Scooter from the Box
Gently lift the scooter out of the box, supporting it by the deck and rear wheel. Avoid pulling on the handlebar or front fork, as these are not yet secured and could bend or break.
Check for Damage
Inspect the entire scooter for any signs of damage during shipping:
- Look for cracks in the deck or plastic covers
- Check the wheels for dents or flat spots
- Ensure the battery compartment is intact and the charging port is clean
- Verify that the display screen on the handlebar is not cracked
If you notice any damage, take clear photos and contact Gotrax customer service immediately. They typically respond quickly and may offer a replacement part or full refund.
Remove Protective Materials
The scooter will have protective foam around the handlebar, front fork, and deck. Carefully remove all foam, zip ties, and plastic wrap. Some parts may be taped down—use a plastic scraper or your fingers to avoid scratching the paint.
Step 2: Attach the Handlebar
The handlebar is the most important part to assemble correctly, as it controls steering, braking, and acceleration. The Gotrax KS1 features a folding handlebar design, which means it’s already connected to the front fork but needs to be locked into the upright position.
Unfold the Handlebar
Locate the folding mechanism near the base of the handlebar, just above the front fork. You’ll see a quick-release lever or a bolt that secures the handlebar in the folded position.
- If it’s a lever: Flip it open to release the handlebar.
- If it’s a bolt: Use the hex key to loosen it slightly, then lift the handlebar up.
Slowly lift the handlebar until it’s fully extended and aligned with the front fork. You should hear a click or feel it lock into place.
Secure the Handlebar
Once the handlebar is upright, you’ll need to tighten the locking mechanism to prevent it from folding during use.
- If using a quick-release lever: Close it firmly until it’s snug. Don’t over-tighten, as this can damage the mechanism.
- If using a bolt: Use the hex key to tighten it securely. Apply steady pressure, but avoid forcing it.
Pro tip: Test the handlebar by gently pushing it side to side. It should feel solid and not wobble. If there’s movement, tighten the bolt or lever a bit more.
Align the Handlebar
Make sure the handlebar is centered with the front wheel. Stand in front of the scooter and look down the length of the deck. The handlebar should be straight and parallel to the ground.
If it’s crooked, loosen the bolt slightly, adjust the alignment, and retighten.
Step 3: Install the Front Wheel
The front wheel is usually pre-attached to the fork but may need to be secured or aligned. On some models, the wheel is shipped separately and must be installed.
Check Wheel Attachment
Look at the front fork. You should see the wheel mounted between the two fork legs, held in place by a axle bolt and nut.
If the wheel is loose or missing, follow these steps:
Insert the Wheel into the Fork
- Slide the wheel into the fork dropouts (the open slots at the bottom of the fork legs).
- Ensure the tire is centered between the fork legs.
- Insert the axle bolt through one side of the fork, through the wheel hub, and out the other side.
Tighten the Axle Nut
Use the adjustable wrench to tighten the nut on the opposite side of the bolt. Hold the bolt head steady with the hex key while tightening the nut to prevent it from spinning.
Tighten until the wheel spins freely but doesn’t wobble side to side. A slight wobble is normal, but excessive movement means the nut isn’t tight enough.
Pro tip: Spin the wheel after tightening. It should rotate smoothly without rubbing against the fork or brake pads.
Step 4: Adjust the Brakes
The Gotrax KS1 uses a rear foot brake and a front disc brake (or electronic brake, depending on the model). After assembly, it’s crucial to test and adjust the brakes for safety.
Test the Rear Foot Brake
The rear brake is activated by pressing down on the fender with your foot. Stand behind the scooter and press the brake firmly. It should engage smoothly and stop the rear wheel from spinning.
If the brake feels loose or doesn’t stop the wheel, the fender may need adjustment. Most models have a small bolt under the fender that can be tightened to increase brake pressure.
Test the Front Brake
Squeeze the brake lever on the left handlebar. The front brake should engage immediately and stop the front wheel.
If the lever feels spongy or the brake doesn’t engage, the brake cable may need tension adjustment. This is usually done via a barrel adjuster near the lever or at the brake caliper.
Turn the barrel adjuster counterclockwise to increase tension. Test after each adjustment until the brake responds firmly.
Check Brake Pad Alignment
Look at the front brake caliper. The brake pads should be evenly spaced on either side of the rotor (the metal disc attached to the wheel).
If one pad is rubbing against the rotor, loosen the caliper bolts slightly, center the caliper, and retighten.
Step 5: Inflate the Tires
Proper tire pressure is essential for safety, comfort, and battery efficiency. The Gotrax KS1 has a pneumatic (air-filled) front tire and a solid rubber rear tire.
Check Front Tire Pressure
Use a bike pump with a pressure gauge to check the front tire. The recommended pressure is typically 40–50 PSI (pounds per square inch), but check the sidewall of the tire for the exact range.
If the tire is underinflated, add air in small increments. Overinflating can cause a bumpy ride or even a blowout.
Inspect the Rear Tire
The rear tire is solid rubber and doesn’t require inflation. However, check for cracks, cuts, or signs of wear. If damaged, contact Gotrax for a replacement.
Step 6: Charge the Battery
Before your first ride, the battery must be fully charged. The Gotrax KS1 uses a lithium-ion battery that typically takes 4–6 hours to charge from empty.
Locate the Charging Port
The charging port is usually on the side of the deck, near the rear wheel. It’s covered by a rubber flap to protect against dust and water.
Connect the Charger
Plug the charger into a standard wall outlet, then connect the other end to the scooter’s charging port. The LED light on the charger will turn red while charging and green when complete.
Charge Fully Before First Use
Even if the battery shows some charge, it’s best to charge it to 100% before riding. This helps calibrate the battery meter and ensures maximum range.
Pro tip: Avoid charging the scooter in extreme temperatures (below 32°F or above 104°F), as this can damage the battery.
Step 7: Test the Scooter
Now that your Gotrax KS1 is assembled, it’s time for a safety check and test ride.
Power On the Scooter
Press and hold the power button on the handlebar display for 2–3 seconds. The screen should light up, showing battery level, speed mode, and other indicators.
Test the Throttle
Stand next to the scooter and gently twist the throttle on the right handlebar. The motor should engage smoothly. Release the throttle, and the scooter should coast to a stop.
Test the Display and Lights
Check that the display shows accurate information and that the front and rear lights turn on (if equipped). Some models have a headlight button on the handlebar.
Perform a Short Test Ride
Find a safe, flat area like a driveway or empty parking lot. Wear a helmet and protective gear.
- Stand on the deck with one foot, then push off with the other.
- Once moving, gently twist the throttle to accelerate.
- Test the brakes at low speed.
- Practice turning and stopping.
If everything feels smooth and responsive, you’re ready to ride!
Troubleshooting Common Assembly Issues
Even with careful assembly, you might run into a few issues. Here are solutions to common problems:
Handlebar Wobbles or Feels Loose
This is usually caused by an improperly tightened bolt or quick-release lever. Recheck the handlebar clamp and tighten it securely. If the problem persists, inspect the stem for cracks or damage.
Front Wheel Doesn’t Spin Freely
The axle nut may be too tight, causing friction. Loosen it slightly until the wheel spins smoothly without wobbling.
Brake Lever Feels Spongy
Adjust the barrel adjuster on the brake cable. If that doesn’t work, the brake pads may be worn or misaligned.
Scooter Won’t Power On
Check that the battery is charged and the power button is pressed firmly. Also, ensure the safety key (if equipped) is inserted.
Throttle Doesn’t Respond
Make sure the scooter is in the correct mode (some models have a walk mode that limits speed). Also, check for loose wiring under the deck.
Safety Tips for New Riders
Now that your Gotrax KS1 is ready, keep these safety tips in mind:
- Always wear a helmet and protective gear.
- Start in a safe, traffic-free area.
- Follow local laws regarding e-scooter use.
- Avoid wet or slippery surfaces.
- Regularly check tire pressure, brakes, and bolts.
- Charge the battery after each use.
Conclusion
Assembling your Gotrax KS1 scooter is a simple process that takes less than 30 minutes with the right tools and guidance. By following this step-by-step guide, you’ve ensured that your scooter is safe, properly aligned, and ready for countless rides.
Remember to charge the battery fully, test all functions, and perform regular maintenance to keep your KS1 in top condition. Whether you’re commuting to work, exploring your neighborhood, or just having fun, your Gotrax KS1 is built for reliability and performance.
Now, go enjoy the ride—you’ve earned it!