
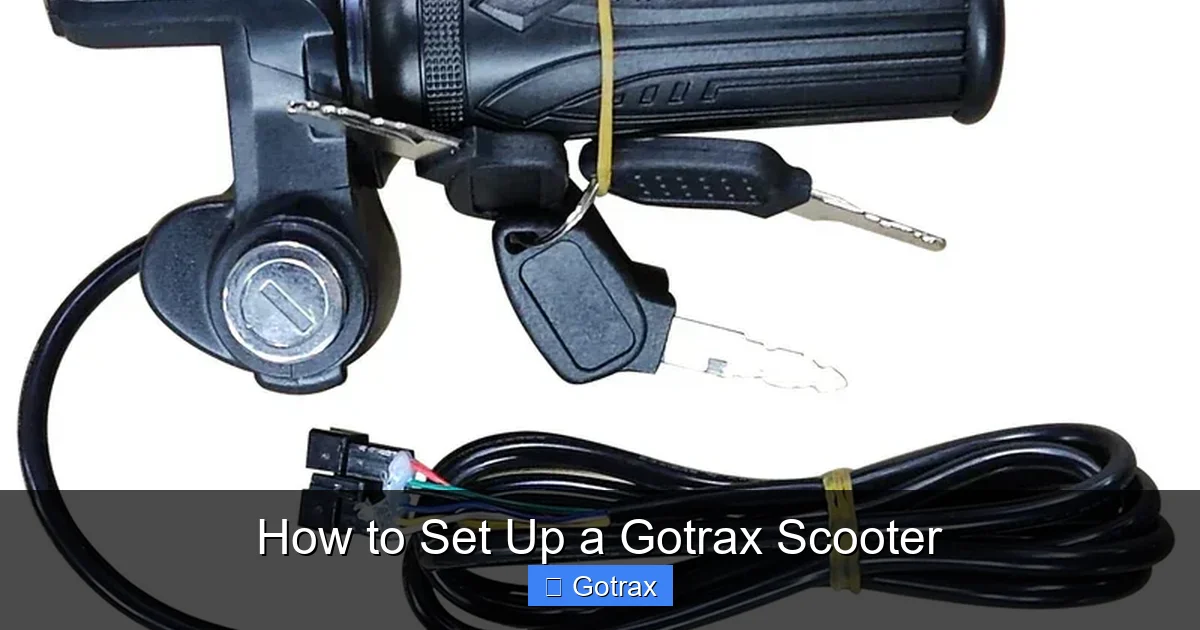
Setting up your Gotrax scooter is quick and simple when you follow the right steps. This guide walks you through unboxing, charging, assembly, safety checks, and first-time riding tips to get you moving confidently and safely.
Key Takeaways
- Unbox carefully: Remove all parts gently and check for damage or missing components before starting assembly.
- Charge the battery fully: A complete charge ensures optimal performance and extends battery life—don’t skip this step.
- Assemble the handlebar correctly: Tighten bolts securely to prevent wobbling or accidents during rides.
- Perform a safety inspection: Check tires, brakes, lights, and throttle before your first ride to ensure everything works properly.
- Wear safety gear: Always use a helmet, knee pads, and elbow pads—especially for beginners or younger riders.
- Test ride in a safe area: Practice in a quiet, flat space like a driveway or empty parking lot before hitting busy streets.
- Register your scooter: Some regions require registration or have local laws—check your city’s rules to stay compliant.
How to Set Up a Gotrax Scooter: A Complete Step-by-Step Guide
Congratulations on your new Gotrax scooter! Whether you’re commuting to work, cruising around campus, or just enjoying a weekend ride, your Gotrax is designed for fun, efficiency, and reliability. But before you hit the road, it’s essential to set it up correctly. A proper setup ensures safety, maximizes performance, and helps you get the most out of your scooter.
In this guide, we’ll walk you through every step—from unboxing to your first ride. You’ll learn how to assemble your scooter, charge the battery, perform safety checks, and follow best practices for riding. We’ll also share troubleshooting tips and answer common questions so you can ride with confidence.
Let’s get started!
Step 1: Unbox Your Gotrax Scooter
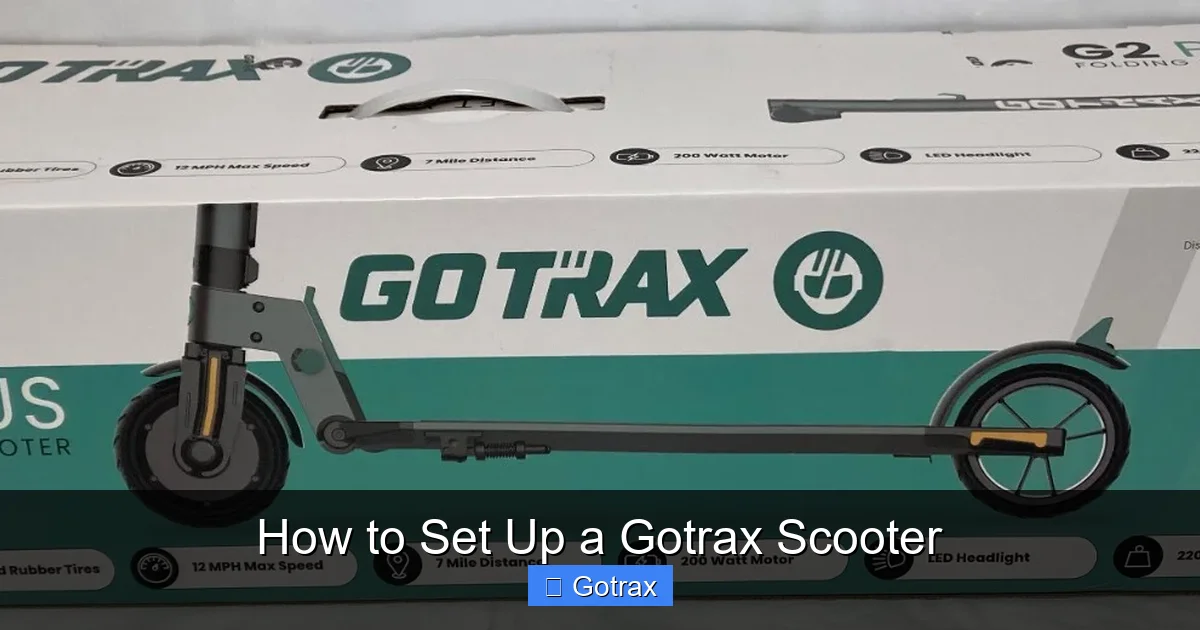
Visual guide about How to Set Up a Gotrax Scooter
Image source: i.ebayimg.com
The first step in setting up your Gotrax scooter is carefully unboxing it. Your scooter will arrive in a sturdy cardboard box with protective foam and plastic wrap to keep everything secure during shipping.
What’s Inside the Box?
When you open the box, you should find the following items:
- The scooter frame (folded)
- Handlebar assembly
- Charger and power adapter
- User manual and warranty card
- Tool kit (usually includes a hex wrench or Allen key)
- Optional: Phone mount, bell, or other accessories (depending on model)
Unboxing Tips
- Lay the box on a flat surface and open it gently. Avoid using sharp objects that could damage the scooter.
- Remove all packaging materials, including foam inserts and zip ties.
- Inspect each part for visible damage—scratches, dents, or loose components. If anything looks wrong, contact Gotrax customer support immediately.
- Keep all packaging and accessories in case you need to return or exchange the scooter.
Step 2: Charge the Battery Before First Use
One of the most important steps in setting up your Gotrax scooter is charging the battery. Even if the scooter shows some charge, it’s best to give it a full charge before your first ride.
Why Charging Matters
Gotrax scooters use lithium-ion batteries, which perform best when charged properly. A full charge ensures:
- Maximum range (typically 10–15 miles, depending on model)
- Consistent power delivery
- Longer battery lifespan
How to Charge Your Scooter
- Locate the charging port on the scooter—usually on the deck near the rear wheel.
- Plug the charger into a standard wall outlet.
- Connect the charger to the scooter’s charging port. You’ll hear a click when it’s secure.
- The LED light on the charger will turn red while charging and green when fully charged.
- Allow 3–5 hours for a full charge, depending on the model.
Charging Tips
- Never charge your scooter overnight or unattended for long periods.
- Avoid charging in extreme temperatures (below 32°F or above 104°F).
- Use only the charger provided by Gotrax—third-party chargers can damage the battery.
- Unplug the charger once the light turns green to prevent overcharging.
Step 3: Assemble the Handlebar
Most Gotrax scooters come with the handlebar detached to save space during shipping. Assembling it is quick and straightforward.
Step-by-Step Assembly
- Unfold the scooter by pulling the stem upward until it locks into place. You’ll hear a click.
- Remove the handlebar from the packaging and align it with the stem.
- Insert the handlebar into the stem so the controls face forward.
- Use the included hex wrench to tighten the bolts on the handlebar clamp. Tighten evenly on both sides to avoid misalignment.
- Ensure the handlebar is straight and secure. Give it a gentle shake—there should be no wobbling.
Handlebar Alignment Tips
- If the handlebar feels loose, double-check the bolts and tighten them further.
- Make sure the brake lever and throttle are on the correct sides (brake on left, throttle on right for most models).
- Adjust the height if your model allows it—some Gotrax scooters have adjustable stems.
Step 4: Check Tire Pressure and Inflate if Needed
Gotrax scooters typically come with pneumatic (air-filled) tires, which need proper inflation for a smooth ride.
How to Check Tire Pressure
- Locate the valve stem on each tire—usually a small metal cap on the side.
- Remove the cap and press a tire pressure gauge onto the valve.
- Check the reading. Most Gotrax scooters recommend 40–50 PSI (pounds per square inch).
- If the pressure is low, use a hand pump or electric pump to inflate the tire.
Tire Inflation Tips
- Use a pump with a pressure gauge to avoid overinflation.
- Overinflated tires can burst; underinflated tires reduce range and make riding harder.
- Check tire pressure weekly, especially in cold weather when air contracts.
Step 5: Test the Brakes and Throttle
Before riding, it’s crucial to test the brakes and throttle to ensure they’re working properly.
Testing the Brakes
- Sit on the scooter or hold it steady.
- Squeeze the brake lever on the left handlebar.
- The rear brake light should activate, and the wheel should stop or slow significantly.
- Release the brake and ensure the wheel spins freely.
Testing the Throttle
- Turn on the scooter by pressing the power button (usually on the handlebar).
- Twist the throttle on the right handlebar gently.
- The motor should engage, and the scooter should begin to move forward.
- Release the throttle—the scooter should slow down smoothly.
Safety Reminder
Never test the throttle at full speed indoors or on uneven ground. Always test in a safe, open area.
Step 6: Turn On the Scooter and Check the Display
Gotrax scooters come with a digital display that shows speed, battery level, and riding mode.
How to Power On
- Press and hold the power button for 2–3 seconds.
- The display will light up, showing the battery level and current mode.
- Some models have multiple speed modes (Eco, Normal, Sport)—use the mode button to switch between them.
Understanding the Display
- Battery icon: Shows remaining charge (usually in bars or percentage).
- Speedometer: Displays current speed in mph or km/h.
- Mode indicator: Shows which riding mode is active.
- Light icon: Indicates if the headlight is on (if your model has one).
Display Tips
- If the display doesn’t turn on, check the battery charge and power connection.
- Keep the display clean and dry to prevent damage.
- Use the headlight at night or in low-light conditions for visibility.
Step 7: Perform a Full Safety Inspection
Before your first ride, conduct a thorough safety check to ensure everything is in working order.
Safety Checklist
- Frame and stem: No cracks, bends, or loose parts.
- Handlebar: Secure and aligned.
- Tires: Properly inflated and free of cuts or punctures.
- Brakes: Responsive and not sticking.
- Throttle: Smooth and returns to neutral when released.
- Lights: Headlight and brake light working (if equipped).
- Battery: Fully charged and securely connected.
- Folding mechanism: Locks firmly when unfolded.
Additional Safety Tips
- Always wear a helmet—even for short rides.
- Use reflective clothing or accessories if riding at night.
- Avoid wet or slippery surfaces, especially during the first few rides.
- Keep both hands on the handlebar at all times.
Step 8: Take Your First Ride
Now that your scooter is set up and inspected, it’s time to ride!
Choosing a Safe Location
Start in a quiet, flat area such as:
- An empty parking lot
- A long driveway
- A quiet neighborhood street with minimal traffic
First Ride Tips
- Stand on the deck with one foot, then push off with the other to start moving.
- Once moving, place both feet on the deck and gently twist the throttle.
- Start slow—use Eco mode for your first few rides.
- Practice braking gently to get used to the response.
- Turn gradually by leaning and steering with your body.
- Avoid sharp turns or sudden stops until you’re comfortable.
Common Beginner Mistakes to Avoid
- Twisting the throttle too hard—this can cause sudden acceleration.
- Braking too abruptly—this may cause skidding or loss of balance.
- Riding on uneven terrain too soon—stick to smooth, paved surfaces.
- Ignoring traffic rules—always follow local laws and ride in bike lanes when available.
Troubleshooting Common Setup Issues
Even with careful setup, you might encounter a few hiccups. Here’s how to fix common problems.
Scooter Won’t Turn On
- Check if the battery is charged. Plug in the charger and wait for the green light.
- Ensure the power button is pressed firmly and held for 2–3 seconds.
- Look for loose connections between the battery and motor.
Handlebar Wobbles
- Tighten the handlebar bolts using the hex wrench.
- Check if the stem is fully locked in the upright position.
- If wobbling persists, contact Gotrax support—it could be a manufacturing defect.
Throttle Doesn’t Respond
- Make sure the scooter is powered on.
- Check if the brake is engaged—most scooters won’t accelerate if the brake is pressed.
- Inspect the throttle cable for damage or looseness.
Brake Feels Weak
- Adjust the brake cable tension using the barrel adjuster near the lever.
- Check for worn brake pads—replace if necessary.
- Ensure the tire is properly inflated for better grip.
Battery Drains Quickly
- Avoid riding in cold weather—battery performance drops below 50°F.
- Don’t overload the scooter—stay within the weight limit (usually 220–275 lbs).
- Charge the battery after each use to maintain health.
Maintenance Tips to Keep Your Scooter Running Smoothly
Regular maintenance extends the life of your Gotrax scooter and keeps it safe to ride.
Weekly Checks
- Inspect tires for wear and proper inflation.
- Clean the deck and handlebar with a damp cloth.
- Check bolts and screws for tightness.
Monthly Maintenance
- Lubricate the folding mechanism and brake pivots with a light oil.
- Test all lights and the display.
- Charge the battery fully, even if not used regularly.
Seasonal Care
- Store the scooter indoors during winter to protect the battery.
- If unused for long periods, charge the battery to 50% and recharge every 2–3 months.
- Check for rust or corrosion, especially if ridden in wet conditions.
Conclusion
Setting up your Gotrax scooter doesn’t have to be complicated. By following this guide, you’ve learned how to unbox, charge, assemble, and safely operate your scooter. From tightening the handlebar to testing the brakes and taking your first ride, each step is designed to help you get started with confidence.
Remember, safety comes first. Always wear protective gear, follow local laws, and perform regular maintenance. With proper care, your Gotrax scooter will provide years of reliable, eco-friendly transportation and fun.
Now that you’re all set, it’s time to hit the road. Enjoy the ride!