
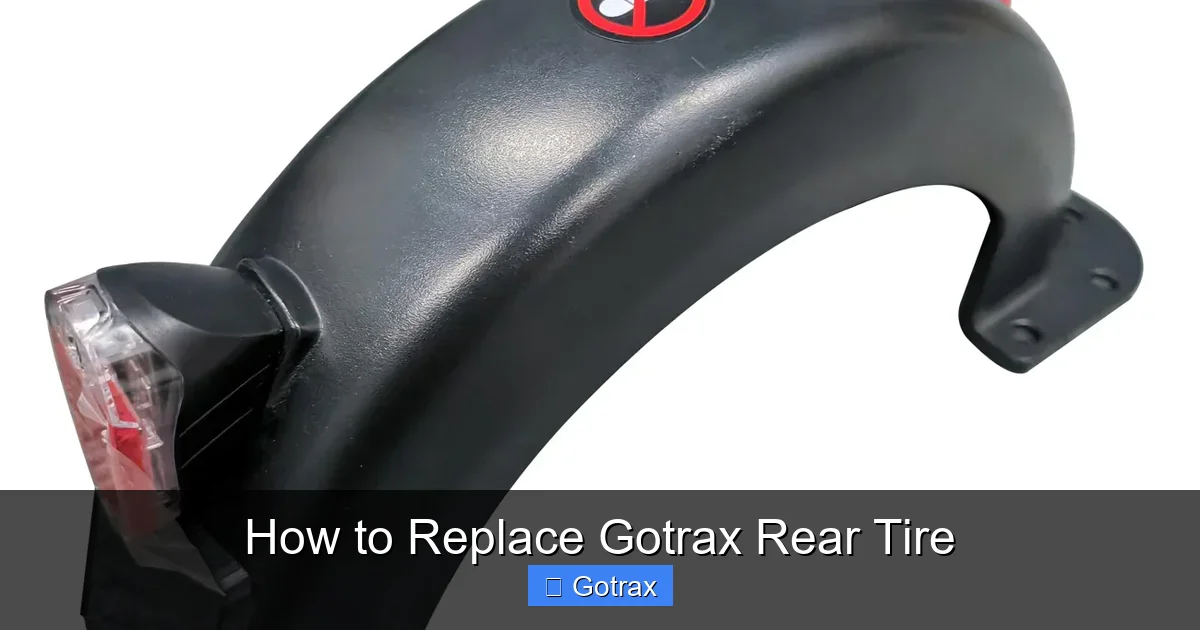
Replacing a Gotrax rear tire is a straightforward process that can save you time and money with the right tools and steps. By removing the rear wheel, deflating the old tire, and carefully installing the new one, you’ll have your scooter rolling smoothly again in under 30 minutes. Always ensure the tire is properly seated and inflated to avoid future issues.
Key Takeaways
- Power off the scooter before starting to ensure safety during tire replacement.
- Remove the rear wheel by loosening the axle bolts with the correct tools.
- Deflate the old tire completely before attempting to remove it from the rim.
- Install the new tire carefully, ensuring it seats evenly on the rim.
- Inflate to recommended PSI to avoid damage and ensure optimal performance.
- Reattach the wheel securely and test the scooter before riding.
Why This Matters / Understanding the Problem
You’re cruising down the sidewalk on your Gotrax scooter, feeling the breeze, when suddenly—thump, thump, thump. That smooth ride turns into a bumpy nightmare. You look back and realize: your rear tire is flat. Ugh. Now what?
Don’t panic. A flat rear tire on your Gotrax isn’t the end of the world—but ignoring it can be. Riding on a damaged or underinflated tire wears down your scooter’s motor, drains your battery faster, and can even lead to accidents. Plus, it just feels awful.
Replacing your Gotrax rear tire might sound intimidating if you’ve never done it before. But here’s the good news: with the right tools and a little patience, it’s totally doable—even for beginners. In this guide, I’ll walk you through how to replace Gotrax rear tire safely, efficiently, and without breaking a sweat (or your budget).
Whether you’re dealing with a puncture, a worn-out tread, or just want to upgrade to a more durable tire, this process gives you full control over your scooter’s performance. And once you’ve done it once? You’ll never dread a flat again.
What You Need
Before we dive in, let’s gather everything so you’re not scrambling mid-repair. Most of these items are easy to find online or at your local hardware store.
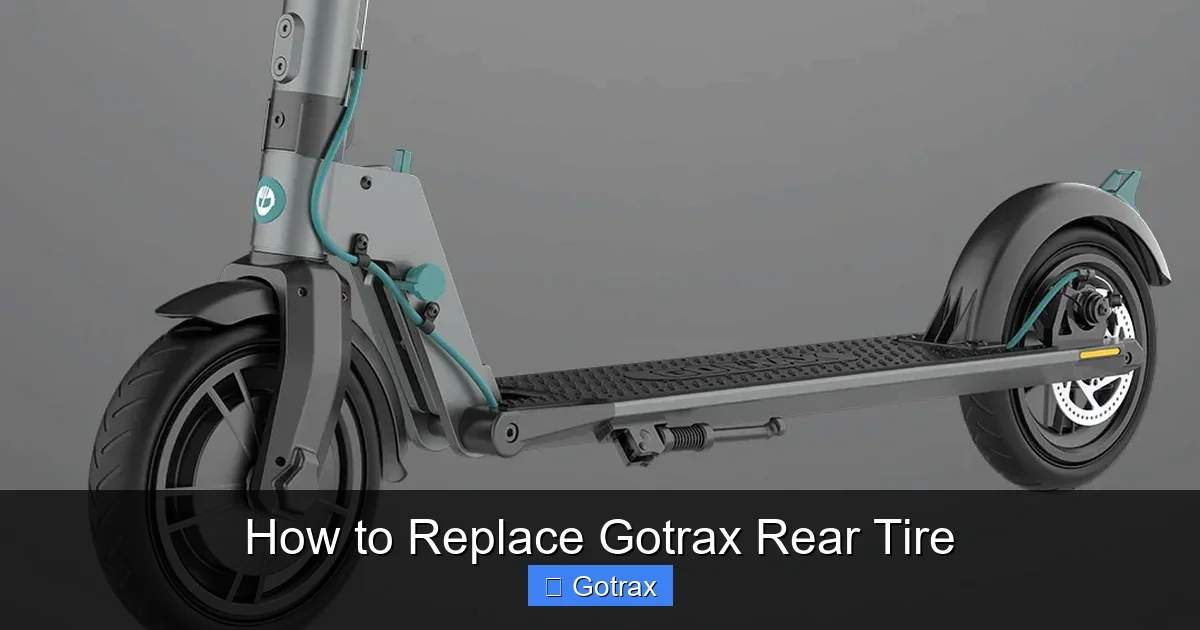
Visual guide about How to Replace Gotrax Rear Tire
Image source: cdn.shopify.com
- Replacement rear tire (make sure it matches your Gotrax model—check the sidewall for size, e.g., 8.5” or 9”)
- Tire levers (plastic or metal—plastic is gentler on rims)
- Wrench or socket set (usually 10mm or 12mm for Gotrax axle nuts)
- Air pump or compressor (with a pressure gauge—Gotrax tires typically need 40–50 PSI)
- Soapy water or tire sealant (optional, for checking leaks)
- Clean rag (for wiping grease and dirt)
- Safety gloves (to protect your hands from sharp edges or grime)
Pro tip: If you’re replacing a tube-style tire (not solid), also grab a new inner tube that matches your tire size. Gotrax models like the GXL V2 or XR use pneumatic tires, so tubes are common.
Most importantly—double-check your scooter’s manual or the tire sidewall to confirm the exact tire size and type. Using the wrong replacement can cause fit issues or unsafe riding conditions.
Step-by-Step Guide to How to Replace Gotrax Rear Tire
Step 1: Safety First – Power Off and Stabilize Your Scooter
Before touching anything, turn off your Gotrax completely and remove the key (if applicable). Flip it upside down so it rests securely on the handlebars and deck—this gives you clear access to the rear wheel.
Use a stand or prop it up with a box if you’re worried about it tipping. You don’t want your scooter wobbling while you’re working!
Also, wear those gloves. Rear wheels collect grease, dirt, and sometimes sharp debris—better safe than sorry.
Step 2: Remove the Rear Wheel Assembly
Locate the axle nut on the right side of the rear wheel (the side opposite the motor). Use your wrench or socket to loosen and remove it. Some models may have a cotter pin—if so, gently pull it out with pliers first.
Once the nut is off, gently wiggle the wheel side to side while pulling it backward. The entire rear wheel assembly (including the motor hub) should slide out of the dropouts.
Be careful not to yank it—there’s usually a wiring harness connected to the motor. If your model has regenerative braking or motor sensors, disconnect the wires carefully by unplugging the connector (usually a small clip). Label them if needed so you remember how to reconnect later.
Step 3: Deflate and Remove the Old Tire
If your tire still has air, fully deflate it by pressing the valve stem core (use a small tool or paperclip). This makes removal much easier.
Now, insert a tire lever between the tire bead and the rim. Hook it onto a spoke or secure point, then slide a second lever about 6 inches away. Gently pry the bead over the rim edge.
Work your way around the tire until one entire side is loose. Then, pull the tire off completely. If you’re replacing just the tube, pull out the old tube and inspect the inside of the tire for nails, glass, or other debris that caused the flat.
For solid tires (less common on rear wheels but possible on some models), you’ll need to cut the old tire off with heavy-duty scissors or a utility knife—then clean the rim thoroughly before installing the new one.
Step 4: Install the New Tire (or Tube)
If you’re using a pneumatic tire with a new tube:
- Partially inflate the new tube (just enough to give it shape—prevents pinching).
- Insert the valve stem through the rim hole first.
- Tuck the tube inside the tire, then start seating the tire bead onto the rim. Begin opposite the valve stem.
Use your hands to push the bead over the rim. If it’s tight, use tire levers—but go slowly to avoid pinching the tube.
Once both beads are seated, check that the tube isn’t pinched anywhere. Then, inflate the tire gradually to about 20 PSI, check for even seating, and top it off to the recommended pressure (usually 40–50 PSI—check your manual).
For solid tires: Simply stretch the new tire over the rim. It’s tight, but doable with steady pressure. Some folks use soapy water on the rim to reduce friction.
Step 5: Reinstall the Wheel and Reconnect Wires
Carefully slide the wheel assembly back into the dropouts. Make sure it’s centered and aligned properly.
Reconnect any motor or sensor wires you disconnected earlier. Push the connectors firmly until they click.
Replace the axle nut and tighten it securely—but don’t over-torque it. Snug is good; Hulk-level tightness can damage threads.
Give the wheel a spin to ensure it rotates freely without rubbing against the fender or brake.
Step 6: Test Your Work
Flip your scooter back upright. Turn it on and take a slow test ride in a safe, flat area.
Listen for unusual noises, feel for vibrations, and check that the tire holds air. If everything feels smooth, you’re golden!
Pro tip: Check tire pressure again after 24 hours—new tires can lose a bit of air initially as they settle.
Pro Tips & Common Mistakes to Avoid
Warning: Never ride on a flat or severely underinflated tire. It can warp your rim, damage the motor, or cause loss of control.
One mistake I made the first time? Forgetting to partially inflate the tube before installing the tire. Result: a pinched tube and another flat within hours. Learn from my oops!
Another common error: using the wrong tire size. Gotrax models vary—the GXL uses an 8.5” tire, while the XR uses a 9”. Double-check before buying!
Also, don’t skip the soapy water trick when seating a stubborn bead. A few drops on the rim edge make a world of difference.
Finally, if your scooter has a disc brake, be extra careful not to contaminate the rotor with grease or oil during reassembly. Clean it with isopropyl alcohol if needed.
FAQs About How to Replace Gotrax Rear Tire
Q: Can I replace just the inner tube instead of the whole tire?
A: Absolutely! If the tire tread is still good and there’s no sidewall damage, swapping the tube is cheaper and faster. Just make sure to inspect the tire interior for sharp objects first.
Q: How often should I replace my Gotrax rear tire?
A: It depends on usage, but most riders notice wear after 800–1,200 miles. Look for cracks, bald spots, or frequent flats—that’s your cue.
Q: Do I need special tools to replace a Gotrax rear tire?
A: Not really. Basic hand tools (wrench, tire levers, pump) are enough. You don’t need a professional bike stand unless you’re doing this weekly.
Q: What PSI should my Gotrax rear tire be?
A: Most Gotrax models recommend 40–50 PSI. Check the sidewall of your current tire or the user manual—it’s usually printed right there.
Q: Can I use a solid tire instead of a pneumatic one?
A: Yes, but solid tires offer a rougher ride and less grip. They’re great for avoiding flats but sacrifice comfort. Only swap if you prioritize durability over smoothness.
Q: My new tire won’t seat properly—what’s wrong?
A: This usually happens if the bead isn’t evenly positioned. Deflate, reposition, and inflate slowly while checking both sides. A little soapy water helps the bead “pop” into place.
Q: Is it safe to replace the rear tire myself?
A: Totally—if you follow the steps carefully. Gotrax designs are user-serviceable, and millions of riders do this at home. Just take your time and double-check connections.
Final Thoughts
Replacing your Gotrax rear tire might seem like a chore, but it’s one of those skills that pays off big time. Not only do you save money on shop fees, but you also gain confidence in maintaining your ride.
Remember: how to replace Gotrax rear tire isn’t just about fixing a flat—it’s about taking ownership of your scooter’s health. A well-maintained tire means better range, smoother rides, and fewer surprises on the road.
So next time you hear that dreaded thump, don’t panic. Grab your tools, follow these steps, and get back to gliding in no time. And hey—if you mess up? That’s how we learn. Just keep a spare tube handy and you’ll be fine.
Happy riding!