
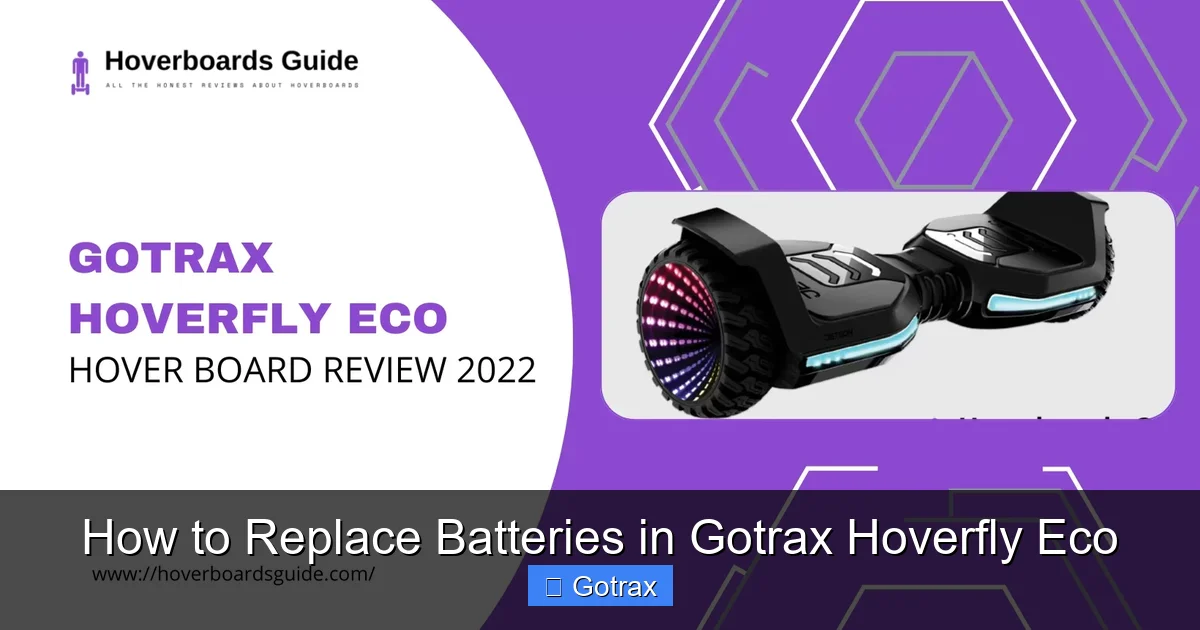
Replacing the batteries in your Gotrax Hoverfly Eco is a straightforward process that can extend the life of your hoverboard and restore its performance. This guide walks you through every step—from safety prep to final testing—so you can do it confidently at home.
Key Takeaways
- Safety first: Always power off the hoverboard, disconnect from chargers, and wear protective gear like gloves and safety glasses before starting.
- Use the right tools: A Phillips-head screwdriver, spudger or plastic pry tool, and possibly a multimeter are essential for a smooth battery replacement.
- Handle batteries carefully: Lithium-ion batteries are sensitive—avoid puncturing, bending, or exposing them to heat or moisture.
- Follow disassembly order: Remove the top shell first, then access the battery compartment by unscrewing specific panels—never force components apart.
- Match battery specs exactly: Replace with a compatible 36V 4.4Ah lithium-ion battery pack with the same connector type and voltage rating.
- Test before reassembly: Reconnect power briefly to confirm the new battery works before fully sealing the hoverboard.
- Dispose of old batteries responsibly: Take used lithium-ion batteries to a certified e-waste recycling center—never throw them in regular trash.
Introduction: Why Replace Your Gotrax Hoverfly Eco Battery?
If your Gotrax Hoverfly Eco isn’t holding a charge like it used to—or worse, won’t turn on at all—it might be time to replace the battery. Over time, lithium-ion batteries degrade naturally, losing capacity after hundreds of charge cycles. Instead of buying a whole new hoverboard, replacing the internal battery pack is a cost-effective and eco-friendly solution that can breathe new life into your ride.
This comprehensive guide will walk you through the entire process of safely removing the old battery and installing a new one in your Gotrax Hoverfly Eco. Whether you’re a DIY beginner or have some tech repair experience, we’ve broken down each step with clear instructions, helpful tips, and safety reminders. By the end, you’ll not only have a fully functional hoverboard but also the confidence to maintain it yourself.
We’ll cover everything from gathering the right tools and understanding battery compatibility to troubleshooting common issues and properly disposing of your old battery. Let’s get started!
What You’ll Need Before Starting
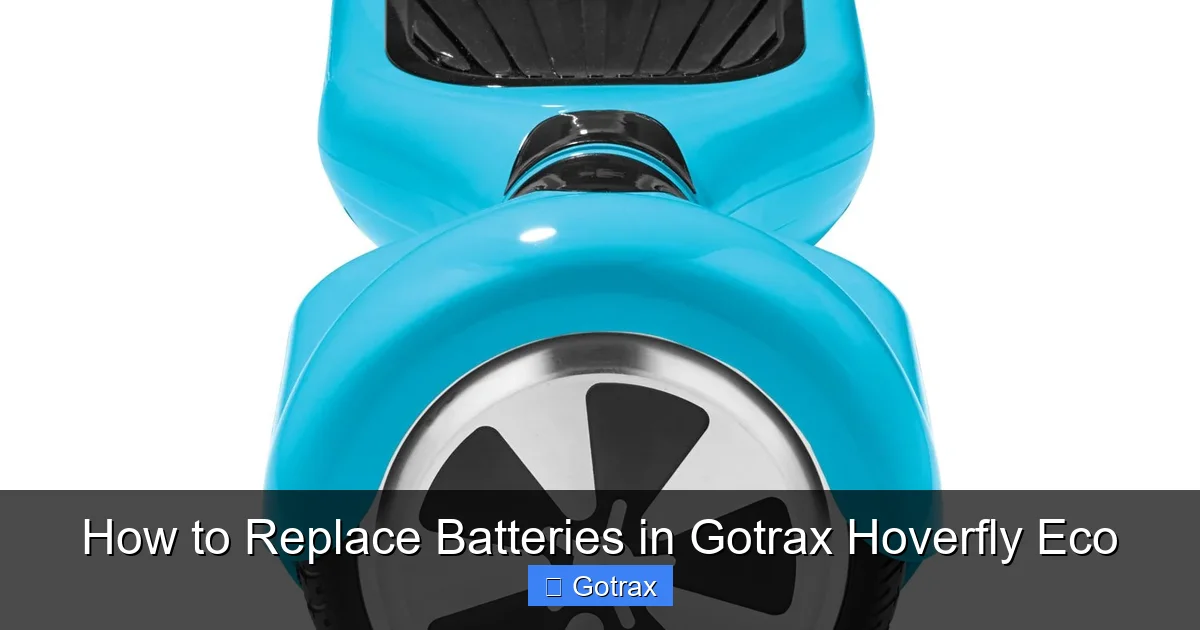
Visual guide about How to Replace Batteries in Gotrax Hoverfly Eco
Image source: eridehero.com
Before you begin disassembling your hoverboard, make sure you have all the necessary tools and materials on hand. Having everything ready will save time and reduce frustration during the process.
Essential Tools
- Phillips-head screwdriver (size #1 or #2): Most screws on the Hoverfly Eco are Phillips-head, so this is non-negotiable.
- Plastic spudger or pry tool: Helps gently separate the plastic shell without scratching or cracking it.
- Anti-static wrist strap (optional but recommended): Protects sensitive electronics from static discharge.
- Multimeter (optional): Useful for testing voltage and confirming the old battery is truly dead.
- Clean workspace: A flat, well-lit surface with plenty of room to lay out parts.
Replacement Battery Requirements
Not all batteries are created equal. The Gotrax Hoverfly Eco uses a specific type of lithium-ion battery pack:
- Voltage: 36V
- Capacity: 4.4Ah (or higher, but never lower)
- Chemistry: Lithium-ion (Li-ion)
- Connector type: Must match the original plug (usually a 2-pin or 3-pin JST-style connector)
Always purchase a replacement battery from a reputable supplier—preferably one that specializes in hoverboard or electric scooter parts. Avoid cheap, unbranded batteries, as they may lack proper safety certifications and could pose fire risks.
Safety Gear
Lithium-ion batteries can be hazardous if mishandled. Protect yourself with:
- Safety glasses
- Nitrile or rubber gloves
- Work in a dry, well-ventilated area away from flammable materials
Step 1: Power Down and Prepare Your Hoverboard
Never attempt to open or work on an energized device. Start by ensuring your Gotrax Hoverfly Eco is completely powered off and disconnected from any power source.
Turn Off the Hoverboard
Press and hold the power button until the LED lights turn off. Wait at least 30 seconds to allow any residual charge to dissipate.
Remove the Charger
Unplug the charging cable from both the wall outlet and the hoverboard’s charging port. Even if it’s not actively charging, leaving it plugged in can create a risk.
Let It Cool Down
If you’ve recently ridden or charged the hoverboard, give it 15–20 minutes to cool. Warm batteries are more volatile and harder to handle safely.
Clear Your Workspace
Lay down a soft cloth or anti-static mat to protect the hoverboard’s surface. Keep small parts like screws in a magnetic tray or egg carton so they don’t get lost.
Step 2: Remove the Top Shell
The battery is housed beneath the main deck, protected by a plastic shell. You’ll need to carefully remove this cover to access the internal components.
Locate the Screws
Flip the hoverboard upside down. You’ll see several screws along the edges of the bottom plate. Most Gotrax Hoverfly Eco models have 8–12 screws securing the top shell. Use your Phillips-head screwdriver to remove them all. Keep track of screw lengths—some may be slightly different.
Gently Pry Open the Shell
Once all screws are removed, use your plastic spudger to carefully separate the top shell from the base. Start at one corner and work your way around the perimeter. The shell is held in place by plastic clips, so apply even pressure—don’t force it. If it feels stuck, double-check for hidden screws or clips.
Lift Off the Top Cover
Once the clips are released, slowly lift the top shell straight up. Be mindful of any wires connected to the deck (like LED lights or sensors). If you feel resistance, stop and look for ribbon cables or connectors that need to be unplugged first.
> 💡 Pro Tip: Take a photo of the interior before disconnecting anything. This will help you remember how components are arranged during reassembly.
Step 3: Locate and Disconnect the Old Battery
Now that the interior is exposed, you should see the battery pack mounted near the center of the hoverboard, usually secured with Velcro straps or plastic brackets.
Identify the Battery Pack
The battery is a rectangular block with wires leading to the main control board (ESC). It’s typically black or gray and labeled with voltage and capacity info (e.g., “36V 4.4Ah”).
Disconnect the Battery Connector
Locate the main power connector linking the battery to the electronics. This is usually a thick, multi-pin plug. Gently wiggle it side to side while pulling straight out—never yank on the wires themselves. If it’s tight, use your fingers or needle-nose pliers for better grip.
> ⚠️ Warning: Do not short the battery terminals! Avoid touching both positive and negative contacts simultaneously with metal tools.
Remove Mounting Straps or Brackets
If the battery is held down with Velcro, simply peel it back. If it’s secured with plastic brackets or screws, remove those carefully. Set them aside for reinstallation later.
Carefully Extract the Old Battery
Lift the battery straight up and out of the compartment. Handle it with both hands—it’s heavier than it looks (typically 2–3 lbs). Place it on a non-conductive surface like wood or cardboard.
Step 4: Install the New Battery
With the old battery removed, it’s time to install the replacement. Make sure the new battery matches the original specifications exactly.
Verify Compatibility
Double-check the voltage (36V), capacity (4.4Ah or higher), and connector type. Plug the new battery into the main board briefly to ensure it fits snugly—but don’t leave it connected yet.
Secure the New Battery
Place the new battery into the compartment in the same orientation as the old one. Reattach any Velcro straps or mounting brackets to hold it firmly in place. A loose battery can shift during riding and damage wires.
Reconnect the Battery Connector
Align the plug and push it firmly into the socket on the control board. You should feel it click into place. Give it a gentle tug to confirm it’s secure.
> ✅ Quick Test: At this point, you can briefly reconnect power to test if the hoverboard turns on. Press the power button—if the LEDs light up, the new battery is working. Then disconnect again before proceeding to reassembly.
Step 5: Reassemble the Hoverboard
Now that the new battery is installed and tested, it’s time to put everything back together.
Reattach the Top Shell
Carefully lower the top cover back onto the base, aligning the clips. Press down evenly around the edges until all clips snap into place.
Replace All Screws
Reinsert every screw you removed earlier. Tighten them securely but don’t over-tighten—plastic threads can strip easily. Use the same pattern you used to remove them to ensure even pressure.
Check for Gaps or Misalignment
Run your hand around the seam between the top and bottom shells. There should be no gaps or uneven edges. If you notice anything off, reopen and adjust the alignment.
Step 6: Final Testing and Calibration
Before hitting the pavement, make sure your hoverboard is fully functional and safe to ride.
Charge the New Battery
Plug in the charger and let the hoverboard charge for at least 4–6 hours, even if the indicator shows full sooner. This ensures the battery reaches its optimal capacity.
Perform a Power-On Test
Turn on the hoverboard and check that all LED indicators work. Stand on it gently (without riding) to see if it balances and responds to tilt.
Calibrate if Needed
Some Gotrax models require calibration after battery replacement. To calibrate:
- Turn off the hoverboard.
- Hold the power button for 10 seconds until LEDs flash.
- Place the hoverboard on a level surface and wait for it to beep or stabilize.
- Turn it back on normally.
Take a Short Test Ride
In a safe, open area, take a slow test ride. Pay attention to balance, responsiveness, and braking. If anything feels off, power down immediately and recheck connections.
Troubleshooting Common Issues
Even with careful installation, problems can arise. Here’s how to handle the most common ones:
Hoverboard Won’t Turn On After Replacement
- Check that the battery connector is fully seated.
- Verify the battery is charged—use a multimeter to test voltage (should be ~36V).
- Ensure no wires were pinched or disconnected during reassembly.
Battery Drains Quickly
- The new battery may need a few full charge/discharge cycles to reach full capacity.
- Check for firmware updates from Gotrax—some models have battery management improvements.
- Ensure the hoverboard isn’t in “sport mode,” which drains power faster.
Overheating During Charging
- Stop charging immediately.
- Inspect the battery for swelling, leaks, or damage—do not use if any are present.
- Confirm you’re using the correct Gotrax charger (output: 42V 2A).
Strange Noises or Vibrations
- Recheck that the battery is securely mounted—loose components can rattle.
- Ensure no tools or debris are left inside the housing.
Safety and Maintenance Tips
To keep your Gotrax Hoverfly Eco running smoothly long after the battery replacement:
- Charge regularly: Don’t let the battery drop below 20% frequently—this extends lifespan.
- Avoid extreme temperatures: Don’t charge or store in direct sunlight, freezing temps, or humid environments.
- Clean the exterior: Wipe down with a dry cloth; avoid water near ports or seams.
- Inspect monthly: Check for loose screws, frayed wires, or battery swelling.
- Use only Gotrax-approved chargers: Third-party chargers can damage the battery or cause fires.
Conclusion: You’ve Got This!
Replacing the battery in your Gotrax Hoverfly Eco might seem intimidating at first, but with the right preparation and attention to detail, it’s a manageable DIY project that saves money and reduces waste. By following this guide, you’ve not only restored your hoverboard’s performance but also gained valuable skills in electronics maintenance.
Remember: safety is paramount. Always handle lithium-ion batteries with care, use proper tools, and test thoroughly before riding. And when your new battery eventually reaches end-of-life, recycle it responsibly at an e-waste facility.
Now go enjoy that smooth, silent glide—your Gotrax Hoverfly Eco is ready for many more miles of fun!