
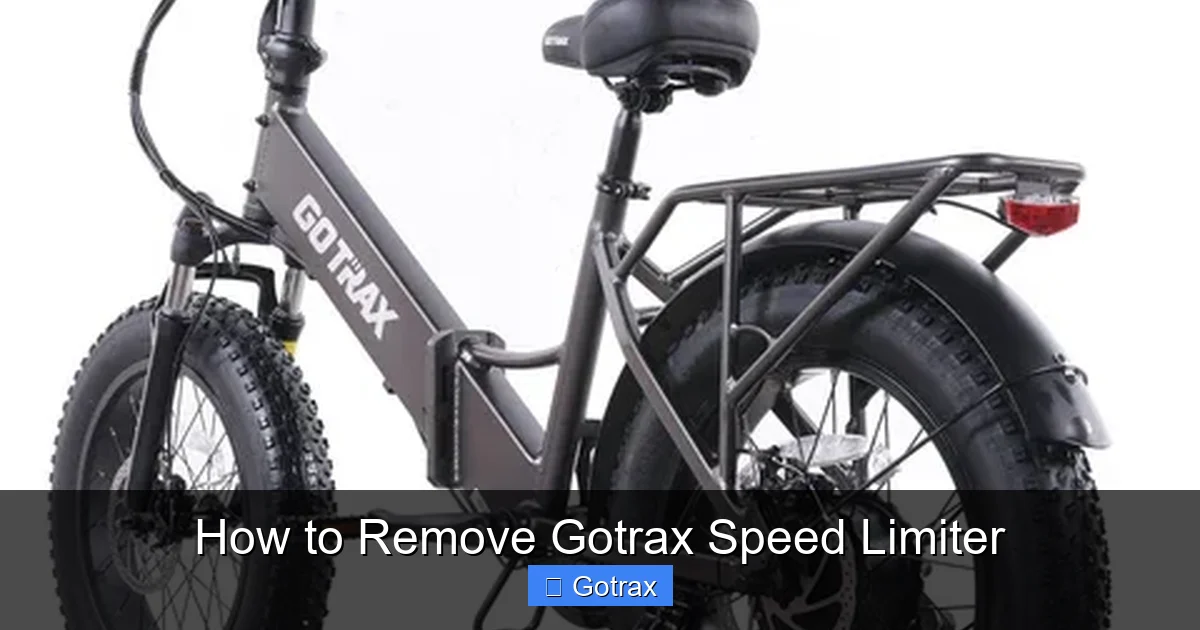
This guide walks you through how to remove Gotrax speed limiter on popular models like the GXL and G2. You’ll learn safe methods, tools needed, and important safety tips to avoid damaging your scooter or voiding the warranty.
Key Takeaways
- Understand the risks: Removing the speed limiter may void your warranty and affect scooter safety.
- Use the right tools: A USB cable, computer, and firmware flashing software are essential for most methods.
- Know your model: Speed limiter removal varies by Gotrax model—GXL, G2, G4, and others have different processes.
- Backup original firmware: Always save a copy of your scooter’s original settings before making changes.
- Test gradually: After removal, test your scooter in a safe area to ensure stability and control.
- Stay legal: Check local laws—riding an unrestricted scooter on public roads may be illegal in your area.
- Consider alternatives: Some users achieve better performance through tire upgrades or battery enhancements instead.
How to Remove Gotrax Speed Limiter: A Complete Step-by-Step Guide
If you’ve ever hopped on your Gotrax electric scooter and felt like it’s holding back, you’re not alone. Many riders want to know how to remove Gotrax speed limiter to unlock faster speeds and a more thrilling ride. Gotrax scooters come with built-in speed restrictions—usually capped at 15 mph—to comply with safety standards and regulations. But for experienced riders looking for more performance, removing this limiter can be tempting.
In this guide, we’ll walk you through the most effective and safe methods to remove the speed limiter on popular Gotrax models like the GXL V2, G2, and G4. We’ll cover everything from the tools you’ll need to step-by-step instructions, safety precautions, and what to expect after the modification. Whether you’re a tech-savvy DIYer or a curious beginner, this guide will help you make an informed decision.
But before we dive in, a quick disclaimer: modifying your scooter’s firmware or hardware can void your warranty, increase wear and tear, and pose safety risks. Always proceed with caution, follow local laws, and prioritize safety over speed.
Why Do Gotrax Scooters Have a Speed Limiter?
Visual guide about How to Remove Gotrax Speed Limiter
Image source: gotrax.ca
Gotrax includes speed limiters on their scooters for several important reasons. First, it helps them meet legal requirements in many regions. In the U.S., for example, electric scooters are often classified as low-speed vehicles when capped at 20 mph or below. By limiting speed to 15 mph, Gotrax ensures their scooters can be legally ridden on sidewalks, bike lanes, and public paths in many cities.
Second, speed limiters protect the scooter’s components. Electric motors, batteries, and brakes are designed to handle certain stress levels. Pushing beyond factory settings can overheat the motor, drain the battery faster, or cause brake failure.
Finally, speed limits improve rider safety. Newer riders benefit from a controlled, manageable speed while they learn balance and handling. But once you’re confident and experienced, you may want more power—and that’s where removing the limiter comes in.
Is It Legal to Remove the Speed Limiter?
This is a critical question. In many places, riding an electric scooter above 15–20 mph on public roads or sidewalks is illegal. Some cities require scooters to have speed governors, and modifying them could result in fines or confiscation.
Before you proceed, check your local regulations. In the U.S., laws vary by state and city. For example, California allows scooters up to 20 mph on bike lanes, while New York City has stricter rules. In Europe, the EU limits e-scooters to 25 km/h (about 15.5 mph).
If you plan to ride only on private property—like a large backyard, closed track, or private community—you may have more freedom. But always prioritize safety and legality.
Tools and Materials You’ll Need
Removing the Gotrax speed limiter typically involves accessing the scooter’s controller or firmware. Here’s what you’ll need:
- Computer (Windows or Mac): Needed to run flashing software.
- USB to UART TTL cable: This connects your scooter’s controller to your computer. Look for a CP2102 or FTDI-based cable.
- Screwdrivers: Phillips and flathead, usually size #1 or #2.
- Multimeter (optional but recommended): Helps verify connections and voltage.
- Electrical tape or heat shrink tubing: For insulating exposed wires.
- Firmware flashing software: Such as Arduino IDE, ESP Flash Tool, or Gotrax-specific tools (if available).
- Backup battery or power source: To keep the scooter powered during the process.
You can find most of these tools online or at electronics stores. The USB TTL cable is the most critical—make sure it’s compatible with your scooter’s controller chip.
Step-by-Step Guide: Removing the Speed Limiter on Gotrax GXL V2
The Gotrax GXL V2 is one of the most popular models, and many riders seek to remove its 15 mph limit. Here’s how to do it safely.
Step 1: Prepare Your Workspace
Find a clean, well-lit area to work. Lay down a soft cloth or mat to protect the scooter’s finish. Make sure the scooter is turned off and the battery is disconnected if possible.
Step 2: Locate the Controller
The controller is usually housed under the deck plate. On the GXL V2, remove the four screws on the underside of the deck using a Phillips screwdriver. Carefully lift the plate to expose the controller—a small circuit board with wires connected to the motor, battery, and throttle.
Step 3: Identify the UART Pins
Look for a set of four pins labeled TX, RX, GND, and VCC. These are the UART (Universal Asynchronous Receiver-Transmitter) pins used for communication. If they’re not labeled, refer to online diagrams or community forums for your specific model.
Step 4: Connect the USB TTL Cable
Match the wires from your USB TTL cable to the controller pins:
- TX (cable) → RX (controller)
- RX (cable) → TX (controller)
- GND → GND
- VCC → VCC (only if needed for power)
Important: Double-check the connections. Reversing TX and RX is common but fixable. Never connect VCC unless you’re sure the controller needs external power.
Step 5: Power On and Connect
Plug the USB cable into your computer. Turn on the scooter (or connect the battery). Open your flashing software—such as ESP Flash Tool—and select the correct COM port. The software should detect the controller.
Step 6: Backup Original Firmware
Before making any changes, always backup the original firmware. This allows you to restore the scooter if something goes wrong. In the flashing software, select “Read” or “Backup” and save the file to your computer.
Step 7: Flash Modified Firmware
Now, load a modified firmware file that removes the speed limiter. These files are often shared in online communities like Reddit’s r/electricscooters or specialized forums. Make sure the file matches your exact model and controller version.
In the flashing software, select the new firmware file and click “Flash” or “Write.” The process may take 30–60 seconds. Do not disconnect during this time.
Step 8: Disconnect and Reassemble
Once flashing is complete, safely disconnect the USB cable. Turn off the scooter. Carefully reconnect the deck plate and secure it with screws.
Step 9: Test the Scooter
Take your scooter to a safe, open area—like an empty parking lot. Turn it on and test the throttle gradually. You should notice a significant increase in top speed, potentially up to 20–22 mph depending on conditions.
Alternative Method: Using a Speed Unlock App (If Available)
Some Gotrax models, particularly newer ones, may support Bluetooth connectivity via a smartphone app. While Gotrax’s official app doesn’t allow speed adjustments, third-party apps or modified firmware might offer this feature.
Step 1: Check for Bluetooth Compatibility
Look for a Bluetooth module near the controller. If present, your scooter may be compatible with apps like “Scooter Hacking” or “ES-Tool.”
Step 2: Download and Install the App
Search for trusted apps on Google Play or the App Store. Read reviews and ensure the app supports your Gotrax model.
Step 3: Pair and Adjust Settings
Open the app, pair with your scooter, and navigate to speed settings. Some apps allow you to disable the limiter or increase the max speed. Save the changes and test.
Note: This method is less reliable and may not work on all models. Always backup settings first.
Model-Specific Instructions
Different Gotrax models have different controllers and firmware. Here’s a quick breakdown:
Gotrax G2
The G2 uses a similar controller to the GXL V2. Follow the same UART flashing method. However, some G2 units have updated firmware that’s harder to modify. Check online forums for the latest patches.
Gotrax G4
The G4 has a more advanced controller with Bluetooth and app integration. Some users report success using the “ES-Tool” app to adjust speed limits. Others use UART flashing, but the process is more complex due to encryption.
Gotrax XR and XR Ultra
These models have higher base speeds (up to 18 mph), but the limiter can still be removed. The process is similar to the GXL, but ensure you have the correct firmware version.
Safety Tips and Best Practices
Removing the speed limiter increases risk. Follow these tips to stay safe:
- Wear protective gear: Always wear a helmet, knee pads, and elbow pads when testing higher speeds.
- Inspect brakes: Make sure your brakes are in top condition. Higher speeds require longer stopping distances.
- Check tire pressure: Underinflated tires reduce stability and increase the risk of blowouts.
- Avoid wet or uneven surfaces: High-speed riding on slippery or bumpy terrain is dangerous.
- Monitor battery life: Faster speeds drain the battery quicker. Carry a charger or plan shorter rides.
- Don’t overload the scooter: Stay within the weight limit to avoid motor strain.
Troubleshooting Common Issues
Even with careful steps, problems can occur. Here’s how to fix them:
Scooter Won’t Turn On After Flashing
This usually means a bad flash or incorrect firmware. Reconnect the USB cable and try reflashing the original backup. If that fails, check for loose connections or damaged wires.
Speed Increase Is Minimal
The motor or battery may be limiting performance. Ensure the battery is fully charged. Some motors can’t handle speeds beyond 20 mph without upgrades.
Throttle Is Unresponsive
Check the throttle connection. A loose wire or faulty sensor can cause this. Re-seat the connector and test again.
Error Codes or Beeps
Gotrax scooters may beep or flash lights to indicate errors. Refer to the user manual or online guides for error code meanings. Common issues include motor faults or controller communication errors.
USB Cable Not Detected
Install the correct drivers for your USB TTL cable. For CP2102 chips, download drivers from Silicon Labs. For FTDI, use FTDI’s official driver.
Should You Remove the Speed Limiter?
This is a personal decision. Consider the pros and cons:
Pros:
- Higher top speed (up to 20–22 mph)
- More responsive throttle
- Better performance on hills
Cons:
- Voided warranty
- Increased wear on motor and battery
- Higher risk of accidents
- Potential legal issues
If you’re unsure, try alternative upgrades first—like high-performance tires, a better battery, or a more efficient charger. These can improve speed and range without modifying firmware.
Conclusion
Learning how to remove Gotrax speed limiter can unlock your scooter’s full potential, but it’s not a decision to take lightly. With the right tools, careful steps, and safety precautions, you can successfully increase your scooter’s speed on models like the GXL V2, G2, and G4.
Always backup your original firmware, test in a safe environment, and follow local laws. Remember, speed isn’t everything—control, safety, and reliability matter just as much.
If you’re not comfortable with electronics or flashing firmware, consider consulting a professional or joining an online community for support. And if you decide against modification, there are still ways to enhance your ride without breaking the rules.
Now that you know how to remove the Gotrax speed limiter, ride smart, stay safe, and enjoy the journey.