
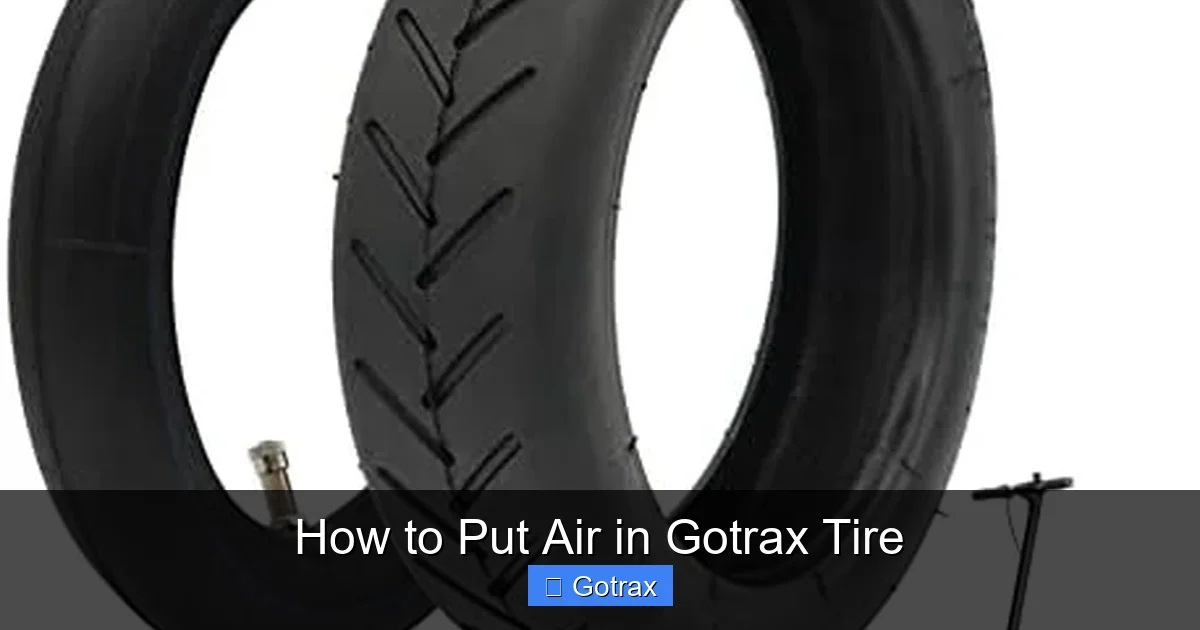
Keeping your Gotrax scooter’s tires properly inflated is essential for safety, performance, and battery life. This guide walks you through the simple process of adding air to your Gotrax tire, whether it’s a pneumatic (air-filled) or tubeless model, using common tools you likely already have at home.
Key Takeaways
- Check tire pressure regularly: Underinflated tires reduce range, increase wear, and can cause accidents. Aim to check pressure every 1–2 weeks.
- Use the correct PSI: Most Gotrax scooters require 35–50 PSI. Always refer to the sidewall of the tire or your user manual for the exact recommendation.
- Invest in a quality pump: A digital tire pump with a pressure gauge ensures accuracy and prevents overinflation.
- Inspect for leaks before inflating: Listen for hissing sounds or apply soapy water to the valve and tire surface to detect punctures.
- Remove the valve cap carefully: Keep it in a safe place—losing it can lead to dirt entering the valve and causing slow leaks.
- Don’t ignore slow leaks: If your tire keeps losing air, it may need a patch, sealant, or professional repair.
- Store your scooter properly: Extreme temperatures and prolonged parking can affect tire pressure—check before each ride.
How to Put Air in Gotrax Tire: A Complete Step-by-Step Guide
If you own a Gotrax electric scooter, you know how convenient and fun these rides can be. Whether you’re commuting to work, cruising around campus, or just enjoying a weekend adventure, your Gotrax scooter relies on well-maintained tires to deliver a smooth, safe experience. One of the most important—and often overlooked—maintenance tasks is keeping your tires properly inflated.
In this comprehensive guide, we’ll walk you through exactly how to put air in Gotrax tire the right way. You’ll learn what tools you need, how to check your current tire pressure, step-by-step inflation instructions, and tips to avoid common mistakes. By the end, you’ll be able to maintain optimal tire pressure like a pro, ensuring better performance, longer battery life, and a safer ride.
Let’s get started!
Why Proper Tire Pressure Matters for Your Gotrax Scooter
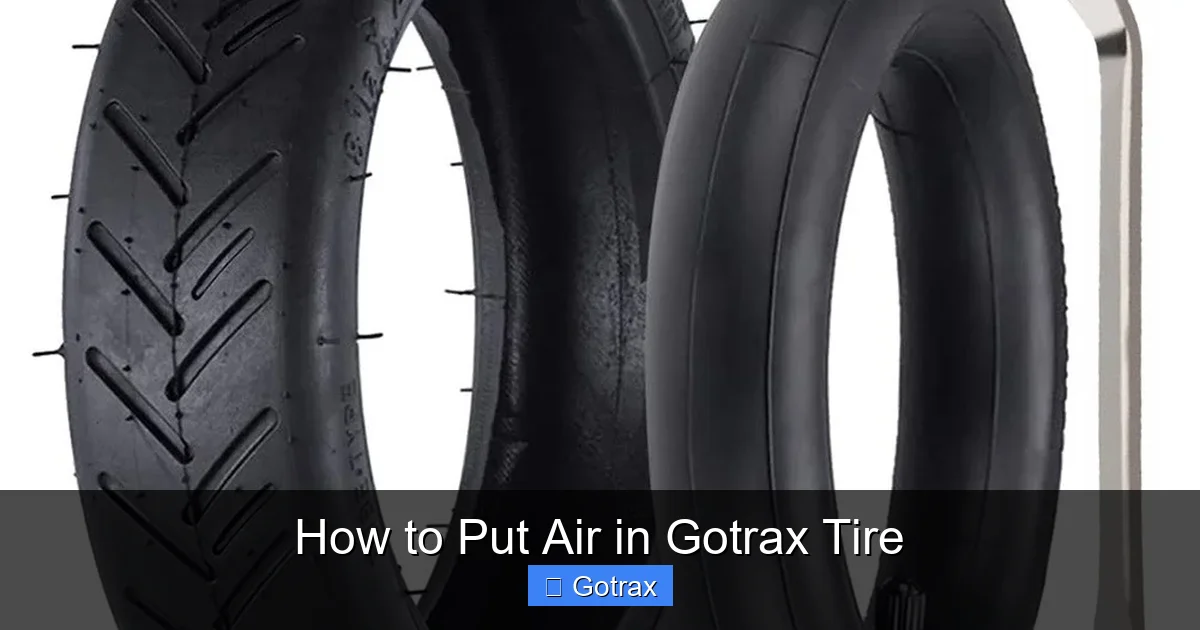
Visual guide about How to Put Air in Gotrax Tire
Image source: i5.walmartimages.com
Before we dive into the how-to, it’s important to understand why tire pressure matters so much. Gotrax scooters typically come with either pneumatic (air-filled) tires or solid rubber tires. While solid tires never need air, most Gotrax models—like the GXL, G4, GMAX, and XR series—use pneumatic tires that require regular inflation.
Here’s what happens when your tires are underinflated:
– Reduced range: Underinflated tires create more rolling resistance, forcing the motor to work harder and draining the battery faster.
– Poor handling: Soft tires make steering less responsive and can cause wobbling, especially at higher speeds.
– Increased wear: The sidewalls flex more when underinflated, leading to faster tire degradation.
– Safety risks: In extreme cases, underinflated tires can overheat, blow out, or cause loss of control.
On the flip side, overinflated tires can lead to a harsh, bumpy ride and reduce traction, especially on wet or uneven surfaces.
The sweet spot? Keeping your tires inflated to the manufacturer-recommended PSI (pounds per square inch). For most Gotrax models, this falls between 35 and 50 PSI. Always check your specific model’s manual or the tire sidewall for the exact number.
What You’ll Need to Inflate Your Gotrax Tire
The good news? You don’t need fancy equipment to inflate your Gotrax tire. Most of the tools are affordable and easy to find. Here’s a checklist of what you’ll need:
- A tire pump: A floor pump with a pressure gauge is ideal. Hand pumps work but take longer. For convenience, consider a portable electric pump—especially if you ride frequently.
- Pressure gauge (if not built into the pump): Some pumps have analog or digital gauges. If yours doesn’t, buy a separate tire pressure gauge (under $10 at most hardware stores).
- Soapy water (optional): Useful for detecting slow leaks.
- Valve adapter (if needed): Most Gotrax tires use a standard Schrader valve (like on car tires), but some older models may have a Presta valve. If your pump doesn’t fit, you’ll need an adapter.
- A clean cloth or rag: To wipe dirt off the valve before inflating.
Pro tip: Keep your pump and gauge in a dry, accessible place—like a garage shelf or storage bin—so you’re always ready for a quick top-off.
Step 1: Locate the Tire Valve
The first step in how to put air in Gotrax tire is finding the valve. On most Gotrax scooters, the valve is located on the outer edge of the tire, near the rim. It looks like a small metal stem sticking out—similar to the valve on a bicycle or car tire.
There are two common types of valves used on Gotrax scooters:
– Schrader valve: This is the most common type. It’s thick, about the size of a pencil eraser, and has a spring-loaded pin in the center. You’ll find this on models like the GXL, G4, and XR.
– Presta valve: Thinner and longer, with a small nut at the top that must be unscrewed before inflating. Found on some older or European models.
To identify your valve:
– Look for a cap (usually black or silver) covering the stem.
– Remove the cap and inspect the valve type.
💡 Tip: Always remove the valve cap before checking or adding air. Keep the cap in a safe place—like your pocket or a small container—so you don’t lose it. A missing cap can let dirt and moisture into the valve, causing leaks over time.
Step 2: Check the Current Tire Pressure
Before adding air, you need to know how much air is already in the tire. Overinflating can be just as harmful as underinflating.
Here’s how to check:
Using a Pump with a Built-in Gauge
If your pump has a pressure gauge, attach it to the valve and press down firmly. The gauge will show the current PSI. Make sure the connection is tight to avoid air escaping.
Using a Separate Pressure Gauge
If your pump doesn’t have a gauge, use a standalone tire pressure gauge:
1. Remove the valve cap.
2. Press the gauge straight onto the valve stem.
3. Read the PSI displayed on the gauge.
4. Remove the gauge quickly to minimize air loss.
💡 Pro Tip: Check tire pressure when the tire is cold—meaning the scooter hasn’t been ridden for at least an hour. Heat from riding increases pressure, giving a false reading.
Compare your reading to the recommended PSI for your model. For example:
– Gotrax GXL: 40–50 PSI
– Gotrax G4: 35–45 PSI
– Gotrax XR: 40–50 PSI
If the pressure is below the recommended range, it’s time to add air.
Step 3: Prepare the Valve for Inflation
Now that you’ve confirmed your tire needs air, it’s time to prep the valve:
1. Clean the valve: Wipe the valve stem with a clean, dry cloth to remove dirt, dust, or moisture. This prevents contaminants from entering the tire.
2. Depress the valve pin (if needed): For Schrader valves, press down on the small pin in the center with a key or pen tip. You should hear a brief hiss of air. This releases any built-up pressure and ensures the valve is open.
3. Unscrew the Presta valve nut (if applicable): If you have a Presta valve, unscrew the small nut at the top counterclockwise. Don’t remove it completely—just loosen it so air can flow.
💡 Important: Never force the pump onto the valve. If it doesn’t fit, you may need an adapter. Most bike pumps come with dual-head attachments for both Schrader and Presta valves.
Step 4: Attach the Pump and Inflate the Tire
This is the core of how to put air in Gotrax tire. Follow these steps carefully:
For Schrader Valves
1. Open the pump head and place it over the valve stem.
2. Push down firmly until you hear a click or feel it lock in place.
3. Pump the handle steadily. Watch the gauge as you go.
4. Stop periodically to check the pressure. Add air in short bursts to avoid overinflation.
For Presta Valves
1. Attach the pump head to the valve (you may need to press a lever or twist a lock ring).
2. Pump slowly and monitor the gauge.
3. Once near the target PSI, pump in small increments.
💡 Tip: If you’re using a portable electric pump, set it to the desired PSI and let it do the work. Many models automatically stop when the target is reached.
How Much Air to Add?
Aim for the midpoint of the recommended range. For example, if your Gotrax GXL calls for 40–50 PSI, inflate to 45 PSI. This gives you a buffer for natural pressure loss over time.
Avoid going over the maximum PSI listed on the tire. Overinflation can cause blowouts, especially in hot weather.
Step 5: Check Pressure Again and Secure the Valve
After inflating, it’s crucial to double-check the pressure:
1. Detach the pump carefully to avoid losing air.
2. Reattach your pressure gauge and confirm the PSI is within the recommended range.
3. If it’s too high, press the valve pin to release a small amount of air. Recheck.
4. If it’s too low, repeat the inflation process.
Once the pressure is perfect:
1. Replace the valve cap: Screw it back on tightly. This protects the valve from dirt and moisture.
2. Wipe down the tire: Use a clean cloth to remove any dirt or grease from the tire surface.
💡 Bonus Tip: Mark your calendar or set a phone reminder to check tire pressure every two weeks. Consistency is key to maintaining performance.
Troubleshooting Common Issues When Inflating Gotrax Tires
Even with the best preparation, you might run into a few hiccups. Here’s how to handle the most common problems:
Problem: Air Won’t Stay in the Tire
If your tire loses air quickly after inflating, you likely have a leak.
Solutions:
– Check the valve: Dirt or damage can prevent a proper seal. Clean the valve and try again.
– Use soapy water: Mix dish soap with water and apply it to the valve, tire surface, and rim. Bubbles indicate a leak.
– Inspect the tire: Look for nails, glass, or sharp objects embedded in the tread.
– Try tire sealant: For small punctures, a liquid sealant (like Slime) can plug the hole from the inside.
Problem: Pump Doesn’t Fit the Valve
If your pump head won’t attach, you may have the wrong valve type.
Solutions:
– Use an adapter: A Schrader-to-Presta adapter costs under $5 and lets you use a standard pump on a Presta valve.
– Buy a dual-head pump: Many modern pumps come with interchangeable heads for both valve types.
Problem: Tire Feels Hard But Pressure Is Low
This could mean the gauge is faulty or the tire has a slow leak.
Solutions:
– Test with a second gauge: Compare readings from two different gauges.
– Check for rim damage: A bent or cracked rim can cause air to escape around the tire bead.
Problem: Pump Is Too Slow or Weak
Hand pumps can be tiring, especially for high-PSI tires.
Solutions:
– Use a floor pump: These have larger cylinders and require less effort.
– Upgrade to an electric pump: Portable electric pumps (like the AstroAI or EPAuto) are fast, accurate, and great for on-the-go use.
Maintenance Tips to Keep Your Gotrax Tires in Top Shape
Inflating your tire is just one part of the equation. To maximize tire life and performance, follow these maintenance tips:
- Check pressure weekly: Even if you don’t ride often, tires naturally lose air over time (about 1–2 PSI per month).
- Avoid extreme temperatures: Store your scooter in a cool, dry place. Heat expands air; cold contracts it.
- Rotate tires (if applicable): Some models allow tire rotation to even out wear.
- Clean tires regularly: Wipe off dirt, oil, and debris to prevent degradation.
- Inspect for wear: Look for cracks, bulges, or worn tread. Replace tires if they show signs of damage.
💡 Did You Know? Properly inflated tires can improve your Gotrax’s range by up to 15%. That’s more miles per charge—and more fun on the road!
When to Replace Your Gotrax Tire
No tire lasts forever. Even with perfect inflation, Gotrax tires will eventually wear out. Here’s when to consider a replacement:
– Tread is worn smooth: If you can’t see any tread pattern, traction is compromised.
– Cracks or dry rot: Especially around the sidewalls, this indicates aging rubber.
– Frequent flats: If you’re patching tires every few weeks, it’s time for a new one.
– Blowouts or bulges: These are serious safety hazards and require immediate replacement.
Replacing a Gotrax tire is a bit more involved than inflating it, but many models allow DIY replacement with basic tools. Always use a compatible tire size (check your manual) and consider upgrading to puncture-resistant tires for added durability.
Conclusion: Keep Rolling with Confidence
Learning how to put air in Gotrax tire is a simple but essential skill for any Gotrax owner. With just a few minutes and the right tools, you can ensure your scooter performs at its best—delivering a smooth ride, longer battery life, and safer handling.
Remember: regular checks, proper inflation, and timely maintenance go a long way. Don’t wait until your tire is flat to take action. Make tire care part of your routine, and your Gotrax will reward you with reliable, enjoyable rides for years to come.
So grab your pump, check that pressure, and get back on the road—your scooter (and your future self) will thank you!