
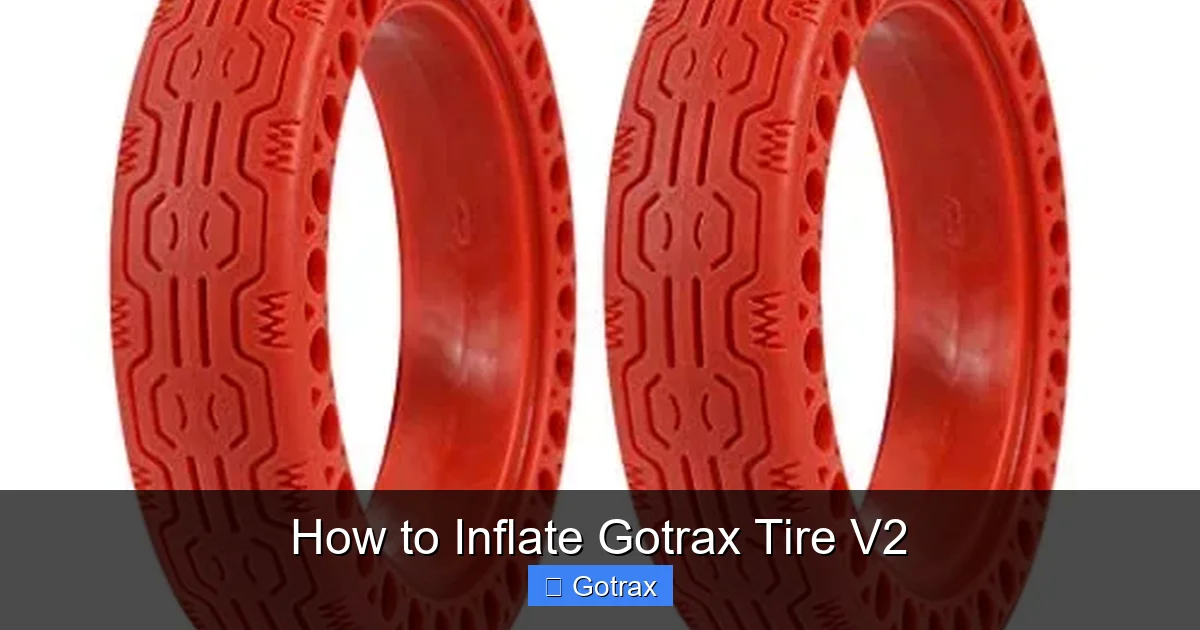
This guide walks you through how to inflate Gotrax Tire V2 tires the right way, ensuring safety, performance, and longevity. You’ll learn what tools to use, how to check pressure, and avoid common mistakes.
Key Takeaways
- Use a compatible pump: A standard bike pump with a pressure gauge works best for Gotrax Tire V2 inflation.
- Check tire pressure regularly: Maintain 35–40 PSI for optimal ride quality and safety.
- Inspect tires before inflating: Look for damage, debris, or wear that could affect performance.
- Remove the valve cap carefully: Keep it safe to avoid losing it during inflation.
- Inflate slowly and monitor pressure: Overinflating can damage the tire or cause blowouts.
- Reattach the valve cap securely: This prevents air leaks and keeps dirt out.
- Test ride after inflation: Ensure smooth handling and no unusual noises.
How to Inflate Gotrax Tire V2: A Complete Step-by-Step Guide
Keeping your Gotrax scooter’s tires properly inflated is one of the simplest yet most important maintenance tasks you can do. Whether you’re a daily commuter or a weekend rider, underinflated or overinflated tires can affect your scooter’s speed, handling, battery life, and safety. The Gotrax Tire V2, found on popular models like the GXL V2, G4, and GMAX, uses standard pneumatic (air-filled) tires that require regular attention.
In this comprehensive guide, you’ll learn exactly how to inflate Gotrax Tire V2 tires safely and effectively. We’ll cover everything from the tools you need to step-by-step inflation instructions, troubleshooting tips, and how to maintain proper tire pressure over time. By the end, you’ll feel confident handling this essential task like a pro—no mechanic required.
Why Proper Tire Inflation Matters
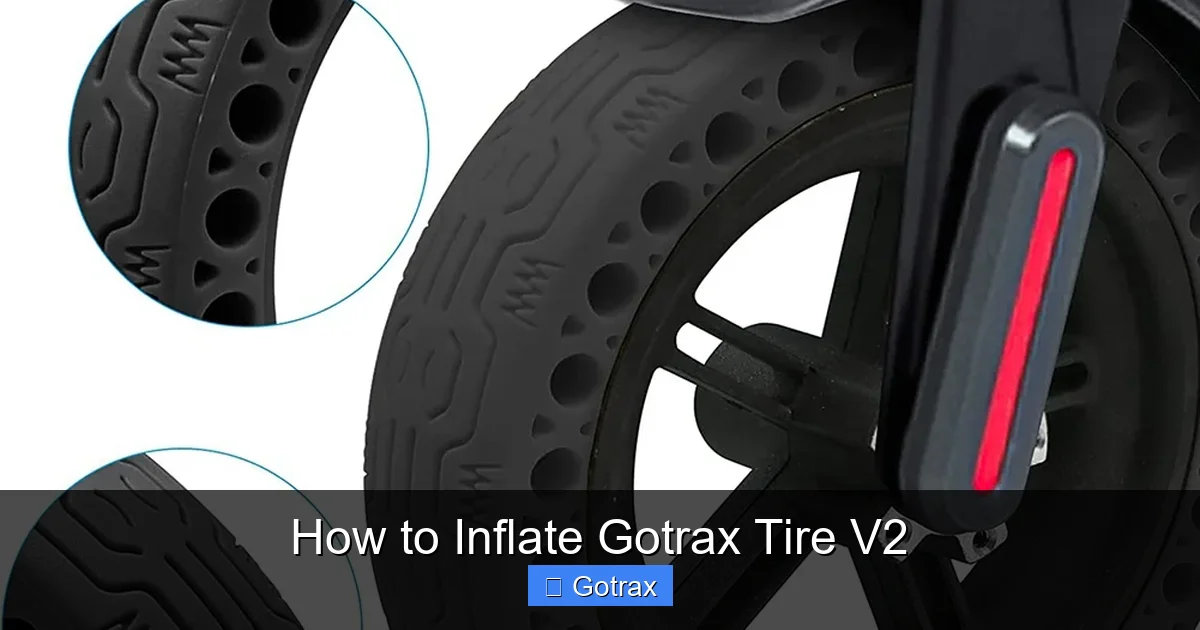
Visual guide about How to Inflate Gotrax Tire V2
Image source: i5.walmartimages.com
Before diving into the how-to, let’s talk about why this matters. Gotrax scooters are designed to perform best when their tires are inflated to the recommended pressure, which is typically between 35 and 40 PSI (pounds per square inch). Here’s what happens when your tires aren’t at the right pressure:
- Underinflated tires: Increase rolling resistance, making your scooter harder to ride and reducing battery efficiency. They also wear out faster and are more prone to pinch flats.
- Overinflated tires: Provide a harsher ride, reduce traction, and increase the risk of blowouts, especially on rough terrain or during sudden stops.
- Uneven inflation: Can cause your scooter to pull to one side, making it harder to control and potentially unsafe.
Proper inflation ensures a smooth, safe, and efficient ride. It also extends the life of your tires and helps your scooter perform at its best. Think of it like keeping your car’s tires filled—small effort, big payoff.
Tools You’ll Need
You don’t need fancy equipment to inflate your Gotrax Tire V2. Here’s a simple list of what you’ll need:
- Bike pump with pressure gauge: A floor pump or hand pump designed for bicycles works perfectly. Look for one with a built-in gauge so you can monitor PSI accurately.
- Valve adapter (if needed): Gotrax Tire V2 uses a standard Schrader valve (the same as car tires), so most bike pumps will fit. If your pump has a Presta-only head, you may need a Schrader adapter.
- Clean cloth or rag: To wipe off dirt or debris from the valve before inflating.
- Tire pressure gauge (optional): If your pump doesn’t have a reliable gauge, a separate handheld gauge ensures accuracy.
- Owner’s manual (optional): For model-specific recommendations, though most Gotrax scooters use the same tire specs.
Most people already have a bike pump at home, so this process is both affordable and accessible. If you don’t own one, you can find a decent floor pump for under $30 at bike shops, sporting goods stores, or online retailers like Amazon.
Step-by-Step Guide to Inflating Gotrax Tire V2
Now that you know why it’s important and what tools to use, let’s walk through the actual process. Follow these steps carefully to ensure a safe and effective inflation.
Step 1: Prepare Your Scooter
Start by placing your Gotrax scooter on a flat, stable surface. Turn it off and, if possible, remove the key or disconnect the battery for safety. This prevents accidental starts while you’re working on the tires.
Next, inspect both tires visually. Look for:
- Cracks, cuts, or bulges in the rubber
- Embedded objects like nails, glass, or thorns
- Excessive wear or uneven tread patterns
If you spot any damage, do not inflate the tire. Instead, consult a professional or consider replacing the tire. Riding on a damaged tire can be dangerous.
Step 2: Locate the Valve Stem
The valve stem is the small metal tube sticking out of the tire where air goes in and out. On the Gotrax Tire V2, it uses a Schrader valve—the same type found on car tires and most bike tires.
You’ll see a small plastic cap covering the valve. This cap protects the valve from dirt and debris. Before removing it, wipe the area around the valve with a clean cloth to prevent dirt from falling into the valve when you open it.
Step 3: Remove the Valve Cap
Unscrew the valve cap by turning it counterclockwise. Set it aside in a safe place—like a small container or your pocket—so you don’t lose it. Valve caps are small and easy to misplace, so don’t leave it on the ground.
Once the cap is off, you’ll see the valve core inside. It has a small pin in the center. Do not press or remove this pin unless you’re deflating the tire. For inflation, you’ll attach your pump directly to the valve.
Step 4: Check Current Tire Pressure
Before adding air, it’s smart to check how much air is already in the tire. This helps you avoid overinflation.
Attach your pump’s hose to the valve stem. Make sure it’s seated securely. If your pump has a lever or clamp, lock it into place. Then, look at the pressure gauge.
Most Gotrax scooters recommend a tire pressure of 35–40 PSI. If the gauge shows below 35, you’ll need to add air. If it’s above 40, you may need to release some air first.
Pro Tip: If your pump doesn’t have a gauge, use a separate handheld tire pressure gauge. Simply press it onto the valve stem after attaching and releasing the pump. It’s a small investment that pays off in accuracy.
Step 5: Inflate the Tire
Now it’s time to add air. Follow these sub-steps:
Attach the Pump Securely
Press the pump head firmly onto the valve stem. If your pump has a locking lever, flip it down to create a tight seal. You should hear a slight hiss if air is escaping—this is normal at first, but it should stop once the seal is secure.
Begin Pumping
Start pumping slowly and steadily. Watch the pressure gauge as you go. Each pump stroke adds a small amount of air, so don’t rush.
Example: If your tire is at 25 PSI and you need to reach 38 PSI, you’ll need to add about 13 PSI. Depending on your pump, this might take 20–40 strokes.
Monitor the Gauge
Keep an eye on the pressure reading. Stop periodically to check. It’s better to go slowly and avoid overshooting the target.
Stop at the Recommended PSI
Once the gauge reads between 35 and 40 PSI, stop pumping. For most riders, 38 PSI is a sweet spot—firm enough for efficiency but still comfortable on bumps.
Warning: Never exceed 40 PSI. Overinflation can cause the tire to burst, especially in hot weather or during hard braking.
Step 6: Detach the Pump
When you’ve reached the desired pressure, carefully remove the pump. If your pump has a lever, release it first. Then pull the head straight off the valve stem.
You might hear a brief hiss of air—this is normal as the seal breaks. Don’t worry; it doesn’t mean you’re losing significant pressure.
Step 7: Reattach the Valve Cap
Screw the valve cap back on by turning it clockwise. Make sure it’s snug, but don’t overtighten. The cap’s main job is to keep dirt and moisture out, not to hold pressure.
A loose cap can fall off during riding, so give it a gentle twist until it’s secure.
Step 8: Repeat for the Other Tire
Don’t forget the second tire! Repeat the entire process for the other side. Even if one tire looks fine, both should be checked and inflated to the same pressure for balanced handling.
Step 9: Test Ride Your Scooter
Once both tires are inflated, take your Gotrax for a short test ride. Pay attention to:
- How the scooter handles—does it feel smooth and stable?
- Any unusual noises, like squeaking or thumping?
- Does it pull to one side?
If everything feels normal, you’re good to go. If not, double-check the tire pressure or inspect for other issues.
Tips for Maintaining Proper Tire Pressure
Inflating your tires isn’t a one-and-done task. Air naturally leaks over time, and temperature changes can affect pressure. Here are some tips to keep your Gotrax Tire V2 in top shape:
- Check pressure weekly: Make it a habit to check your tires once a week, especially if you ride daily.
- Inflate before long rides: Always check pressure before heading out on a long trip or commute.
- Adjust for temperature: Cold weather can cause pressure to drop. If you store your scooter in a garage or outdoors in winter, check and inflate more frequently.
- Use a quality pump: A pump with a reliable gauge ensures accuracy. Cheap pumps may give false readings.
- Keep a pump handy: Store a small hand pump or portable inflator in your scooter bag for emergencies.
Troubleshooting Common Issues
Even with careful steps, you might run into problems. Here’s how to handle the most common issues when inflating Gotrax Tire V2 tires.
Pump Won’t Attach to the Valve
If your pump doesn’t fit, double-check the valve type. Gotrax uses Schrader valves, so most bike pumps should work. If your pump is Presta-only, buy a Schrader adapter (available for under $5 online).
Air Leaks When Pumping
A small hiss is normal when attaching the pump, but if air keeps escaping, the seal may not be tight. Reattach the pump head and ensure the lever is fully locked. If the problem persists, the valve core might be damaged and need replacement.
Tire Won’t Hold Air
If the tire loses pressure quickly after inflation, you may have a slow leak. Common causes include:
- A puncture from a nail or sharp object
- A damaged valve core
- A cracked rim or tire bead
To find the leak, mix soap and water and apply it to the tire. Bubbles will form where air is escaping. Small punctures can sometimes be repaired with a tire plug kit, but severe damage may require a new tire.
Gauge Shows Inaccurate Readings
If your pump’s gauge seems off, test it with a separate handheld gauge. Calibrate or replace the pump if needed. Inaccurate readings can lead to under- or overinflation.
Tire Feels Too Hard or Too Soft After Inflation
If the ride feels too bumpy, your tires might be overinflated. Release a little air and recheck the pressure. If it feels sluggish or wobbly, they may be underinflated—add air in small increments.
How Often Should You Inflate Gotrax Tire V2?
There’s no one-size-fits-all answer, but here’s a general guideline:
- Daily riders: Check pressure every 3–5 days.
- Weekly riders: Check before each ride.
- Seasonal riders: Check before the first ride of the season and monthly during storage.
Air can escape slowly over time, even without visible damage. A quick check takes less than two minutes and can prevent bigger problems down the road.
Safety Reminders
While inflating tires is simple, safety should always come first:
- Never inflate a tire that’s damaged or bulging.
- Don’t use an air compressor at a gas station unless you have a pressure regulator—they can overinflate tires in seconds.
- Wear eye protection if you’re using a high-pressure pump.
- Keep children and pets away while inflating.
Conclusion
Learning how to inflate Gotrax Tire V2 tires is a small but powerful skill that enhances your scooter’s performance, safety, and lifespan. With the right tools and a few minutes of your time, you can ensure a smooth, efficient, and enjoyable ride every time you hit the road.
Remember: check your tires regularly, inflate to 35–40 PSI, and always use a pump with a reliable gauge. Keep your valve caps secure, inspect for damage, and don’t ignore changes in how your scooter handles.
By following this guide, you’re not just maintaining your scooter—you’re taking control of your ride. So grab your pump, give those tires some love, and enjoy the journey with confidence.