
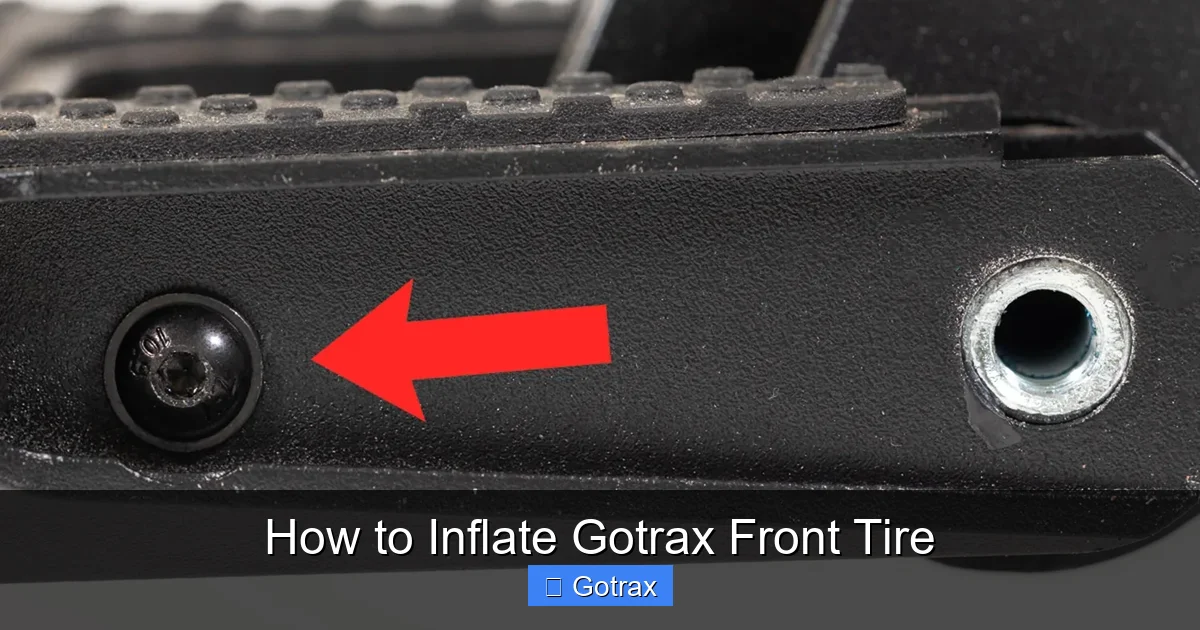
This guide walks you through how to inflate Gotrax front tire the right way, ensuring safety, performance, and longevity. You’ll learn what tools to use, how to check pressure, and avoid common mistakes.
Key Takeaways
- Check tire pressure regularly: Proper inflation improves ride quality, battery life, and tire lifespan.
- Use a compatible pump: A Presta or Schrader valve-compatible pump with a pressure gauge is essential.
- Know your tire’s PSI range: Most Gotrax front tires require 35–50 PSI—check the sidewall for exact specs.
- Inspect for damage first: Look for cuts, punctures, or worn tread before inflating.
- Inflate slowly and monitor pressure: Overinflation can cause blowouts; underinflation leads to poor handling.
- Reinflate after temperature changes: Cold weather reduces tire pressure; warm weather increases it.
- Store your scooter properly: Keep it in a dry, temperature-stable area to maintain tire health.
How to Inflate Gotrax Front Tire: A Complete Step-by-Step Guide
If you own a Gotrax electric scooter, you know how important it is to keep your ride smooth, safe, and efficient. One of the most overlooked yet critical maintenance tasks is inflating the front tire. Whether you’re a daily commuter or a weekend rider, knowing how to inflate Gotrax front tire correctly can make a big difference in your scooter’s performance, comfort, and safety.
In this comprehensive guide, we’ll walk you through everything you need to know—from identifying the right tire pressure to choosing the best pump, performing the inflation process, and troubleshooting common issues. By the end, you’ll be confident in maintaining your Gotrax scooter’s front tire like a pro.
Let’s get started!
Why Proper Tire Inflation Matters
Before diving into the steps, it’s important to understand why inflating your Gotrax front tire matters so much. Tires are the only part of your scooter that touches the ground, so their condition directly affects your ride.
When your front tire is underinflated, you’ll notice:
– A bumpy, uncomfortable ride
– Reduced battery efficiency (the motor works harder)
– Increased risk of pinch flats or tire damage
– Poor handling, especially on turns or wet surfaces
On the other hand, overinflated tires can:
– Cause a harsh, jarring ride
– Increase the chance of blowouts on rough terrain
– Reduce traction, making braking less effective
The sweet spot? Proper inflation. Most Gotrax front tires are designed to operate between 35 and 50 PSI (pounds per square inch), but always check your specific model. Properly inflated tires give you better control, longer battery life, and a smoother ride.
Tools and Equipment You’ll Need
Before you begin, make sure you have the right tools on hand. You don’t need anything fancy—just a few basics to get the job done safely and effectively.
1. A Compatible Air Pump
You’ll need a pump that works with your tire’s valve type. Most Gotrax scooters use either a Schrader valve (the same as car tires) or a Presta valve (thinner, common on bikes). Check your tire’s valve stem to identify which one you have.
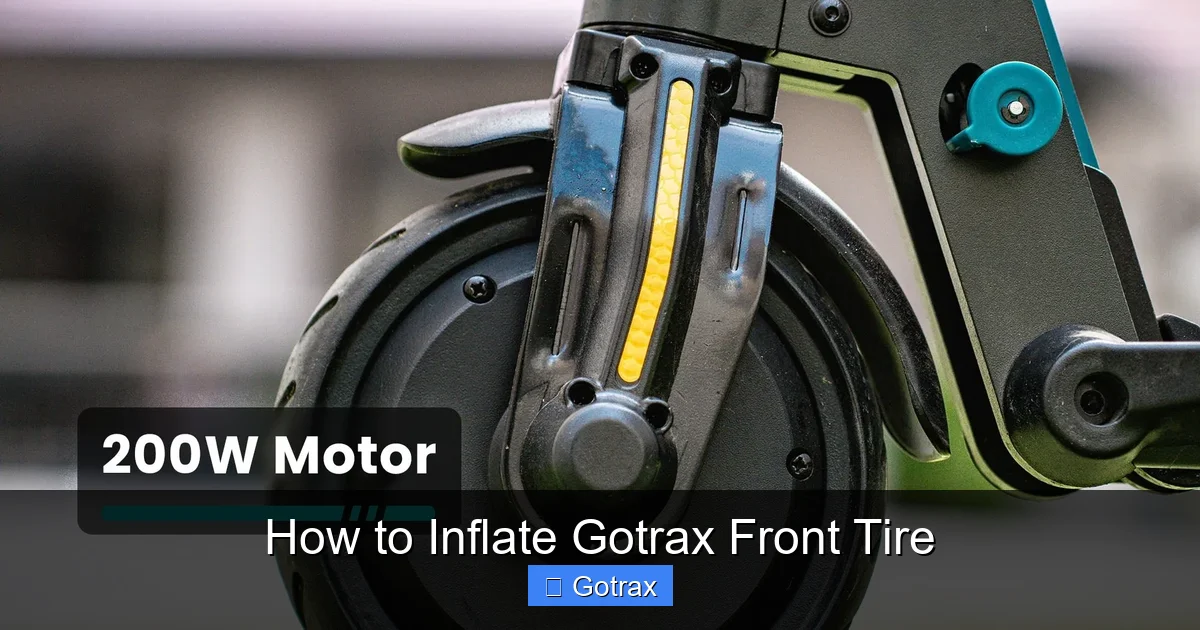
Visual guide about How to Inflate Gotrax Front Tire
Image source: gotrax.com
Recommended pump types:
- Hand pump: Portable and affordable, great for on-the-go use.
- Foot pump: Hands-free operation, good for home use.
- Electric pump: Fast and convenient, especially if you have multiple tires to inflate.
- Portable mini pump: Compact and battery-powered, ideal for carrying in a backpack.
Tip: Look for a pump with a built-in pressure gauge. This lets you monitor PSI in real time and avoid overinflation.
2. Tire Pressure Gauge (Optional but Recommended)
If your pump doesn’t have a built-in gauge, use a separate tire pressure gauge. Digital gauges are more accurate than analog ones, but both work fine. A good gauge helps you verify the pressure after inflation.
3. Soapy Water (For Leak Detection)
A small spray bottle with soapy water can help you detect air leaks. Spray it around the valve and tire surface—if bubbles form, you’ve found a leak.
4. Rag or Cloth
Use this to wipe dust or dirt from the valve before inflating. Clean valves ensure a tight seal and prevent air from escaping.
5. Owner’s Manual (For Reference)
Your Gotrax scooter’s manual lists the recommended tire pressure. If you’ve lost it, check the Gotrax website or look for a sticker on the scooter frame near the front wheel.
Step-by-Step Guide to Inflating Your Gotrax Front Tire
Now that you’re prepared, let’s go through the process step by step. Follow these instructions carefully to ensure a safe and effective inflation.
Step 1: Prepare Your Scooter
Start by placing your Gotrax scooter on a flat, stable surface. Turn it off and remove the key if applicable. If your scooter has a kickstand, use it. If not, lean it gently against a wall or use a scooter stand to keep it upright.
Make sure the front wheel is accessible and not blocked by anything. You’ll need room to work around the tire and valve.
Step 2: Locate the Valve Stem
Look at the side of your front tire. You’ll see a small metal stem sticking out—this is the valve. It’s usually near the rim, close to where the tire meets the wheel.
Identify the valve type:
- Schrader valve: Looks like a car tire valve—thicker, with a spring-loaded pin in the center.
- Presta valve: Thinner, with a small nut at the top that you unscrew to open.
Gotrax scooters most commonly use Schrader valves, but some models may have Presta. If you’re unsure, compare it to images online or check your manual.
Step 3: Remove the Valve Cap
Unscrew the small plastic cap from the valve stem. Keep it in a safe place—don’t lose it! The cap protects the valve from dirt and moisture, so always replace it after inflating.
Tip: If the cap is stuck, use a clean cloth for better grip. Never use tools like pliers, as they can damage the valve.
Step 4: Check the Current Tire Pressure
Before adding air, check how much pressure is already in the tire. This helps you avoid overinflation.
To check:
- Press the tire pressure gauge onto the valve stem.
- Press down firmly until you hear a hiss—this means air is flowing into the gauge.
- Read the PSI on the gauge display.
If your pump has a built-in gauge, you can skip this step and monitor pressure as you inflate.
Note: If the tire is completely flat, you may need to add a small amount of air first to get a reading.
Step 5: Attach the Pump to the Valve
Now it’s time to connect your pump. The method depends on your valve type.
For Schrader Valves:
- Press the pump head straight onto the valve stem.
- Push down firmly until you hear a click or feel it lock in place.
- Some pumps have a lever—flip it up to secure the connection.
For Presta Valves:
- Unscrew the small nut at the top of the valve (turn counterclockwise).
- Press the pump head onto the valve.
- Lock it in place using the pump’s lever or twist mechanism.
Tip: If air escapes when you attach the pump, reposition it and press harder. A tight seal is essential.
Step 6: Inflate the Tire
Start pumping air into the tire. Use steady, even strokes if using a hand pump. If using an electric pump, turn it on and let it do the work.
Monitor the pressure gauge closely. Most Gotrax front tires should be inflated to 35–50 PSI, but always check your model’s specifications. Overinflation can damage the tire or rim.
Example: If your tire currently reads 25 PSI and the recommended pressure is 40 PSI, add air in small increments until you reach 40.
Tip: Inflate slowly. Rapid pumping can cause pressure spikes and make it harder to control the final PSI.
Step 7: Check Pressure Again
Once you’ve added air, remove the pump and immediately check the pressure with your gauge. This confirms the tire is at the correct level.
If it’s too low, reattach the pump and add more air. If it’s too high, release some air by pressing the valve pin gently with a small tool (like a pen cap). Recheck the pressure after releasing air.
Repeat until the tire reaches the recommended PSI.
Step 8: Replace the Valve Cap
Once the tire is properly inflated, screw the valve cap back on tightly. This keeps dirt and moisture out of the valve, which can cause leaks over time.
Tip: Don’t overtighten the cap—just finger-tight is enough.
Step 9: Test the Tire
Give the front wheel a spin to make sure it rotates freely. Press down on the handlebars to test the suspension and feel the ride quality. A properly inflated tire should feel firm but not rock-hard.
If the ride feels too bouncy or too stiff, adjust the pressure slightly and test again.
Tips for Maintaining Proper Tire Pressure
Inflating your Gotrax front tire isn’t a one-time task. Tires naturally lose air over time due to temperature changes, usage, and tiny leaks. Here’s how to keep them in top shape.
Check Pressure Weekly
Make it a habit to check your tire pressure at least once a week, especially if you ride daily. Even a small drop in PSI can affect performance.
Adjust for Weather
Temperature changes affect tire pressure. Cold weather causes air to contract, lowering PSI. Warm weather does the opposite.
Example: If you inflate your tire to 40 PSI on a warm day, it might drop to 35 PSI on a cold morning. Always check and adjust before riding in extreme temperatures.
Store Your Scooter Properly
Keep your Gotrax in a dry, temperature-stable area. Avoid leaving it in direct sunlight, garages with extreme temperature swings, or damp basements. These conditions can weaken tires and cause air loss.
Inspect Tires Regularly
Look for signs of wear, such as:
– Cracks in the rubber
– Bald or uneven tread
– Bulges or cuts
– Embedded objects (nails, glass, etc.)
If you spot any damage, replace the tire immediately. Riding on a damaged tire is dangerous and can lead to blowouts.
Use a Tire Sealant (Optional)
Some riders use liquid tire sealant to prevent small punctures from causing flats. These sealants are injected through the valve and fill tiny holes automatically. While not necessary, they can be helpful for frequent riders.
Troubleshooting Common Issues
Even with careful maintenance, you might run into problems when inflating your Gotrax front tire. Here’s how to solve the most common issues.
Issue 1: Air Leaks from the Valve
If air escapes when you attach the pump or after inflation, the valve may be dirty or damaged.
Solution:
- Clean the valve with a damp cloth.
- Use soapy water to check for bubbles—this pinpoints the leak.
- If the valve core is loose, tighten it with a valve core tool.
- If the valve is cracked or worn, replace it or the entire inner tube.
Issue 2: Pump Won’t Attach Properly
Sometimes the pump head doesn’t fit snugly on the valve.
Solution:
- Make sure you’re using the correct pump head for your valve type.
- Check for dirt or debris on the valve or pump.
- Try a different pump or adapter if needed.
Issue 3: Tire Won’t Hold Air
If the tire loses pressure quickly after inflation, there may be a puncture or damaged inner tube.
Solution:
- Submerge the tire in water or use soapy water to find bubbles.
- Patch small punctures with a tire repair kit.
- Replace the inner tube or tire if damage is severe.
Issue 4: Overinflated Tire
If you accidentally inflate past the recommended PSI, don’t panic.
Solution:
- Press the valve pin gently to release air.
- Use a gauge to monitor pressure as you release air.
- Stop when you reach the correct PSI.
Issue 5: Flat Tire Won’t Inflate
If the tire is completely flat and won’t hold air, there’s likely a major leak or damaged tube.
Solution:
- Remove the wheel and inspect the tire and tube.
- Look for nails, cuts, or worn spots.
- Replace the inner tube or tire as needed.
When to Replace Your Gotrax Front Tire
No tire lasts forever. Even with proper inflation and care, Gotrax front tires will eventually wear out. Here’s when it’s time to replace yours:
- Tread is worn down: If the tread is smooth or uneven, traction is reduced.
- Cracks or dry rot: Rubber breaks down over time, especially in sunlight.
- Frequent flats: If you’re patching the tire every few weeks, it’s time for a new one.
- Blowouts or bulges: These are signs of structural damage.
- Age: Most scooter tires last 1–3 years, depending on use.
Replacing a tire is more complex than inflating one and may require professional help. If you’re not comfortable doing it yourself, visit a bike shop or contact Gotrax support.
Conclusion
Knowing how to inflate Gotrax front tire is a simple but essential skill for any scooter owner. With the right tools, a little patience, and regular checks, you can keep your ride smooth, safe, and efficient for miles to come.
Remember: proper inflation isn’t just about comfort—it’s about safety, performance, and longevity. By following this guide, you’ll avoid common pitfalls, extend the life of your tires, and get the most out of your Gotrax scooter.
So grab your pump, check that pressure, and hit the road with confidence. Your front tire—and your future rides—will thank you.