
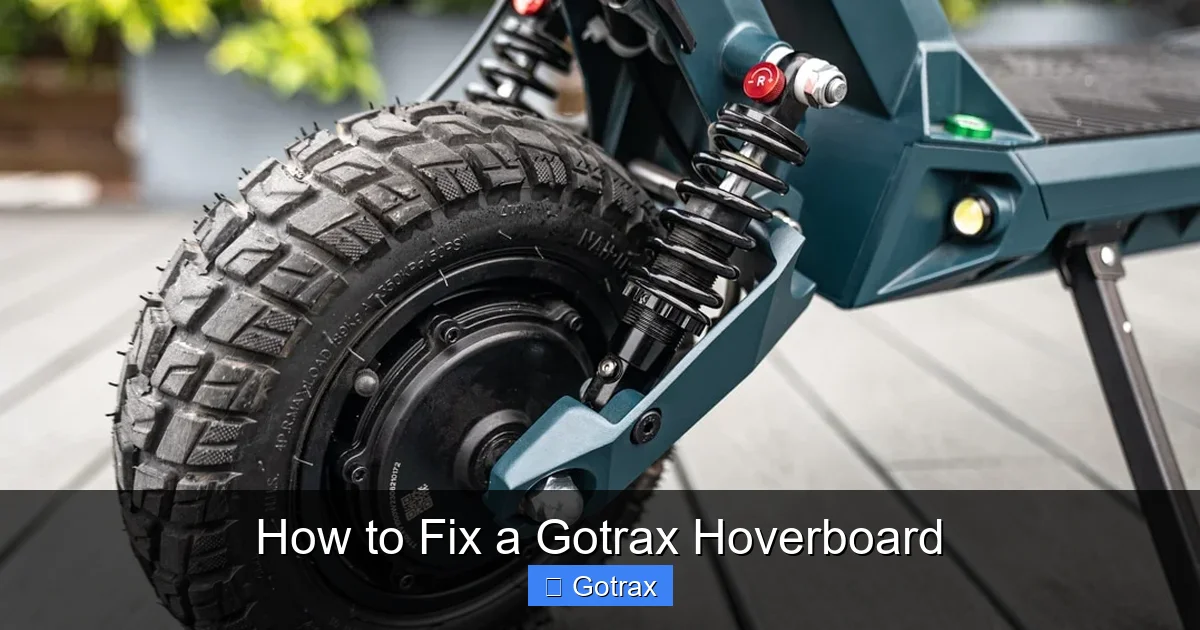
This guide walks you through how to fix a Gotrax hoverboard with easy, do-it-yourself solutions. From power problems to wheel alignment, you’ll learn practical fixes to get your hoverboard back in action quickly and safely.
Key Takeaways
- Check the battery first: Most Gotrax hoverboard issues stem from low or faulty batteries. Always test and charge before assuming hardware failure.
- Calibrate the hoverboard regularly: Misalignment or unresponsive controls are often fixed with a simple calibration using the power button or app.
- Inspect wheels and motors for debris: Dirt, pebbles, or hair can jam the wheels or strain motors. Clean them monthly to prevent performance drops.
- Use the Gotrax app for diagnostics: The official app can detect error codes, update firmware, and guide you through repairs.
- Never ignore safety lights: Flashing red or blue lights signal specific problems. Learn what each pattern means to fix issues faster.
- Replace worn parts promptly: Failing motors, sensors, or foot pads reduce performance and safety. Order genuine Gotrax parts for best results.
- Follow charging best practices: Avoid overcharging and use only the included charger to extend battery life and prevent damage.
How to Fix a Gotrax Hoverboard: A Complete DIY Guide
Gotrax hoverboards are fun, eco-friendly personal transporters loved by kids and adults alike. But like any electronic device, they can run into problems. Whether your hoverboard won’t turn on, wobbles, or stops responding, don’t panic—most issues are fixable at home with a few simple steps.
In this guide, you’ll learn how to fix a Gotrax hoverboard from start to finish. We’ll cover common problems, step-by-step troubleshooting, and preventive maintenance tips. No technical experience? No problem. With clear instructions and practical advice, you’ll get your hoverboard back on the road—safely and efficiently.
Understanding Your Gotrax Hoverboard
Before diving into repairs, it helps to know how your hoverboard works. Gotrax hoverboards use a combination of gyroscopic sensors, motors, and a rechargeable lithium-ion battery. When you lean forward or backward, sensors detect the tilt and signal the motors to spin the wheels accordingly. The foot pads have pressure sensors that help maintain balance and control.

Visual guide about How to Fix a Gotrax Hoverboard
Image source: howtofinders.com
Most Gotrax models, like the GXL V2 or XR, come with Bluetooth connectivity, LED lights, and a companion app. These features not only enhance the riding experience but also help with diagnostics. Understanding these components will help you pinpoint issues faster.
Common Gotrax Hoverboard Problems
Hoverboards can fail for many reasons, but most issues fall into a few categories. Here are the most common problems users face:
- Battery won’t charge or drains quickly
- Hoverboard won’t turn on
- One wheel spins slower or not at all
- Hoverboard wobbles or drifts to one side
- Foot pads don’t respond
- LED lights flash error codes
- Bluetooth or app connection fails
Don’t worry—each of these issues has a solution. Let’s go through them one by one.
How to Fix a Gotrax Hoverboard That Won’t Turn On
If your hoverboard is completely dead, the problem is usually power-related. Follow these steps to get it back online.
Step 1: Check the Battery Level
Plug in the charger and let the hoverboard charge for at least 4–6 hours. A fully drained battery may take time to show signs of life. Look for the charging light—green means fully charged, red means charging.
Step 2: Inspect the Charger and Port
Make sure you’re using the original Gotrax charger. Third-party chargers may not deliver the correct voltage. Check the charging port for dirt, lint, or bent pins. Use a toothpick or compressed air to clean it gently.
Step 3: Try a Hard Reset
Turn off the hoverboard, unplug the charger, and hold the power button for 10–15 seconds. This drains residual power and resets the internal system. Plug it back in and try turning it on.
Step 4: Test the Battery
If the hoverboard still won’t turn on, the battery may be faulty. You can test it with a multimeter (set to DC voltage). A healthy Gotrax battery should read around 36V when fully charged. If it’s below 30V, consider replacing it.
How to Fix a Gotrax Hoverboard That Won’t Charge
A hoverboard that won’t charge is frustrating, but often fixable. Here’s how to troubleshoot.
Step 1: Verify the Charger Works
Plug the charger into a working outlet and check if the LED on the charger lights up. If not, the charger may be broken. Try a different outlet or borrow a known working charger to test.
Step 2: Clean the Charging Port
Over time, dust and debris can block the charging port. Use a soft brush or compressed air to clean it. Avoid using water or metal tools—they can damage the contacts.
Step 3: Check for Loose Connections
Open the hoverboard’s casing (only if you’re comfortable doing so). Look for loose wires connecting the battery to the charging port. Reconnect any that are loose. Be sure to disconnect the battery before working inside.
Step 4: Replace the Battery
If the battery is old or damaged, it may not hold a charge. Gotrax batteries typically last 1–2 years with regular use. You can buy replacement batteries online—make sure they match your model (e.g., GXL V2 battery).
How to Fix a Gotrax Hoverboard That Wobbles or Drifts
If your hoverboard pulls to one side or feels unstable, it’s likely a calibration or alignment issue.
Step 1: Calibrate the Hoverboard
Turn off the hoverboard and place it on a flat, level surface. Press and hold the power button for 5–10 seconds until the LED lights flash. Release the button and wait for the lights to stop flashing. This resets the gyroscope and sensors.
Step 2: Use the Gotrax App
Download the Gotrax app (available on iOS and Android). Connect your hoverboard via Bluetooth and use the “Calibration” feature. The app will guide you through the process and confirm when it’s complete.
Step 3: Check Wheel Alignment
Inspect both wheels to ensure they’re spinning freely and at the same speed. If one wheel is slower, it could be due to a jammed motor or misaligned sensor. Clean the wheels and check for obstructions.
Step 4: Test on a Smooth Surface
Rough or uneven terrain can cause wobbling. Try riding on a flat, smooth floor to see if the issue persists. If it does, the problem may be internal.
How to Fix a Gotrax Hoverboard with Unresponsive Foot Pads
Foot pads that don’t respond make riding impossible. This is usually a sensor or connection issue.
Step 1: Clean the Foot Pads
Dirt, moisture, or debris can interfere with the pressure sensors. Wipe the foot pads with a damp cloth and let them dry completely. Avoid using harsh chemicals.
Step 2: Check for Loose Wires
Open the hoverboard’s casing and locate the foot pad sensors. These are small circuit boards under each pad. Ensure the wires are securely connected. Re-solder if necessary (only if you have experience).
Step 3: Replace the Foot Pads
Over time, foot pads can wear out or lose sensitivity. You can buy replacement foot pads online. Installation is straightforward—just remove the old ones and snap the new ones in place.
Step 4: Recalibrate After Repair
After replacing or adjusting the foot pads, recalibrate the hoverboard using the power button method or the app. This ensures the sensors are properly aligned.
How to Fix a Gotrax Hoverboard with Motor Issues
If one wheel spins slower or not at all, the motor may be the culprit.
Step 1: Inspect the Wheel and Motor
Turn the hoverboard upside down and spin each wheel by hand. It should spin freely. If one feels stiff or makes grinding noises, there may be debris or a damaged motor.
Step 2: Clean the Motor and Wheel Hub
Use a small brush or compressed air to remove dirt, hair, or pebbles from the wheel hub and motor area. Be gentle—motors are delicate.
Step 3: Check Motor Connections
Open the casing and locate the motor wires. Ensure they’re securely connected to the mainboard. Loose connections can cause intermittent power loss.
Step 4: Test the Motor
If you have a multimeter, you can test the motor’s resistance. A healthy motor should show low resistance (a few ohms). If it reads infinite or zero, the motor may be dead.
Step 5: Replace the Motor
Replacing a motor is advanced but doable. Order a compatible motor for your Gotrax model. Follow online video guides for step-by-step instructions. Always disconnect the battery before working.
How to Fix Gotrax Hoverboard Error Codes
Gotrax hoverboards use LED lights to signal problems. Learning these codes can save you time.
Common Error Codes:
- Flashing red light (1 flash): Low battery. Charge fully.
- Flashing red light (2 flashes): Overheating. Let it cool down.
- Flashing red light (3 flashes): Motor error. Check connections or replace motor.
- Flashing red light (4 flashes): Gyroscope error. Recalibrate.
- Flashing red light (5 flashes): Battery voltage too high. Check charger or battery.
- Flashing blue light: Bluetooth pairing mode. Normal during setup.
Refer to your user manual or the Gotrax app for a full list of error codes. The app often provides detailed explanations and fixes.
How to Fix Gotrax Hoverboard Bluetooth or App Issues
Bluetooth problems can prevent app connectivity and firmware updates.
Step 1: Restart the Hoverboard and Phone
Turn off the hoverboard and your phone. Wait 30 seconds, then turn them back on. Try pairing again.
Step 2: Forget and Re-Pair
On your phone, go to Bluetooth settings and “Forget” the hoverboard. Then, put the hoverboard in pairing mode (usually by holding the power button) and reconnect.
Step 3: Update the App and Firmware
Make sure the Gotrax app is updated. Open it and check for firmware updates for your hoverboard. Updates can fix bugs and improve performance.
Step 4: Reset Bluetooth Module
If the issue persists, the Bluetooth module inside the hoverboard may need a reset. This requires opening the casing and locating the module. Disconnect and reconnect its wires.
Preventive Maintenance Tips
Regular care can prevent many hoverboard problems. Here’s how to keep your Gotrax in top shape.
Charge Properly
Always use the original charger. Avoid overcharging—unplug once the light turns green. Charge after each use, but don’t leave it plugged in overnight.
Store in a Cool, Dry Place
Heat and moisture damage electronics. Store your hoverboard indoors, away from direct sunlight or damp areas.
Clean Monthly
Wipe down the body, foot pads, and wheels. Use a dry or slightly damp cloth. Avoid water near the charging port or internal components.
Inspect Before Riding
Check tires, foot pads, and lights before each ride. Look for cracks, loose parts, or debris.
Calibrate Regularly
Calibrate your hoverboard every few weeks or after a hard fall. This keeps the sensors accurate.
When to Contact Gotrax Support
Some issues are beyond DIY fixes. Contact Gotrax customer support if:
- The hoverboard is under warranty and has a major defect
- You’ve tried all troubleshooting steps and it still doesn’t work
- You’re uncomfortable opening the device or handling electronics
- The battery or motor needs professional replacement
Gotrax offers email and phone support. Have your model number and purchase date ready. They may offer free repairs or replacements under warranty.
Final Thoughts
Learning how to fix a Gotrax hoverboard doesn’t require a degree in engineering. With patience and the right steps, most common problems can be solved at home. From battery issues to motor troubles, this guide covers everything you need to know.
Remember: safety first. Always disconnect the battery before opening the hoverboard. Use genuine Gotrax parts for replacements. And when in doubt, consult the manual or contact support.
With regular maintenance and quick fixes, your Gotrax hoverboard can provide years of smooth, fun rides. Now get out there and enjoy the ride!