
Discover how to fix a flat tire on a Gotrax scooter quickly and safely with our detailed guide. From diagnosing the issue to reassembling your scooter, we cover everything you need to get back on the road.
Key Takeaways
- Identify the cause of the flat: Check for punctures, valve leaks, or worn tread before starting repairs.
- Gather the right tools: You’ll need a tire lever, patch kit, pump, wrench, and possibly a spare inner tube.
- Remove the wheel safely: Use proper techniques to detach the front or rear wheel without damaging the scooter.
- Patch or replace the inner tube: Decide whether a patch will work or if a full tube replacement is needed.
- Reinstall and test: Carefully reassemble the wheel and inflate to the correct PSI before riding.
- Prevent future flats: Maintain proper tire pressure and avoid debris to extend tire life.
- Know when to seek help: If the tire is severely damaged, consult a professional or contact Gotrax support.
How to Fix a Flat Tire on a Gotrax Scooter
Riding a Gotrax scooter is a fun, eco-friendly way to get around town—until you hear that dreaded hissing sound and feel the scooter dragging. A flat tire can turn your smooth commute into a frustrating stop. But don’t worry! Fixing a flat tire on a Gotrax scooter isn’t as hard as it seems, especially if you’re prepared and know the right steps.
In this guide, we’ll walk you through everything you need to know to fix a flat tire on your Gotrax scooter, whether it’s the front or rear wheel. You’ll learn how to diagnose the problem, remove the wheel, patch or replace the inner tube, and get back on the road safely. We’ll also share practical tips to prevent future flats and troubleshoot common issues.
By the end of this guide, you’ll feel confident handling a flat tire on your own—no mechanic required. Let’s get started!
Why Gotrax Scooters Get Flat Tires
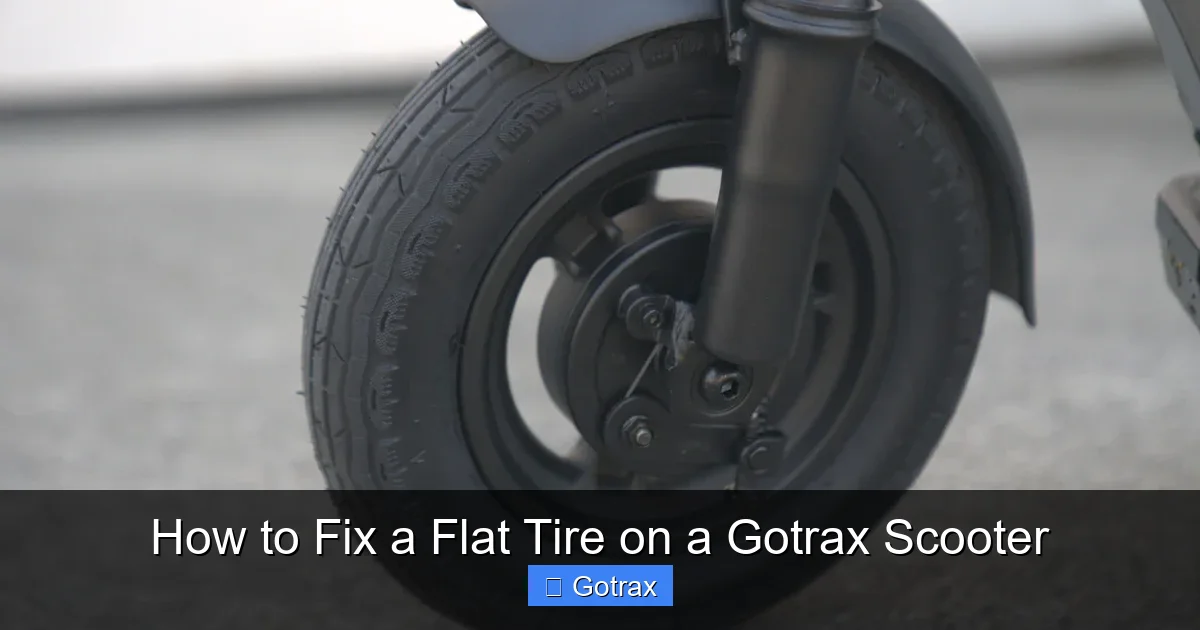
Visual guide about How to Fix a Flat Tire on a Gotrax Scooter
Image source: apolloscooters.co
Before diving into the repair process, it’s helpful to understand why Gotrax scooters get flat tires in the first place. Most Gotrax models, like the GXL, G4, and XR, use pneumatic (air-filled) tires, which are great for comfort and traction but can be prone to punctures.
Common causes of flat tires include:
- Punctures from sharp objects: Nails, glass, thorns, or metal shards on the road can pierce the tire and inner tube.
- Valve leaks: The Schrader or Presta valve can become loose or damaged, causing air to slowly escape.
- Worn tread: Over time, the tire surface wears down, making it more vulnerable to cuts and punctures.
- Underinflation: Riding with low tire pressure increases the risk of pinch flats (also called “snake bites”) when the tube gets pinched between the rim and an obstacle.
- Improper installation: If the inner tube wasn’t seated correctly during a previous repair, it can rub against the rim and wear out.
Knowing the cause helps you fix the issue correctly and avoid repeating the same mistake. For example, if you find a nail stuck in the tire, simply removing it and patching the tube might not be enough—you should also inspect the tire for damage and ensure the object is fully cleared.
Tools and Supplies You’ll Need
Having the right tools on hand makes the repair process much smoother. Here’s a checklist of what you’ll need to fix a flat tire on your Gotrax scooter:
- Tire levers (2–3): Plastic or metal tools that help pry the tire off the rim without damaging the tube.
- Patch kit: Includes rubber patches, glue, and sandpaper. Make sure it’s compatible with inner tubes.
- Portable pump or CO2 inflator: To reinflate the tire after repair. A hand pump works fine, but a mini electric pump is faster.
- Wrench or Allen key: Most Gotrax scooters use hex bolts to secure the wheels. Check your model to see if you need a 4mm, 5mm, or 6mm Allen key.
- Spare inner tube (optional but recommended): If the damage is too severe for a patch, you’ll need a replacement. Gotrax uses standard 8-inch or 9-inch tubes, depending on the model.
- Bucket of soapy water: Helps locate leaks by bubbling where air escapes.
- Clean rag or paper towels: For wiping grease and drying surfaces.
- Work gloves (optional): Protect your hands from dirt and sharp edges.
Tip: Keep a basic repair kit in your backpack or scooter storage compartment so you’re always prepared. A small zippered pouch with a patch kit, tire levers, and a mini pump can save you from being stranded.
Step 1: Prepare Your Scooter for Repair
Safety first! Before you start working on your scooter, make sure it’s stable and secure.
Turn Off the Scooter
Power down your Gotrax scooter completely. Remove the key if your model has one, and disconnect the battery if you’re comfortable doing so (optional but recommended for extra safety).
Find a Safe, Flat Workspace
Choose a clean, well-lit area with enough room to lay out your tools. A garage, driveway, or even a quiet sidewalk works. Avoid soft or uneven ground—you don’t want the scooter tipping over.
Flip the Scooter Upside Down (Optional)
For easier access, you can flip the scooter so it rests on the handlebars and deck. Place a soft cloth or cardboard under the handlebars to prevent scratches. If you’re not comfortable flipping it, you can work with the scooter upright—just make sure it’s stable.
Loosen the Wheel Bolts
Use the appropriate Allen key or wrench to loosen the bolts holding the flat wheel in place. Don’t remove them completely yet—just loosen them so the wheel can be removed easily later. Most Gotrax scooters have two bolts per wheel.
Tip: If the bolts are tight, apply a little penetrating oil and let it sit for a few minutes. Avoid using excessive force, which can strip the bolts.
Step 2: Remove the Wheel
Now it’s time to take the wheel off the scooter. The process is similar for front and rear wheels, but rear wheels may have a motor or brake cable to disconnect.
Disconnect the Motor Cable (Rear Wheel Only)
If you’re working on the rear wheel, locate the motor cable connector near the hub. Gently unplug it by pressing the release tab and pulling it apart. Be careful not to yank the wires.
Release the Brake Cable (If Applicable)
Some Gotrax models have a disc brake on the rear wheel. If yours does, you’ll need to disconnect the brake cable. Look for a quick-release lever or a pinch bolt. Loosen it just enough to free the cable from the caliper.
Remove the Bolts and Take Off the Wheel
Once the cables are disconnected, fully unscrew the wheel bolts and carefully pull the wheel out of the fork or rear dropouts. Set the bolts aside in a small container so you don’t lose them.
Tip: Take a photo of the wheel assembly before removing it. This can help you remember how everything fits back together.
Step 3: Deflate and Remove the Tire
With the wheel off, you can now access the tire and inner tube.
Fully Deflate the Inner Tube
Press down on the valve stem to release any remaining air. For Schrader valves (like on car tires), you can use a small screwdriver to depress the pin in the center. For Presta valves, unscrew the tip first.
Insert Tire Levers to Break the Bead
Slide a tire lever under the edge of the tire and hook it to a spoke. Insert a second lever about 6 inches away and gently pry the tire over the rim. Work your way around the wheel until one side of the tire is completely off.
Remove the Inner Tube
Once one side of the tire is off, pull the inner tube out from inside the tire. Start at the valve stem and gently work the tube free. Be careful not to pinch or tear it further.
Inspect the Tire and Rim
Before installing a new tube or patching the old one, check the inside of the tire for sharp objects. Run your fingers along the inner surface (wearing gloves) to feel for nails, glass, or thorns. Also, inspect the rim tape—the strip that covers the spoke holes—to make sure it’s intact and not exposing the tube to sharp edges.
Tip: If you find a puncture in the tire itself (not just the tube), you may need to replace the tire. A damaged tire can cause repeated flats even if the tube is repaired.
Step 4: Locate and Fix the Leak
Now that the tube is out, it’s time to find the leak and fix it.
Inflate the Tube Slightly
Give the tube a small puff of air so it’s easier to handle. You want it just firm enough to hold its shape.
Submerge in Soapy Water
Fill a bucket or sink with water and add a few drops of dish soap. Submerge the tube section by section, watching for bubbles. Bubbles will form where air is escaping.
Mark the Leak
Once you find the leak, mark it with a pen or piece of chalk. Check both the inside and outside of the tube—sometimes a puncture on the outside corresponds to a pinch flat on the inside.
Patch the Tube (If Repairable)
If the hole is small (less than 1/8 inch), you can patch it:
- Sand the area around the leak with the sandpaper from your patch kit.
- Apply a thin layer of rubber cement and let it dry for 30–60 seconds until tacky.
- Peel the backing off the patch and press it firmly over the leak. Hold for 30 seconds to ensure a strong bond.
- Roll a tire lever or your fingers over the patch to remove air bubbles.
Replace the Tube (If Necessary)
If the tube has multiple holes, a large tear, or damage near the valve, it’s better to replace it. Insert the new tube, making sure the valve aligns with the hole in the rim. Partially inflate the new tube to prevent pinching, then tuck it inside the tire.
Tip: Always carry a spare tube that matches your scooter’s tire size. Gotrax scooters typically use 8-inch (200×50) or 9-inch (200×60) tubes—check your owner’s manual to confirm.
Step 5: Reinstall the Tire and Tube
Now it’s time to put everything back together.
Partially Inflate the Tube
Give the tube a small amount of air—just enough to hold its shape. This prevents it from getting pinched when you reseat the tire.
Insert the Tube into the Tire
Start by placing the valve stem through the rim hole, then tuck the rest of the tube inside the tire. Make sure it’s not twisted.
Seat One Side of the Tire
Push one edge of the tire onto the rim. Use your hands to work it around—don’t force it. If it’s tight, use a tire lever, but be gentle to avoid pinching the tube.
Seat the Other Side of the Tire
Work the other edge of the tire onto the rim. This is usually the hardest part. Start opposite the valve and use your thumbs to push the tire over the rim. If it’s too tight, use a tire lever, but remove it carefully to avoid damaging the tube.
Check for Pinches
Before inflating, run your fingers around the inside edge of the tire to make sure the tube isn’t pinched between the tire and rim.
Step 6: Reattach the Wheel
With the tire reassembled, it’s time to put the wheel back on the scooter.
Align the Wheel in the Fork or Dropouts
Slide the wheel back into place, making sure the axle fits snugly into the fork or rear dropouts. The valve stem should be accessible.
Reconnect the Motor Cable (Rear Wheel)
Plug the motor cable back into its connector. Make sure it clicks into place.
Reconnect the Brake Cable (If Applicable)
Reattach the brake cable to the caliper and tighten the pinch bolt or quick-release lever.
Tighten the Wheel Bolts
Insert the bolts and tighten them evenly in a crisscross pattern. Use a torque wrench if possible, or tighten by hand until snug. Don’t overtighten—this can damage the axle or fork.
Inflate the Tire
Use your pump to inflate the tire to the recommended PSI. Check the sidewall of the tire for the correct pressure—usually between 35–50 PSI for Gotrax scooters. Underinflated tires wear out faster and increase the risk of flats.
Step 7: Test the Repair
Before riding, make sure everything is working properly.
Spin the Wheel
Lift the scooter and spin the wheel by hand. It should rotate smoothly without wobbling or rubbing against the brake or fork.
Check the Brakes
Squeeze the brake lever to ensure the brake engages properly. If the wheel stops abruptly or makes noise, adjust the brake alignment.
Take a Short Test Ride
Ride slowly in a safe area to test the repair. Listen for unusual sounds and feel for vibrations. If everything feels normal, you’re good to go!
Troubleshooting Common Issues
Even with careful repair, you might run into problems. Here’s how to fix them:
The Tire Won’t Inflate
- Check the valve: Make sure it’s not clogged or damaged. For Presta valves, unscrew the tip before inflating.
- Inspect the pump: Ensure the pump head is securely attached to the valve.
- Look for leaks: Submerge the tube again to find hidden punctures.
The Wheel Wobbles After Reinstallation
- Tighten the bolts evenly. A loose axle can cause wobbling.
- Check the tire seating: The tire may not be fully seated on the rim. Deflate, adjust, and reinflate.
The Brake Rubs Against the Wheel
- Loosen the brake caliper bolts and realign the brake pads.
- Spin the wheel and adjust until the pads clear the rotor or rim.
The Tube Keeps Going Flat
- Recheck the tire for embedded objects.
- Inspect the rim tape for damage.
- Ensure the tube isn’t pinched during installation.
How to Prevent Future Flats
Fixing a flat is one thing—preventing it is even better. Here are some tips to keep your Gotrax scooter rolling smoothly:
- Check tire pressure weekly: Use a pressure gauge to ensure tires are inflated to the recommended PSI.
- Avoid debris: Steer clear of glass, nails, and sharp objects on the road.
- Ride on smooth surfaces: Potholes and rough terrain increase the risk of pinch flats.
- Inspect tires regularly: Look for cuts, cracks, or worn tread. Replace tires when the tread is below 1/16 inch.
- Use tire liners or sealant: Products like Slime or tire liners can help prevent punctures.
- Store your scooter properly: Keep it in a dry, cool place to prevent rubber degradation.
When to Replace the Tire or Seek Professional Help
Not all flats can be fixed at home. Consider replacing the tire or consulting a professional if:
- The tire has a large cut, sidewall damage, or is severely worn.
- The rim is bent or damaged.
- You’ve had multiple flats in a short time.
- You’re uncomfortable performing the repair yourself.
Gotrax offers replacement parts and customer support. Visit their website or contact their service team for assistance.
Conclusion
Fixing a flat tire on a Gotrax scooter might seem intimidating at first, but with the right tools and knowledge, it’s a manageable task. By following this step-by-step guide, you can diagnose the problem, repair or replace the inner tube, and get back on the road safely.
Remember to stay prepared—carry a repair kit, check your tire pressure regularly, and inspect your tires for damage. With a little practice, you’ll be able to handle flats like a pro.
Now that you know how to fix a flat tire on a Gotrax scooter, you can ride with confidence, knowing you’re ready for whatever the road throws your way. Happy scooting!