
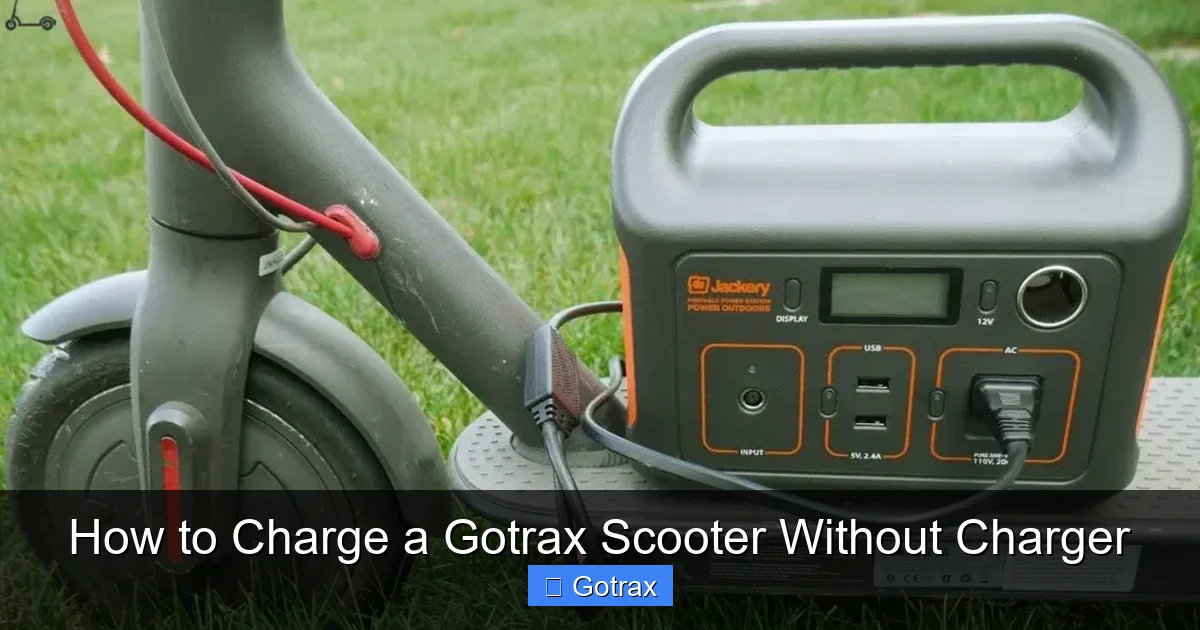
Charging your Gotrax scooter without the original charger is possible—but risky. This guide covers safe alternatives like universal chargers, power banks, and DIY setups, while emphasizing safety to avoid battery damage or fire hazards.
Key Takeaways
- Never use incompatible chargers: Using the wrong voltage or current can damage the battery or cause overheating.
- Universal chargers are the safest alternative: Look for 36V or 42V DC output with correct connector size and polarity.
- Power banks work in a pinch: High-capacity 36V power banks can charge your scooter, but charging time increases significantly.
- DIY charging requires caution: Direct battery connections should only be done by experienced users with proper tools and safety gear.
- Check polarity and voltage first: Always verify the scooter’s battery specs before attempting any alternative charging method.
- Monitor temperature during charging: Overheating is a major risk—stop immediately if the battery feels hot.
- Prevention is best: Keep your original charger in a safe, dry place to avoid future emergencies.
How to Charge a Gotrax Scooter Without Charger
So, you’re out and about on your Gotrax scooter, enjoying the breeze and the freedom of electric mobility—until suddenly, the battery dies. And of course, you left your charger at home. Panic sets in. Can you charge your Gotrax scooter without the original charger? The short answer is: yes, but it’s not recommended unless absolutely necessary. While there are alternative methods, they come with risks. This guide will walk you through safe, practical, and emergency-only ways to charge your Gotrax scooter without the official charger. We’ll cover everything from universal chargers to power banks, DIY setups, and critical safety tips to protect your scooter—and yourself.
Before we dive in, a quick note: Gotrax scooters typically use lithium-ion batteries with a nominal voltage of 36V, and most models require a 42V charger (since chargers output slightly higher voltage to fully charge the battery). The charging port is usually a 5.5mm x 2.1mm DC barrel jack with center-positive polarity. Knowing these specs is crucial when exploring alternatives. Using the wrong voltage, current, or polarity can damage the battery, reduce its lifespan, or even cause a fire.
This guide is designed for informational purposes and emergency use only. Always prioritize safety, and when possible, replace your lost or damaged charger with the official Gotrax model. But if you’re in a bind, read on—we’ve got you covered.
Understanding Your Gotrax Scooter’s Charging System
Before attempting any alternative charging method, it’s essential to understand how your Gotrax scooter’s battery and charging system work. Most Gotrax models—like the GXL, G2, G3, and G4—use a 36V lithium-ion battery pack. These batteries are made up of multiple 18650 lithium cells connected in series. The charger that comes with your scooter outputs around 42V at 2A (amps), which is standard for charging 36V lithium packs.
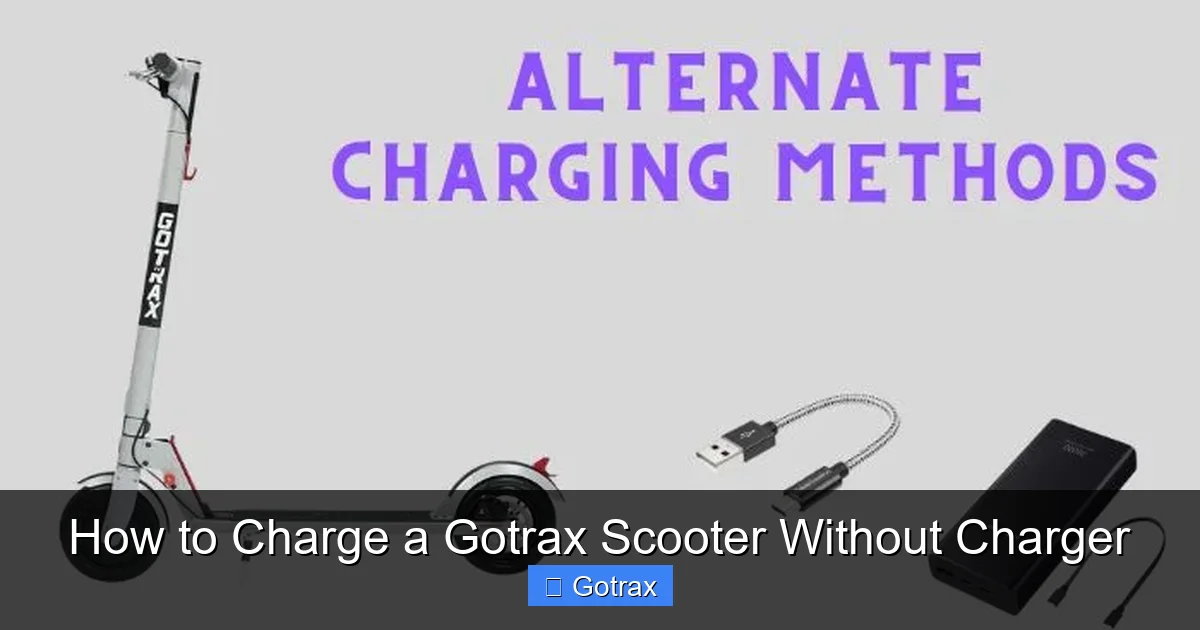
Visual guide about How to Charge a Gotrax Scooter Without Charger
Image source: scooterinsights.com
The charging process involves two main stages: constant current (CC) and constant voltage (CV). Initially, the charger delivers a steady current to quickly charge the battery. As the battery approaches full capacity, the charger switches to constant voltage mode, reducing the current to prevent overcharging. This smart charging process is managed by the battery management system (BMS) inside the battery pack, which protects against overcharging, over-discharging, short circuits, and overheating.
Now, here’s the catch: not all chargers are created equal. A generic or mismatched charger might not communicate properly with the BMS, leading to incomplete charging, overheating, or even battery failure. That’s why using the original Gotrax charger is always the safest option. But if you don’t have it, you need to find a replacement that matches the voltage, current, connector size, and polarity.
Method 1: Use a Universal Smart Charger
The safest and most reliable way to charge your Gotrax scooter without the original charger is to use a universal smart charger designed for lithium-ion batteries. These chargers are adjustable and can be configured to match your scooter’s voltage and current requirements.
Step 1: Check Your Scooter’s Battery Specs
Look for a label on the battery pack or in the user manual. You’ll need to confirm:
- Battery voltage (usually 36V)
- Charging voltage (typically 42V)
- Charging current (usually 2A, but can vary)
- Connector type (5.5mm x 2.1mm DC barrel jack)
- Polarity (center-positive)
For example, the Gotrax GXL V2 uses a 36V 7.5Ah battery and charges at 42V 2A. Knowing this helps you select the right universal charger.
Step 2: Purchase a Compatible Universal Charger
Look for a universal lithium-ion charger with the following features:
- Adjustable voltage (36V–42V range)
- Adjustable current (1A–3A)
- DC output with 5.5mm x 2.1mm barrel connector
- Center-positive polarity
- Built-in safety protections (overcharge, short circuit, over-temperature)
Popular brands include NOCO, Tenergy, and Bescor. Some models even come with LCD screens to display voltage and current in real time.
Step 3: Configure the Charger
Before plugging in, set the charger to:
- Voltage: 42V (or as specified by your scooter)
- Current: 2A (or lower for slower, safer charging)
Always start with a lower current (e.g., 1A) if you’re unsure. Slower charging is gentler on the battery and reduces the risk of overheating.
Step 4: Connect and Monitor
Plug the charger into the scooter’s charging port. Make sure the connection is secure. The charger should indicate that charging has begun (usually with a red or orange light). Monitor the process for the first 15–30 minutes to ensure there’s no overheating or unusual behavior.
Step 5: Disconnect When Fully Charged
Most smart chargers will automatically switch to a maintenance or trickle charge mode when the battery is full. However, it’s best to unplug the charger once the battery reaches 100% to avoid prolonged trickle charging, which can degrade lithium-ion batteries over time.
Tip: If your universal charger doesn’t have the exact connector, you can use a compatible adapter. Just ensure the polarity matches—center-positive is critical.
Method 2: Use a High-Capacity Power Bank
If you don’t have access to a wall outlet or a universal charger, a high-capacity power bank can be a lifesaver—especially if you’re on the go. However, standard USB power banks (5V) won’t work. You need a specialized 36V or 42V power bank designed for electric vehicles or e-bikes.
Step 1: Find a 36V/42V Power Bank
These are less common than regular power banks, but they’re available online. Look for models with:
- Output voltage: 36V or 42V DC
- Output current: At least 2A
- Compatible connector (5.5mm x 2.1mm)
- High capacity (e.g., 10,000mAh or more)
Brands like Rockpals, Jackery, and EcoFlow offer portable power stations that can be configured for higher voltage outputs. Some even come with DC outlets and adjustable voltage settings.
Step 2: Check Compatibility
Ensure the power bank’s output matches your scooter’s charging requirements. Mismatched voltage can damage the battery. Also, verify the connector size and polarity.
Step 3: Connect and Charge
Plug the power bank into the scooter’s charging port. Turn on the power bank and monitor the charging process. Keep in mind that charging will be much slower than with a wall charger—especially if the power bank has a lower output current.
Step 4: Monitor Battery and Power Bank Temperature
Both the scooter battery and the power bank can heat up during charging. If either feels excessively warm, stop charging immediately. Let them cool down before resuming.
Note: Power banks are best for emergency top-ups, not full charges. A 10,000mAh 42V power bank might only provide 20–30% charge to your scooter, depending on the battery capacity.
Method 3: DIY Charging with a Bench Power Supply
For tech-savvy users with access to electronic tools, a bench power supply offers precise control over voltage and current. This method is advanced and should only be attempted by those with experience in electronics.
Step 1: Gather Equipment
You’ll need:
- A variable DC bench power supply (0–60V, 0–5A)
- Multimeter (to verify voltage and polarity)
- Alligator clips or DC connector adapter
- Safety gloves and goggles
Step 2: Set the Power Supply
Configure the power supply to:
- Voltage: 42V (or as specified)
- Current limit: 2A (or lower)
Always start with a low current setting to avoid damaging the battery.
Step 3: Connect to the Battery
Carefully connect the positive (red) lead to the center pin of the charging port and the negative (black) lead to the outer sleeve. Double-check polarity with a multimeter to avoid reverse connection, which can destroy the battery.
Step 4: Monitor Charging
Watch the voltage and current readings. The voltage should gradually rise as the battery charges. If the current drops to near zero, the battery is likely full. Disconnect immediately.
Warning: This method bypasses the scooter’s built-in charging circuit. There’s no automatic cutoff, so overcharging is a real risk. Never leave the setup unattended.
Method 4: Borrow or Rent a Compatible Charger
Sometimes the simplest solution is the best. If you’re near a Gotrax dealer, bike shop, or electronics store, ask if they have a compatible charger you can borrow or rent. Many shops carry universal chargers or may have a spare Gotrax charger in stock.
Alternatively, check online marketplaces like Amazon, eBay, or Facebook Marketplace. You might find a used or new Gotrax charger at a reasonable price. Just ensure it’s the correct model for your scooter.
Method 5: Use a Car Battery with an Inverter (Emergency Only)
In extreme emergencies, you can use a car battery and a power inverter to generate AC power, then plug in a compatible charger. This is not ideal and should only be used if no other options are available.
Step 1: Get a Pure Sine Wave Inverter
Use a 300W–500W pure sine wave inverter connected to your car’s 12V battery. Avoid modified sine wave inverters, as they can damage sensitive electronics.
Step 2: Plug in a Compatible Charger
Connect your universal or Gotrax charger to the inverter. Ensure the inverter is rated for the charger’s power draw (usually 80W–100W).
Step 3: Monitor and Limit Time
Don’t leave the car running for long periods. Charging will drain the car battery, and the inverter reduces efficiency. Use this method only for short top-ups.
Safety Tips and Warnings
Charging a lithium-ion battery incorrectly can lead to fire, explosion, or permanent damage. Follow these safety guidelines:
- Never use a charger with higher voltage than specified. 48V into a 36V battery can cause thermal runaway.
- Check polarity before connecting. Reverse polarity can destroy the BMS and battery.
- Charge in a cool, dry, well-ventilated area. Avoid direct sunlight or flammable materials.
- Never leave charging unattended. Stay nearby for the first hour.
- Stop if you smell burning or see smoke. Disconnect immediately and move to a safe area.
- Use a fireproof charging bag if available. These contain potential fires and are recommended for lithium batteries.
Troubleshooting Common Issues
Charger Not Recognized
If the scooter doesn’t respond to charging, check:
- Is the charger outputting the correct voltage? Use a multimeter.
- Is the connector fully inserted?
- Is the battery completely dead? Some BMS systems disable charging if voltage drops too low.
Battery Gets Hot
Overheating is a red flag. Possible causes:
- Charger voltage too high
- Charging current too high
- Battery damage or aging
Stop charging and let the battery cool. If it continues to overheat, the battery may need replacement.
Charging Takes Too Long
This could mean:
- The charger current is too low (e.g., 1A instead of 2A)
- The power source (like a power bank) has limited output
- The battery is old or damaged
Try a higher-current charger if available, or consider battery replacement.
Prevention: How to Avoid This Situation
The best way to charge your Gotrax scooter without a charger is to never lose the charger in the first place. Here’s how:
- Store the charger in a designated spot at home.
- Use a charger with a long cable and keep it in your scooter’s storage compartment.
- Buy a backup charger and keep it in your car or office.
- Label your charger with your name and contact info.
- Consider a smart charger with Bluetooth monitoring to track charging status remotely.
Conclusion
Charging your Gotrax scooter without the original charger is possible, but it’s not without risks. The safest alternatives include using a universal smart charger, a high-capacity 42V power bank, or borrowing a compatible charger. DIY methods like bench power supplies or car inverters should only be used in emergencies and by experienced users.
Always prioritize safety: verify voltage, current, polarity, and connector compatibility before connecting any power source. Monitor the charging process closely, and never leave it unattended. And remember—prevention is key. Keep your original charger safe, and consider investing in a backup.
While these methods can get you out of a bind, they’re not long-term solutions. For optimal performance and battery life, use the official Gotrax charger whenever possible. Your scooter—and your peace of mind—will thank you.