
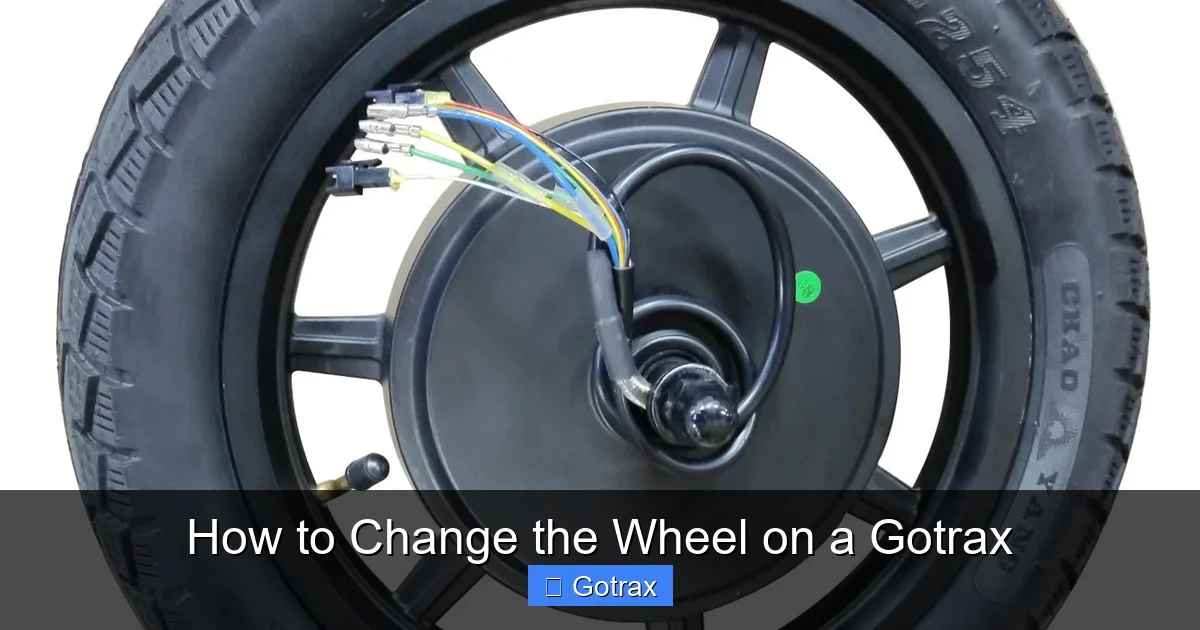
Changing the wheel on a Gotrax scooter is a simple DIY task that saves time and money. This guide walks you through every step—from gathering tools to testing your ride—so you can get back on the road quickly and safely.
Key Takeaways
- Know your Gotrax model: Different models (like GXL, G2, or G4) may have slight variations in wheel assembly, so always check your user manual first.
- Gather the right tools: You’ll typically need a hex key (Allen wrench), socket wrench, and possibly a flathead screwdriver—most come with your scooter.
- Work on a stable surface: Always lift the scooter securely using a stand or block to avoid injury or damage during wheel removal.
- Inspect before replacing: Check for worn bearings, damaged axles, or loose nuts—these can affect performance even with a new wheel.
- Torque matters: Over-tightening can damage threads; under-tightening can cause wobbling. Use proper torque settings when reassembling.
- Test before riding: Spin the wheel manually and take a short test ride at low speed to ensure everything is secure and aligned.
- Prevent future issues: Regular cleaning and tire pressure checks (for pneumatic models) extend wheel life and improve safety.
How to Change the Wheel on a Gotrax
Gotrax electric scooters are known for their reliability, portability, and smooth rides—but like any vehicle, they require occasional maintenance. One of the most common repairs scooter owners face is replacing a worn, punctured, or damaged wheel. Whether you’ve hit a pothole, worn down your tires over time, or encountered a flat, knowing how to change the wheel on a Gotrax can save you a trip to the repair shop and keep your rides safe and enjoyable.
In this comprehensive guide, we’ll walk you through the entire process of replacing a Gotrax wheel—from identifying the problem to reinstalling the new wheel and testing your scooter. We’ll cover both solid rubber and pneumatic (air-filled) wheels, address model-specific differences, and share practical tips to make the job easier. By the end, you’ll feel confident tackling this repair yourself, saving time and money while extending the life of your Gotrax.
Why You Might Need to Change a Gotrax Wheel
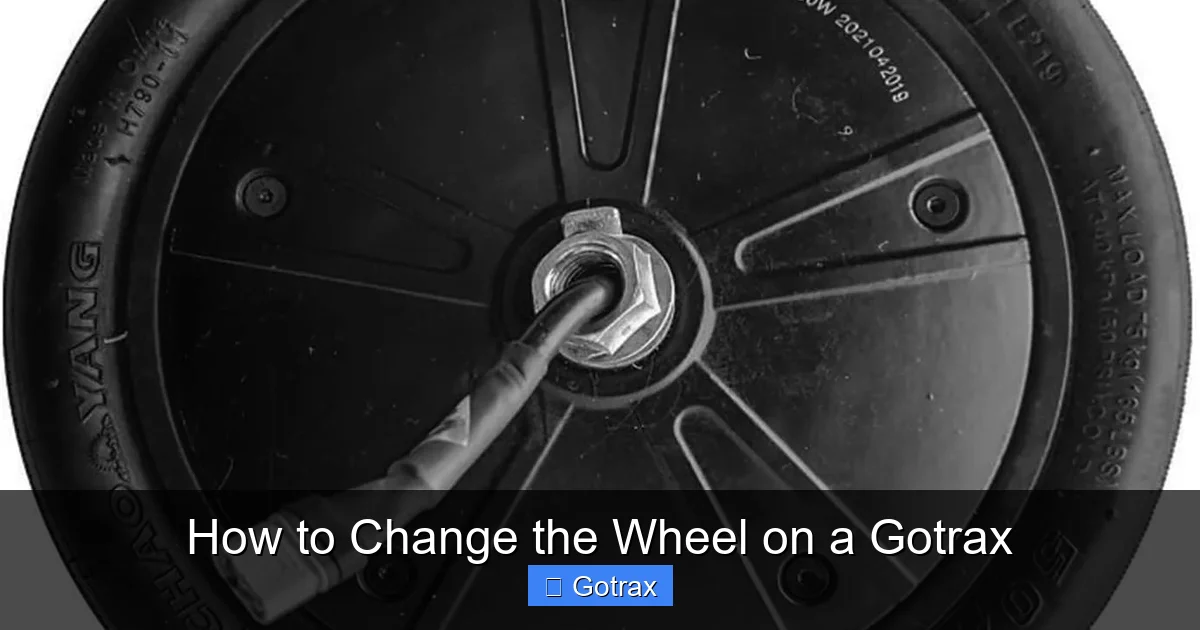
Visual guide about How to Change the Wheel on a Gotrax
Image source: m.media-amazon.com
Before diving into the steps, it’s helpful to understand why wheel replacement might be necessary. Gotrax scooters typically come with either solid rubber tires (common on entry-level models like the G2) or pneumatic tires (found on higher-end models like the G4 or GXL V2). Each type has its pros and cons, but both can wear out or get damaged.
Solid rubber wheels are puncture-proof and low-maintenance, but they offer less cushioning and can crack or chunk over time, especially if ridden aggressively or on rough terrain. Pneumatic wheels provide a smoother ride and better traction, but they’re susceptible to flats from nails, glass, or sharp debris.
Signs that your Gotrax wheel needs replacing include:
– Visible cracks, chunks missing, or deep tread wear
– A flat tire that won’t hold air (for pneumatic models)
– Wobbling or uneven spinning when the scooter is lifted
– Excessive vibration during rides
– Noise or grinding coming from the wheel area
Ignoring these signs can lead to unsafe riding conditions, reduced battery efficiency, and even damage to other components like the motor or fork. Replacing the wheel promptly ensures a safer, more comfortable ride.
Tools and Materials You’ll Need
One of the best things about changing a Gotrax wheel is that it doesn’t require specialized equipment. Most tools are included with your scooter or are common household items. Here’s what you’ll typically need:
- Hex key (Allen wrench): Usually a 4mm or 5mm size, depending on your model. This is used to loosen the axle bolts.
- Socket wrench or adjustable wrench: For removing nuts on the axle. A 12mm or 13mm socket is common.
- Flathead screwdriver: Helpful for prying off dust caps or accessing hidden bolts.
- Jack or stand: To lift the scooter off the ground. A small scooter stand, wooden block, or even a sturdy box works.
- New wheel: Make sure it’s compatible with your Gotrax model. Check the size (e.g., 8.5”, 9”, or 10”) and type (solid or pneumatic).
- Tire levers (for pneumatic wheels only): If you’re replacing the tire tube or tire itself, these help remove the tire from the rim.
- Air pump (for pneumatic wheels): To inflate the new tire to the recommended PSI (usually 35–50 PSI, check your manual).
- Cleaning cloth and lubricant (optional): To clean the axle and apply a light grease for smoother rotation.
Always double-check your Gotrax user manual for model-specific requirements. Some newer models may use different bolt sizes or have integrated bearings that require extra care.
Step-by-Step Guide to Changing the Wheel
Now that you’re prepared, let’s get into the actual process. We’ll break it down into clear, manageable steps. Whether you’re replacing the front or rear wheel, the general process is similar—though the rear wheel may involve disconnecting the motor cable on certain models.
Step 1: Prepare Your Workspace
Start by finding a clean, flat, and well-lit area to work. A garage, driveway, or even a large table can work. Make sure you have enough space to move around the scooter comfortably.
Turn off the scooter and remove the key if it has one. For safety, disconnect the battery if you’re comfortable doing so—this prevents accidental power-on during the repair. If you’re not sure how to disconnect the battery, it’s usually safe to proceed without it, but keep the scooter powered off.
Next, flip the scooter upside down or use a stand to lift the wheel you’re replacing off the ground. If you’re changing the front wheel, lift the front end. For the rear wheel, lift the back. Use a sturdy block or scooter stand to keep it stable. Never work on a scooter that’s wobbling or unbalanced—this can lead to injury or damage.
Step 2: Remove the Old Wheel
Now it’s time to take off the damaged wheel. The exact method depends on whether it’s the front or rear wheel and your Gotrax model.
For most Gotrax scooters, the wheel is held in place by two bolts on either side of the axle. Here’s how to remove them:
- Locate the axle bolts on both sides of the wheel. They’re usually covered by small plastic caps—gently pry these off with a flathead screwdriver.
- Use the hex key to loosen the bolts. Turn counterclockwise. You may need to hold the nut on the opposite side with a wrench to prevent it from spinning.
- Once the bolts are loose, remove them completely and set them aside in a small container so you don’t lose them.
- Gently pull the wheel out from the fork or rear dropouts. On rear wheels, you may need to wiggle it slightly to free it from the motor connector (if applicable).
Tip: If the wheel is stuck, don’t force it. Check for any hidden bolts or clips. Some models have a secondary safety bolt or a quick-release mechanism.
For rear wheels on motorized models (like the G4), you may need to disconnect the motor cable. This is usually a small plug near the axle. Carefully unplug it by pressing the release tab and pulling gently. Label the connector if needed to avoid confusion during reassembly.
Step 3: Inspect the Axle and Bearings
Before installing the new wheel, take a moment to inspect the axle and wheel hub. Look for:
– Rust or corrosion on the axle
– Worn or loose bearings (they should spin smoothly without play)
– Damage to the fork or dropout area
If the bearings are damaged, they may need to be replaced separately. Most Gotrax wheels use standard 608 skateboard-style bearings, which are inexpensive and easy to find online. To remove old bearings, use a bearing puller or gently tap them out with a socket that fits the inner race.
Clean the axle with a cloth and apply a small amount of light grease or lubricant. This helps prevent rust and ensures smooth rotation.
Step 4: Install the New Wheel
Now it’s time to put the new wheel in place. Follow these steps:
- Slide the new wheel into the fork or rear dropouts, aligning the axle holes.
- Insert the axle bolts from the outside, threading them through the wheel and into the fork.
- Hand-tighten the bolts first to ensure proper alignment.
- Use the hex key and wrench to tighten the bolts securely. Don’t over-tighten—this can strip the threads or damage the fork.
- If you disconnected the motor cable on a rear wheel, reconnect it now. Make sure it clicks into place.
- Replace any dust caps you removed earlier.
Important: For pneumatic wheels, make sure the tire is properly seated on the rim and inflated to the correct PSI before installation. Under-inflated tires can pinch during installation, causing flats.
Step 5: Test the Wheel
With the new wheel installed, it’s time to test it. Lower the scooter to the ground and give the wheel a spin by hand. It should rotate smoothly without wobbling or rubbing against the brake or fork.
Turn on the scooter (if you disconnected the battery, reconnect it first) and gently accelerate. Listen for unusual noises and feel for vibrations. Take a short test ride in a safe, open area at low speed. Pay attention to:
– Steering stability
– Braking performance
– Any wobbling or shaking
If everything feels good, you’re all set! If you notice issues, double-check the bolt tightness and alignment.
Model-Specific Tips
Gotrax offers a range of scooters, and while the wheel replacement process is similar across models, there are some differences to note:
- Gotrax G2: Uses 8.5” solid rubber wheels. No air pump needed. Simple bolt-on design—ideal for beginners.
- Gotrax GXL / GXL V2: Features 8.5” pneumatic tires. Requires inflation and careful handling to avoid pinching the tube.
- Gotrax G4: Has 10” pneumatic wheels and a rear motor. Rear wheel replacement involves disconnecting the motor cable—take extra care with wiring.
- Gotrax XR / XR Ultra: Larger 9” or 10” wheels with enhanced suspension. May require more force to remove due to tighter tolerances.
Always refer to your specific model’s manual for exact specifications. Gotrax provides downloadable manuals on their official website.
Troubleshooting Common Issues
Even with careful installation, you might run into problems. Here are some common issues and how to fix them:
Wheel Wobbles After Installation
This usually means the wheel isn’t centered or the bolts aren’t tight enough. Loosen the bolts slightly, reposition the wheel so it’s centered in the fork, then retighten evenly on both sides.
Scooter Pulls to One Side
Check wheel alignment and tire pressure (for pneumatic models). Uneven pressure can cause handling issues. Also inspect the fork for bends or damage.
Motor Doesn’t Engage (Rear Wheel)
If the rear wheel was replaced and the motor isn’t working, the motor cable may not be fully connected. Power off the scooter, check the connector, and reseat it firmly.
New Tire Goes Flat Quickly
This could be due to a pinched tube during installation or debris stuck in the tire. Remove the tire and inspect the inner tube and rim for damage or sharp objects.
Bearings Feel Rough or Noisy
New bearings should spin freely. If they feel gritty or make noise, they may be defective or improperly installed. Replace them with high-quality 608 bearings.
Maintenance Tips to Extend Wheel Life
Replacing a wheel is a fix, but regular maintenance can prevent future issues. Here’s how to keep your Gotrax wheels in top shape:
- Check tire pressure weekly (pneumatic models): Use a digital pressure gauge and inflate to the recommended PSI. Low pressure increases rolling resistance and wear.
- Clean wheels regularly: Wipe off dirt, gravel, and debris that can wear down rubber or trap moisture.
- Avoid rough terrain when possible: Potholes, curbs, and gravel accelerate tire wear.
- Rotate tires (if applicable): Some riders swap front and rear tires to even out wear, though this is less common on scooters.
- Store properly: Keep your scooter in a dry, cool place to prevent rubber degradation.
By taking care of your wheels, you’ll enjoy smoother rides, better battery life, and fewer repairs down the road.
When to Call a Professional
While changing a Gotrax wheel is a DIY-friendly task, there are times when it’s best to seek help:
– If the fork or axle is bent or damaged
– If you’re unsure about disconnecting electrical components
– If the new wheel still wobbles after proper installation
– If you lack the tools or confidence to perform the repair
Gotrax offers warranty support and authorized service centers. If your scooter is under warranty, contact Gotrax customer service before making modifications.
Conclusion
Changing the wheel on a Gotrax scooter is a straightforward process that anyone can master with the right tools and a little patience. Whether you’re dealing with a flat tire, worn tread, or a cracked wheel, this repair puts you back in control of your ride—literally.
By following this guide, you’ve learned how to safely remove the old wheel, inspect critical components, install a new one, and test your scooter for optimal performance. You’ve also picked up valuable maintenance tips to keep your Gotrax running smoothly for miles to come.
Remember, regular care goes a long way. A little attention to your wheels today can prevent bigger problems tomorrow. So grab your tools, give your scooter the TLC it deserves, and get back to enjoying the freedom of electric riding.
With this knowledge, you’re not just fixing a scooter—you’re becoming a more confident and capable rider. Happy scooting!