
Changing a Gotrax battery may seem intimidating, but with the right tools and guidance, it’s a manageable DIY task. This guide walks you through the entire process—from identifying your model to safely installing a new battery—so you can get back on the road quickly and confidently.
Key Takeaways
- Know your Gotrax model: Battery replacement steps vary slightly between models like the GXL, G2, G4, and XR. Always confirm your scooter’s exact model before starting.
- Use the right tools: A Phillips-head screwdriver, Allen wrench (usually 4mm or 5mm), and possibly a Torx driver are essential. Avoid using excessive force to prevent damage.
- Safety first: Always power off the scooter, disconnect the battery connector, and wear safety gloves and glasses when handling lithium-ion batteries.
- Buy genuine or compatible replacements: Using off-brand batteries can void warranties and pose safety risks. Look for UL-listed, 36V or 48V (depending on model) lithium-ion packs with matching connectors.
- Test before reassembly: After installing the new battery, test the connection and power-on function before fully reassembling the deck to avoid repeated disassembly.
- Dispose of old batteries responsibly: Never throw lithium-ion batteries in the trash. Take them to an e-waste recycling center or battery drop-off location.
- Consider professional help if unsure: If you’re uncomfortable with electronics or wiring, consult a certified technician to avoid injury or damage.
How to Change Gotrax Battery: A Complete Step-by-Step Guide
If your Gotrax electric scooter is struggling to hold a charge, taking longer to reach full power, or not turning on at all, it might be time to replace the battery. While Gotrax scooters are known for their reliability and ease of use, the battery—like all lithium-ion packs—has a limited lifespan. Fortunately, changing a Gotrax battery is a task many owners can handle themselves with basic tools and careful attention to detail.
In this comprehensive guide, you’ll learn exactly how to change your Gotrax battery safely and efficiently. We’ll cover everything from identifying your scooter model and gathering the right tools to removing the old battery, installing a new one, and testing your scooter before hitting the road. Whether you own a Gotrax GXL, G2, G4, XR, or another popular model, this guide will walk you through the process with clear instructions, practical tips, and troubleshooting advice.
By the end of this article, you’ll have the confidence and knowledge to replace your Gotrax battery like a pro—saving money on professional repairs and extending the life of your favorite electric ride.
Why Replace Your Gotrax Battery?
Visual guide about How to Change Gotrax Battery
Image source: gotrax.com
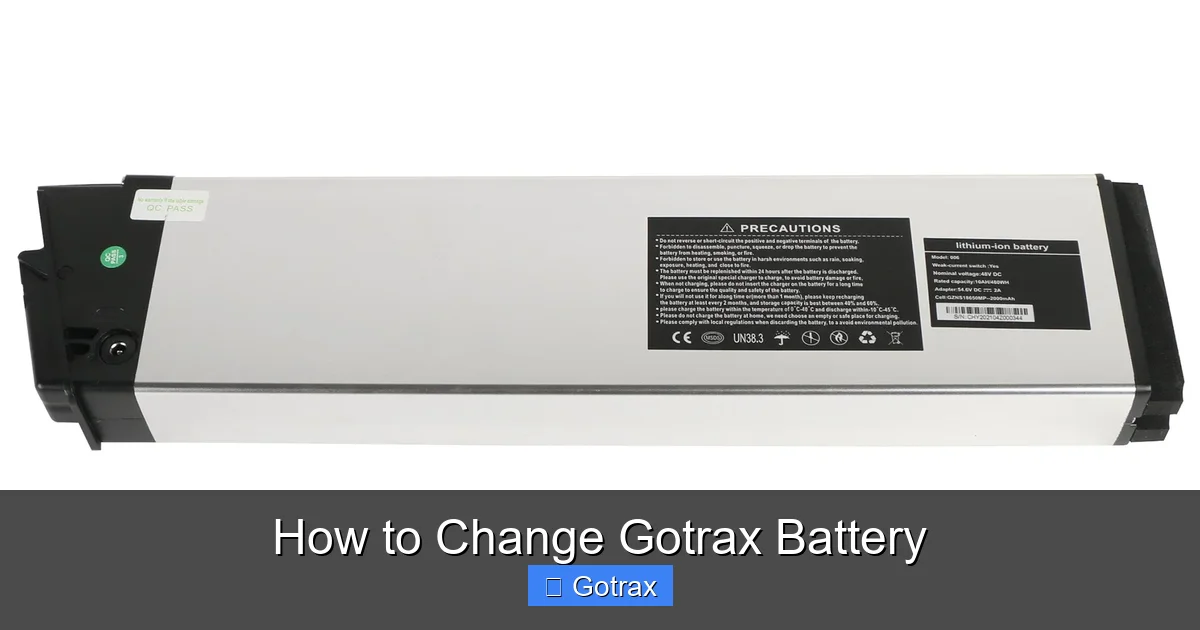
Before diving into the replacement process, it’s important to understand why battery replacement might be necessary. Gotrax scooters use high-quality lithium-ion batteries, which typically last between 300 to 500 charge cycles. That translates to roughly 1.5 to 3 years of regular use, depending on how often you ride and how well you maintain your scooter.
Over time, lithium-ion batteries naturally degrade. You might notice signs like:
– Reduced range (e.g., your scooter used to go 15 miles but now only reaches 8)
– Slower acceleration or reduced top speed
– The battery draining quickly even after a full charge
– The scooter shutting off unexpectedly during rides
– The battery not charging at all
If you’re experiencing any of these issues, a battery replacement is likely the solution. While some problems could stem from faulty chargers or wiring, a degraded battery is the most common culprit.
Replacing the battery not only restores your scooter’s performance but also ensures safer operation. A failing battery can overheat, swell, or even pose a fire risk if left unchecked. So, addressing the issue promptly is both a performance and safety priority.
Tools and Materials You’ll Need
Before you begin, make sure you have the right tools and materials on hand. Having everything ready will make the process smoother and reduce the risk of damage.
Here’s a checklist of what you’ll need:
- Phillips-head screwdriver: Most Gotrax scooters use Phillips screws to secure the deck plate.
- Allen wrench set (4mm and 5mm): Some models use hex bolts, especially around the battery compartment or motor housing.
- Torx screwdriver (T20 or T25): Certain Gotrax models, particularly the G4 and XR, use Torx screws for added security.
- Safety gloves and safety glasses: Protect your hands and eyes when handling the battery and working in tight spaces.
- Multimeter (optional but recommended): Useful for testing voltage and ensuring the new battery is functioning properly.
- New Gotrax-compatible battery: Make sure it matches your scooter’s voltage (usually 36V or 48V) and has the correct connector type.
- Clean workspace: A flat, well-lit table or floor space where you can lay out parts safely.
- Zip ties or electrical tape (optional): For securing loose wires after installation.
Tip: If you’re unsure which tools your model requires, check the user manual or look up your specific Gotrax model online. Many owners share photos and videos of the disassembly process, which can be incredibly helpful.
Step 1: Identify Your Gotrax Model
Not all Gotrax scooters are built the same, and battery replacement steps can vary slightly between models. That’s why the first step is to confirm your scooter’s exact model.
Look for a label or sticker on the deck, under the footboard, or near the rear wheel. It should list the model name (e.g., Gotrax GXL V2, Gotrax G4, Gotrax XR Elite). You can also check the original packaging, user manual, or your purchase receipt.
Here’s a quick breakdown of common Gotrax models and their battery types:
- Gotrax GXL / GXL V2: 36V 7.8Ah lithium-ion battery, located under the deck.
- Gotrax G2: 36V 7.8Ah battery, similar placement to GXL.
- Gotrax G4: 36V 10.4Ah battery, slightly larger capacity.
- Gotrax XR / XR Elite: 48V 10.4Ah or 13Ah battery, higher voltage for increased power.
Knowing your model ensures you purchase the correct replacement battery and follow the right disassembly steps. For example, the XR uses a different battery connector and mounting system than the GXL, so using the wrong guide could lead to mistakes.
Step 2: Power Off and Prepare Your Scooter
Safety is paramount when working with electric scooters, especially those with lithium-ion batteries. Before you touch any screws or wires, take the following precautions:
Turn Off the Scooter
Make sure the scooter is completely powered off. Press and hold the power button until the display turns off. If your model has a physical key switch, remove the key.
Remove the Battery Key (If Applicable)
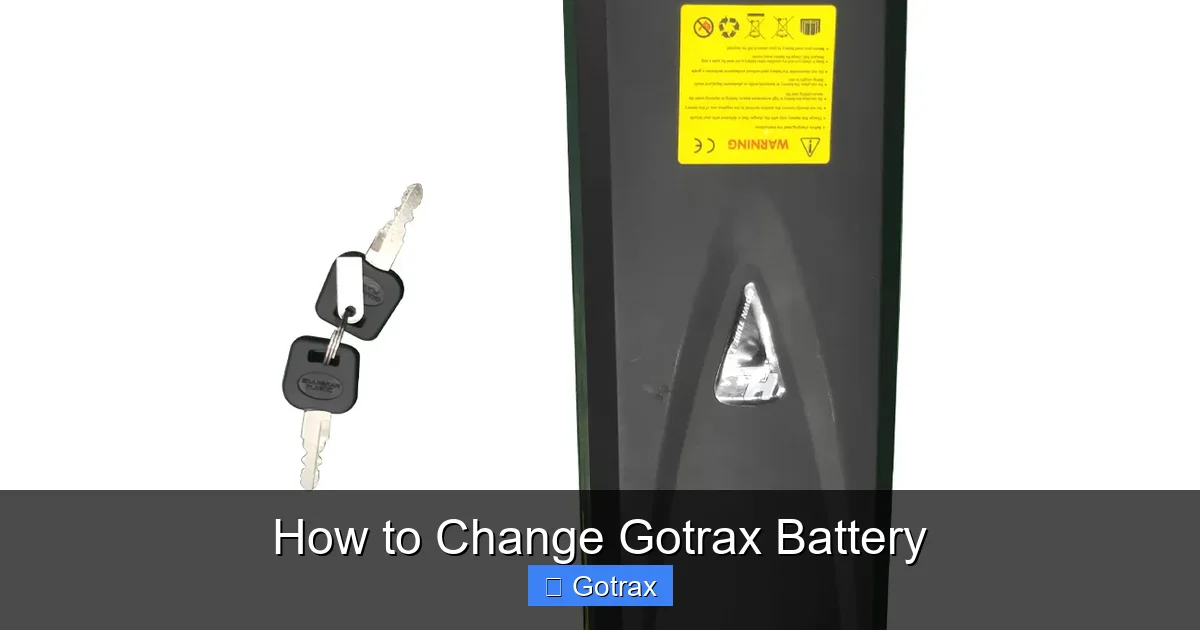
Some Gotrax models, like the XR Elite, have a removable battery key that physically disconnects the battery from the system. If your scooter has one, remove it and store it safely.
Disconnect the Charger
Unplug the charger from both the scooter and the wall outlet. Even when off, a connected charger can send small currents through the system.
Let the Scooter Cool Down
If you’ve been riding recently, allow the scooter to sit for at least 30 minutes. Batteries can retain heat, and working on a hot battery increases the risk of burns or damage.
Work in a Safe, Dry Area
Choose a clean, dry, and well-ventilated workspace. Avoid working on carpet or near water. A garage floor or workbench is ideal.
Wear Safety Gear
Put on safety gloves and glasses. Lithium-ion batteries can leak or rupture if mishandled, and small screws or tools can cause injury if they slip.
Step 3: Remove the Deck Plate
The battery is housed under the deck (footboard) of your Gotrax scooter. To access it, you’ll need to remove the deck plate.
Locate the Screws
Flip the scooter upside down so the deck is facing up. You’ll see several screws along the edges of the deck plate. The number varies by model—typically between 8 and 12 screws.
Use your Phillips-head screwdriver (or Torx driver, if applicable) to carefully remove each screw. Place them in a small container or magnetic tray so you don’t lose any.
Tip: Take a photo of the screw layout before removing them. This will help you remember where each screw goes during reassembly.
Lift the Deck Plate
Once all screws are removed, gently lift the deck plate. It may be held in place by adhesive or rubber seals, so don’t force it. Wiggle it slightly if needed.
Underneath, you’ll see the battery compartment, wiring harness, and possibly the motor controller.
Disconnect the Battery Connector
Locate the main battery connector—it’s usually a thick, black or red plug with multiple pins. This connects the battery to the scooter’s electrical system.
Carefully unplug it by gripping the connector (not the wires) and pulling straight out. Do not yank or twist.
Warning: Never disconnect the battery while the scooter is powered on. This can cause sparks or damage the controller.
Step 4: Remove the Old Battery
With the deck plate off and the connector disconnected, you can now remove the old battery.
Unfasten the Battery Mounting Brackets
Most Gotrax batteries are held in place by metal or plastic brackets secured with screws or bolts. Use your Allen wrench or screwdriver to remove these.
Some models use Velcro straps or rubber bands—simply loosen and remove them.
Lift Out the Battery
Once the brackets are removed, carefully lift the battery out of the compartment. Lithium-ion batteries can be heavy (5–10 lbs), so use both hands and lift with your legs, not your back.
Place the old battery on a non-conductive surface like wood or plastic. Never place it on metal, which could cause a short circuit.
Inspect the Battery Compartment
While the battery is out, take a moment to inspect the compartment. Look for:
– Corrosion or residue on terminals
– Frayed or damaged wires
– Signs of overheating (discoloration, melting)
If you notice any damage, address it before installing the new battery. Clean any debris with a dry cloth.
Step 5: Install the New Battery
Now it’s time to install your new Gotrax battery. Make sure it’s the correct model and fully charged before installation.
Position the New Battery
Place the new battery into the compartment, aligning it with the mounting holes. Ensure the terminals and connector are facing the correct direction.
Secure with Mounting Brackets
Reattach the brackets or straps to hold the battery firmly in place. Tighten screws or bolts securely, but don’t over-tighten, as this can crack plastic housings.
Reconnect the Battery Connector
Plug the new battery’s connector into the scooter’s wiring harness. Make sure it clicks into place and is fully seated.
Double-check that the polarity is correct—red to red, black to black. Reversing polarity can damage the scooter’s electronics.
Test the Connection (Optional but Recommended)
Before reassembling, you can do a quick test:
– Reattach the deck plate temporarily (don’t screw it down yet)
– Insert the battery key (if applicable)
– Press the power button
If the display lights up and the scooter responds, the connection is good. If not, double-check the connector and wiring.
Step 6: Reassemble the Scooter
Once you’re confident the new battery is working, it’s time to put everything back together.
Replace the Deck Plate
Carefully lower the deck plate back into position. Make sure no wires are pinched or caught underneath.
Reinsert and Tighten Screws
Replace all screws and tighten them evenly. Don’t overtighten—this can strip the threads or crack the plastic.
Secure Loose Wires
Use zip ties or electrical tape to bundle any loose wires and keep them away from moving parts like the rear wheel or suspension.
Flip the Scooter Right Side Up
Gently flip the scooter back to its normal position. Make sure it stands stably on its kickstand or wheels.
Step 7: Test Your Scooter
Before riding, perform a thorough test to ensure everything is working correctly.
Power On and Check Display
Turn on the scooter and check the display. It should show battery level, speed, and other indicators.
Test Throttle and Brakes
Squeeze the brake lever and twist the throttle (if equipped). The scooter should respond smoothly.
Take a Short Test Ride
Ride the scooter in a safe, open area. Test acceleration, braking, and range. Listen for unusual noises or vibrations.
If everything works as expected, your battery replacement is complete!
Troubleshooting Common Issues
Even with careful installation, you might encounter a few hiccups. Here’s how to address common problems:
Scooter Won’t Turn On After Installation
– Double-check the battery connector—ensure it’s fully plugged in.
– Verify the battery key is inserted (if applicable).
– Test the battery voltage with a multimeter (should be 36V or 48V, depending on model).
– Check for blown fuses or tripped circuit breakers.
Reduced Range or Performance
– Ensure the new battery is fully charged.
– Check tire pressure—low pressure reduces efficiency.
– Confirm the battery is the correct voltage and capacity for your model.
Battery Gets Hot During Charging
– Stop charging immediately.
– Allow the battery to cool.
– Inspect for swelling, leaks, or damage.
– Contact the manufacturer if the issue persists.
Loose or Rattling Battery
– Re-secure the mounting brackets.
– Add foam padding or rubber spacers if needed.
– Ensure screws are tightened properly.
Safety Tips and Best Practices
Replacing a Gotrax battery is generally safe when done correctly, but lithium-ion batteries require special care.
- Never puncture or crush the battery: This can cause thermal runaway and fire.
- Avoid extreme temperatures: Don’t charge or store the battery in direct sunlight or freezing conditions.
- Use only compatible chargers: Using the wrong charger can overcharge the battery.
- Store batteries at 50% charge: If storing long-term, keep the battery at partial charge in a cool, dry place.
- Recycle old batteries: Take them to a certified e-waste facility. Many retailers like Best Buy or Home Depot offer battery recycling.
When to Seek Professional Help
While many Gotrax owners successfully replace their own batteries, there are situations where professional assistance is wise:
– You’re uncomfortable working with electronics or wiring.
– The battery compartment is damaged or corroded.
– You suspect a faulty motor controller or wiring issue.
– The scooter is still under warranty (DIY repairs may void it).
In these cases, contact Gotrax customer support or visit an authorized repair center.
Conclusion
Changing a Gotrax battery might seem like a daunting task, but with the right preparation and attention to detail, it’s a manageable DIY project that can save you time and money. By following this step-by-step guide, you’ve learned how to safely remove the old battery, install a new one, and test your scooter for optimal performance.
Remember to always prioritize safety, use the correct tools, and choose a high-quality replacement battery. With proper care, your new battery can power countless rides and keep your Gotrax scooter running smoothly for years to come.
Whether you’re a weekend rider or a daily commuter, knowing how to maintain your scooter empowers you to take control of your ride. So grab your tools, follow the steps, and get back on the road with confidence!