
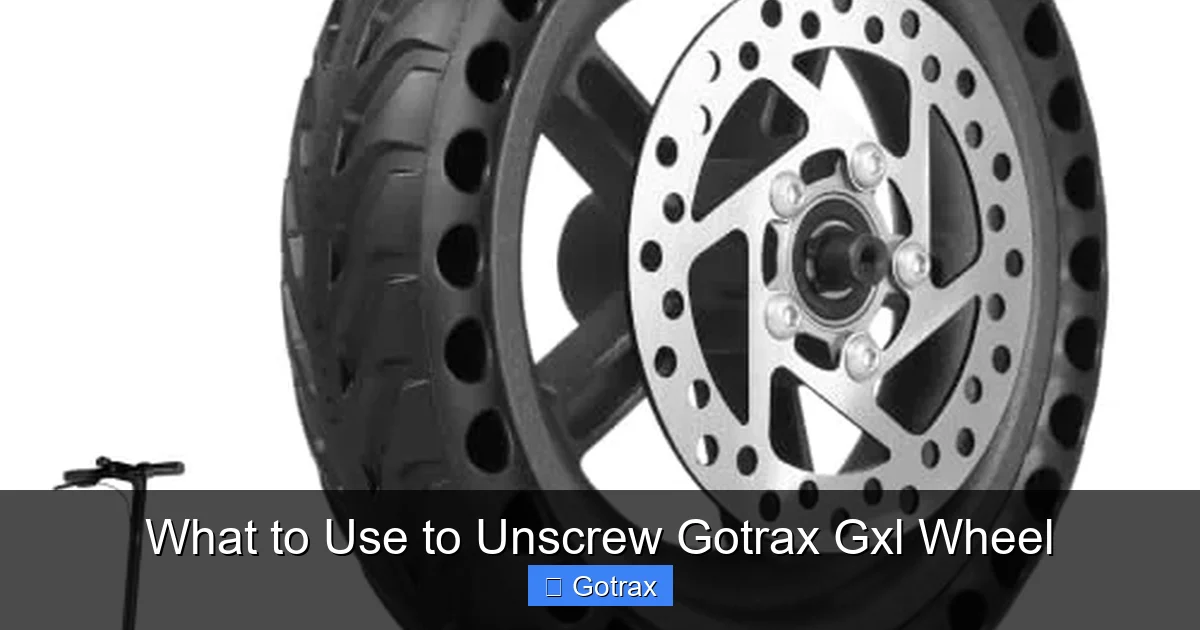
Unscrewing a Gotrax GXL wheel doesn’t have to be frustrating—if you use the right tools and techniques. This guide covers everything from essential tools like hex keys and socket wrenches to pro tips for avoiding damage during disassembly.
If you own a Gotrax GXL electric scooter, you know how convenient and fun it is to zip around town. But like any vehicle, it needs regular maintenance—especially the wheels. Whether you’re replacing a worn tire, fixing a wobble, or upgrading to a new wheel, knowing how to properly unscrew the Gotrax GXL wheel is essential. The good news? It’s simpler than it looks, as long as you use the right tools and follow the correct steps.
Many riders panic when they see the bolts holding the wheels in place, especially if they’ve never worked on scooters before. But don’t worry—this isn’t rocket science. With a few basic tools and some patience, you can safely remove either the front or rear wheel without damaging your scooter. The key is understanding the specific hardware used on the Gotrax GXL and knowing which tools match those fasteners. In this guide, we’ll walk you through everything you need to know, from identifying the correct tools to troubleshooting common issues like rusted or stripped bolts.
Key Takeaways
- Use a 6mm hex (Allen) key: This is the primary tool needed to remove the axle bolts on the Gotrax GXL wheel.
- A socket wrench with a 10mm socket helps: For stubborn bolts, especially on the rear wheel, a socket wrench provides better torque and control.
- Lubricate rusted or stuck bolts: Apply penetrating oil like WD-40 and let it sit before attempting to loosen tight screws.
- Work in a clean, well-lit space: Good lighting and organization prevent lost parts and reduce mistakes during reassembly.
- Follow a step-by-step removal process: Removing the fender or brake caliper may be necessary depending on the wheel you’re servicing.
- Use thread locker during reinstallation: Applying blue Loctite ensures bolts stay secure without over-tightening.
- Consult the manual or online videos: Gotrax provides official guides, and YouTube tutorials offer visual walkthroughs for tricky steps.
📑 Table of Contents
Understanding the Gotrax GXL Wheel Assembly
Before you start unscrewing anything, it helps to understand how the Gotrax GXL wheel is built and attached. The Gotrax GXL features two wheels—front and rear—each secured with specific bolts and hardware. The front wheel is typically easier to access, while the rear wheel may require removing additional components like the fender or brake caliper.
The wheels are mounted using axle bolts that pass through the fork (front) or swingarm (rear) and thread into the wheel hub. These bolts are secured with hex (Allen) heads, meaning you’ll need a hex key to loosen them. Most Gotrax GXL models use a 6mm hex bolt for the axle, but it’s always smart to double-check your specific model.
Front vs. Rear Wheel Differences
The front and rear wheels on the Gotrax GXL are similar in design but differ in installation complexity. The front wheel is usually straightforward—just remove the two axle bolts and slide the wheel out. However, the rear wheel is connected to the motor and may have additional components like a disc brake caliper or chain tensioner (on belt-driven models).
Because of this, removing the rear wheel often requires extra steps. You might need to disconnect the brake line, loosen the chain, or remove the fender. This doesn’t make it impossible—just more involved. Always refer to your owner’s manual or a trusted video guide before starting.
Common Fasteners Used on the Gotrax GXL
The Gotrax GXL uses a combination of hex bolts and nuts to secure its wheels. Here’s a quick breakdown:
– Axle bolts: Typically 6mm hex head bolts that secure the wheel to the fork or swingarm.
– Nuts: Some models use locking nuts on the inside of the axle for added security.
– Brake caliper bolts: If you’re removing the rear wheel, you may need to remove 8mm or 10mm bolts holding the brake caliper in place.
– Fender screws: Phillips or hex screws that attach the fender to the frame—may need removal for rear wheel access.
Knowing these fasteners in advance helps you gather the right tools and avoid surprises mid-job.
Essential Tools to Unscrew Gotrax GXL Wheel
Visual guide about What to Use to Unscrew Gotrax Gxl Wheel
Image source: i.ebayimg.com
Having the correct tools makes all the difference when unscrewing your Gotrax GXL wheel. Using the wrong size or type of tool can strip bolts, damage components, or even injure you. Here’s a list of the must-have tools for the job.
6mm Hex (Allen) Key
The most important tool for removing the Gotrax GXL wheel is a 6mm hex key. This L-shaped or T-handle tool fits into the hex socket on the axle bolts. A T-handle hex key offers better grip and torque, making it easier to loosen tight bolts.
If you don’t already own one, consider getting a hex key set that includes multiple sizes. This ensures you’re prepared for future maintenance tasks. Look for a set with a comfortable grip and durable steel construction.
Socket Wrench with 10mm Socket
While a hex key is sufficient for most axle bolts, some Gotrax GXL models use 10mm nuts on the inside of the axle. A socket wrench with a 10mm socket allows you to hold the nut steady while turning the bolt with the hex key. This prevents the nut from spinning and makes removal much easier.
A ratcheting socket wrench is ideal because it lets you turn the bolt without removing and repositioning the tool after each rotation. This saves time and effort, especially when working in tight spaces.
Adjustable Wrench or Pliers
In some cases, you may need to hold a bolt or nut in place while turning another component. An adjustable wrench or a pair of needle-nose pliers can help grip and stabilize parts. Use them carefully to avoid scratching or damaging the hardware.
Penetrating Oil (e.g., WD-40)
If your Gotrax GXL has been exposed to moisture or hasn’t been serviced in a while, the bolts may be rusted or seized. Applying penetrating oil like WD-40 can help loosen them. Spray the oil around the bolt head and let it sit for 10–15 minutes before attempting to turn it.
For extra stubborn bolts, tap the bolt gently with a rubber mallet to help break the rust bond. Avoid using excessive force, as this can strip the bolt head.
Torque Wrench (Optional but Recommended)
When reinstalling the wheel, it’s important not to overtighten the bolts. A torque wrench ensures you apply the correct amount of force—typically around 15–20 Nm for axle bolts. Overtightening can damage threads or warp components, while undertightening can lead to loose wheels and safety risks.
Safety Gear
Always wear safety glasses when working with tools, especially when applying penetrating oil or tapping bolts. Gloves can also protect your hands from sharp edges or hot components.
Step-by-Step Guide to Unscrewing the Gotrax GXL Wheel
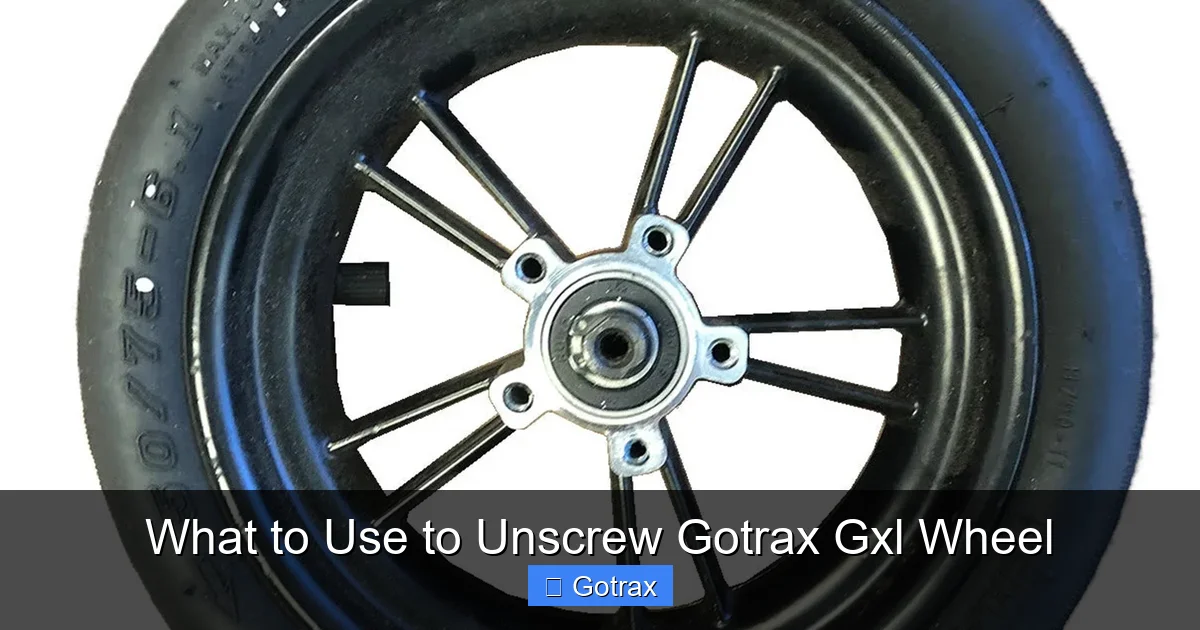
Visual guide about What to Use to Unscrew Gotrax Gxl Wheel
Image source: gotrax.com
Now that you have the right tools, let’s walk through the process of unscrewing the Gotrax GXL wheel. We’ll cover both front and rear wheel removal, with tips for common challenges.
Preparing Your Workspace
Start by setting up a clean, flat workspace with good lighting. Lay down a soft cloth or towel to protect the scooter’s finish. Gather all your tools and keep them within reach. If you’re working on the rear wheel, consider placing the scooter on a stand or flipping it upside down (handlebars and seat resting on the ground) for better access.
Removing the Front Wheel
The front wheel is the easiest to remove. Here’s how:
1. Turn off the scooter and remove the battery if possible for safety.
2. Locate the axle bolts on either side of the front fork. These are 6mm hex bolts.
3. Insert the 6mm hex key into the bolt head and turn counterclockwise to loosen. If the bolt spins, use a socket wrench on the nut inside the fork to hold it steady.
4. Remove both bolts completely and set them aside in a small container so they don’t get lost.
5. Gently pull the wheel out of the fork. It should slide out easily once the bolts are removed.
If the wheel is stuck, wiggle it slightly while pulling. Avoid forcing it, as this could damage the fork or axle.
Removing the Rear Wheel
The rear wheel is more complex due to the motor and brake system. Follow these steps:
1. Disconnect the battery and ensure the scooter is powered off.
2. Remove the fender if it blocks access to the axle bolts. This usually involves unscrewing 4–6 Phillips or hex screws.
3. Loosen the brake caliper by removing the two bolts holding it to the frame. Carefully move the caliper aside without disconnecting the brake line.
4. Locate the rear axle bolts—typically 6mm hex bolts on the outside and 10mm nuts on the inside.
5. Use the 6mm hex key and 10mm socket wrench together: hold the nut with the socket wrench and turn the bolt counterclockwise with the hex key.
6. Remove both bolts and nuts, then slide the wheel out from the swingarm.
On belt-driven models, you may also need to loosen the chain tensioner or remove the belt. Refer to your manual for specific instructions.
Dealing with Stuck or Stripped Bolts
Sometimes bolts refuse to budge—especially if they’re rusted or overtightened. Here’s how to handle common issues:
– Rusted bolts: Apply penetrating oil and wait. Use a rubber mallet to tap the bolt head gently. If it still won’t turn, try heating the area with a hair dryer (not a torch) to expand the metal slightly.
– Stripped hex heads: If the hex socket is rounded, use a bolt extractor kit or a flathead screwdriver with rubber bands for extra grip.
– Over-tightened bolts: Use a longer hex key or a breaker bar for extra leverage. Always turn slowly and steadily.
Never use pliers on hex bolts—they can damage the head and make removal harder.
Tips for Safe and Effective Wheel Removal
Even with the right tools and steps, mistakes can happen. These tips will help you avoid common pitfalls and ensure a smooth process.
Label and Organize Parts
As you remove screws and bolts, place them in labeled containers or on a magnetic tray. This prevents loss and makes reassembly much easier. Take photos at each step to reference later.
Don’t Force Anything
If a bolt won’t turn, don’t hammer or pry it. Forcing components can damage threads, warp parts, or break tools. Instead, apply penetrating oil, wait, and try again. Patience pays off.
Check for Wear and Damage
While the wheel is off, inspect the axle, bearings, and brake rotor for signs of wear. Replace any damaged parts before reinstalling. This is also a great time to clean the wheel and lubricate moving parts.
Use Thread Locker on Reinstallation
When putting the wheel back, apply a small amount of blue thread locker (like Loctite 242) to the bolt threads. This prevents loosening from vibration but still allows future removal. Avoid red Loctite, which is permanent.
Tighten Bolts to Spec
Use a torque wrench to tighten axle bolts to the manufacturer’s recommended torque (usually 15–20 Nm). This ensures safety without over-stressing components.
Common Mistakes to Avoid
Even experienced riders make errors when working on their scooters. Here are some common mistakes and how to avoid them.
Using the Wrong Tool Size
Using a 5mm hex key on a 6mm bolt might seem close enough, but it can strip the head. Always match the tool size exactly. If you’re unsure, test the fit before applying force.
Skipping Safety Precautions
Working on a scooter without turning it off or removing the battery can lead to accidental activation. Always power down and disconnect the battery before starting.
Forgetting to Reattach Components
It’s easy to forget to reconnect the brake caliper or reinstall the fender. Double-check your work before testing the scooter. A loose brake caliper can cause poor braking or damage.
Over-tightening Bolts
Tightening bolts too much can strip threads or crack the frame. Use a torque wrench and follow the recommended specs. When in doubt, err on the side of slightly loose rather than too tight.
Ignoring Maintenance After Reassembly
After reinstalling the wheel, spin it to check for wobbles or rubbing. Test the brakes and ensure everything moves smoothly. Regular maintenance extends the life of your scooter.
When to Seek Professional Help
While most Gotrax GXL wheel removals are DIY-friendly, some situations call for professional assistance.
Severely Damaged Components
If the axle is bent, the bearings are seized, or the frame is cracked, it’s best to take your scooter to a repair shop. Attempting to fix these issues at home could worsen the damage.
Electrical or Motor Issues
If you’re removing the rear wheel to access the motor and notice burnt wires, strange noises, or performance issues, consult a technician. Motor repairs often require specialized tools and knowledge.
Lack of Confidence
If you’re unsure about any step or feel uncomfortable working on your scooter, don’t hesitate to seek help. It’s better to pay for a professional repair than risk damaging your Gotrax GXL.
Conclusion
Unscrewing the Gotrax GXL wheel is a manageable task when you have the right tools and know-how. Start with a 6mm hex key and a 10mm socket wrench, and don’t forget penetrating oil for stubborn bolts. Follow a step-by-step process, stay organized, and prioritize safety at every stage.
Whether you’re replacing a tire, fixing a wobble, or performing routine maintenance, this skill will save you time and money. With practice, you’ll become more confident working on your scooter and keeping it in top condition.
Remember: patience and preparation are key. Take your time, double-check your work, and enjoy the satisfaction of maintaining your Gotrax GXL yourself. Your scooter—and your wallet—will thank you.
Frequently Asked Questions
What size hex key do I need to unscrew the Gotrax GXL wheel?
You’ll need a 6mm hex (Allen) key to remove the axle bolts on the Gotrax GXL wheel. This is the standard size used on most models for both front and rear wheels.
Can I use a regular wrench instead of a socket wrench?
While a regular wrench might work in a pinch, a socket wrench with a 10mm socket is recommended for holding the inner nut steady. This prevents spinning and makes removal much easier.
What should I do if the bolt won’t turn?
If the bolt is stuck, apply penetrating oil like WD-40 and let it sit for 10–15 minutes. Gently tap the bolt with a rubber mallet to break rust bonds, then try again with steady pressure.
Do I need to remove the brake caliper to take off the rear wheel?
Yes, on most Gotrax GXL models, you’ll need to loosen or remove the brake caliper to access the rear axle bolts. Be careful not to disconnect the brake line unless necessary.
How tight should I reinstall the axle bolts?
Tighten the axle bolts to 15–20 Newton meters (Nm) using a torque wrench. This ensures safety without over-tightening, which can damage threads or components.
Can I unscrew the Gotrax GXL wheel without special tools?
While basic tools like a hex key are essential, attempting removal without them can strip bolts or cause injury. Invest in a 6mm hex key and socket wrench for safe, effective results.