
Turning on your Gotrax scooter light is simple, but the process varies slightly by model. This guide walks you through every step, from basic activation to troubleshooting common issues, so you can ride safely at night or in low-light conditions.
Key Takeaways
- Most Gotrax scooters have built-in LED lights activated via the power button or display panel. Press and hold the power button for 2–3 seconds to turn on both the scooter and its front light.
- Some models like the GXL V2 and XR Elite use a dedicated light button on the handlebar. Look for a small lightbulb icon—press it to toggle the headlight on or off.
- Ensure your scooter is powered on before trying to activate the light. The light won’t work if the battery is dead or the scooter is in sleep mode.
- Battery level affects light brightness and functionality. A low battery may dim or disable the light to conserve power.
- Regular maintenance keeps your light working properly. Clean the lens, check connections, and update firmware if available.
- If the light won’t turn on, try a hard reset or contact Gotrax support. Persistent issues may indicate a wiring or hardware problem.
- Always test your light before riding at night. Visibility is key to safe scooter operation in dark or foggy conditions.
How to Turn on Gotrax Scooter Light: A Complete Step-by-Step Guide
Riding your Gotrax electric scooter at night or during early morning hours can be both fun and practical—but only if you can see and be seen. One of the most important safety features on any electric scooter is the built-in headlight. Whether you’re commuting to work, running errands, or just enjoying a nighttime ride, knowing how to turn on your Gotrax scooter light is essential.
In this comprehensive guide, we’ll walk you through everything you need to know about activating the light on your Gotrax scooter. We’ll cover multiple models, explain the differences in activation methods, provide troubleshooting tips, and share best practices for maintaining your scooter’s lighting system. By the end of this article, you’ll be confident in turning on your Gotrax scooter light—no matter which model you own.
Let’s get started!
Why Your Gotrax Scooter Light Matters
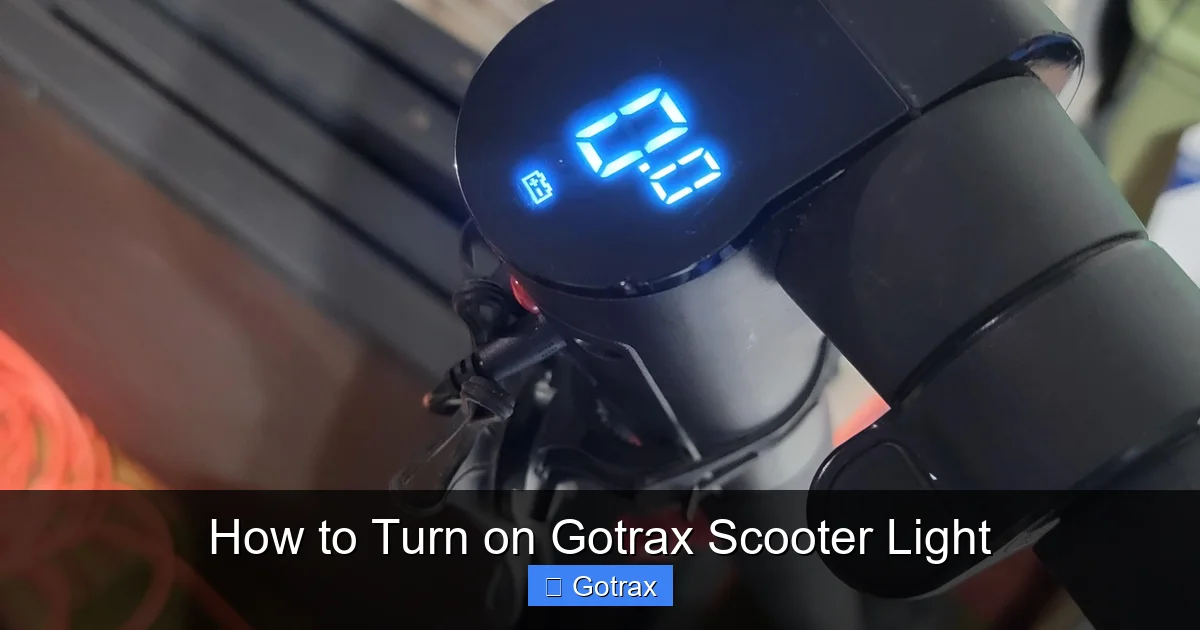
Visual guide about How to Turn on Gotrax Scooter Light
Image source: i.redd.it
Before diving into the “how,” it’s important to understand the “why.” The headlight on your Gotrax scooter isn’t just a cool feature—it’s a critical safety tool. Here’s why:
– Visibility: A bright front light helps you see potholes, cracks, and obstacles in low-light conditions.
– Being Seen: Other drivers, cyclists, and pedestrians are more likely to notice you when your light is on.
– Legal Compliance: In many cities and states, electric scooters are required by law to have functioning lights when riding after dark.
– Battery Efficiency: Modern Gotrax lights are LED-based, meaning they use minimal power while delivering maximum brightness.
Ignoring your scooter’s light isn’t just unsafe—it could also lead to fines or accidents. So, let’s make sure you know exactly how to turn it on.
Understanding Gotrax Scooter Light Systems
Gotrax offers a wide range of electric scooters, from entry-level models like the GKS to high-performance ones like the XR Pro. While the core functionality remains similar, the way you activate the light can vary depending on the model.
Most Gotrax scooters come with:
– A front LED headlight (usually white)
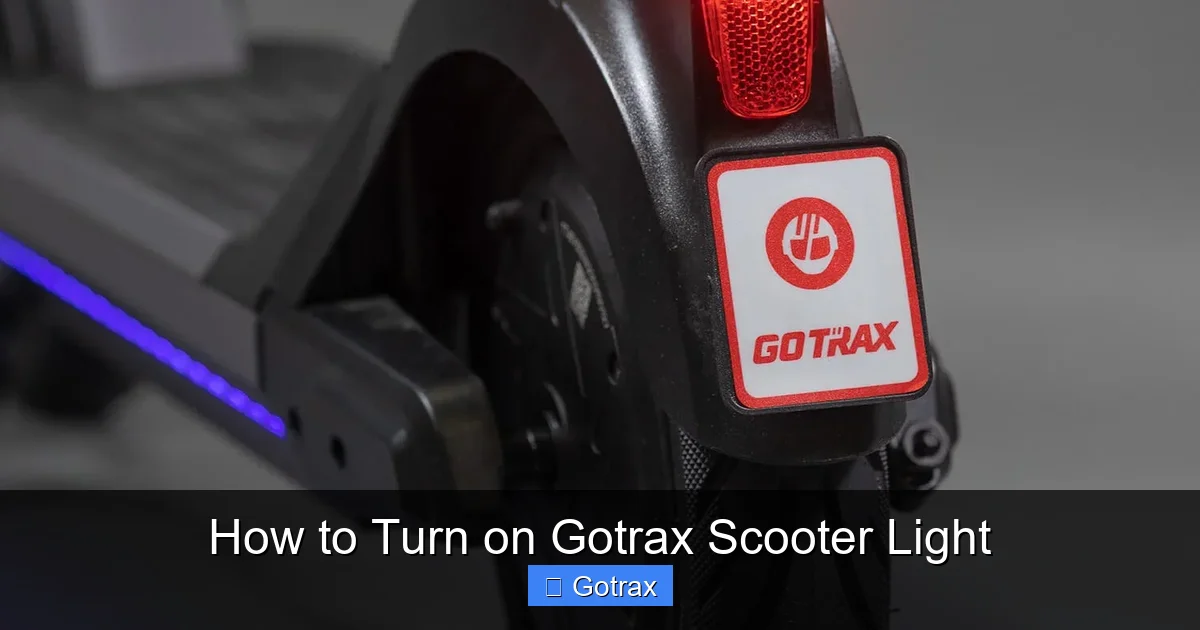
– A rear brake light (red, activates when braking)
– Optional ambient lighting on some premium models
The activation method typically falls into one of two categories:
1. Integrated with the power button – The light turns on automatically when you power up the scooter.
2. Dedicated light button – A separate button on the handlebar or display panel controls the light independently.
Let’s explore both methods in detail.
Method 1: Turning on the Light with the Power Button (Common on GKS, G2, G3, and G4)
Many entry-level and mid-range Gotrax scooters use a simple power-button activation system. Here’s how it works:
Step 1: Locate the Power Button
The power button is usually found on the left side of the handlebar, near the grip. It’s a small, round button with a power symbol (⏻) or the word “POWER.”
Step 2: Charge Your Scooter
Before attempting to turn on the light, make sure your scooter has sufficient battery. A completely dead battery won’t power the light—or the scooter. Plug in your charger and wait until the indicator light turns green (fully charged).
Step 3: Power On the Scooter
Press and hold the power button for 2–3 seconds. You should hear a beep, and the display panel (if your model has one) will light up. On models without a display, the headlight will typically turn on automatically.
Step 4: Confirm the Light Is On
Look at the front of your scooter. You should see a bright white LED beam projecting forward. If it’s on, you’re good to go!
Pro Tip: Double-Tap for Extra Brightness (on Select Models)
Some Gotrax models, like the G4, allow you to double-tap the power button after turning on the scooter to activate a brighter light mode. This is useful for dark roads or foggy conditions.
Method 2: Using a Dedicated Light Button (Common on GXL V2, XR Elite, and XR Pro)
Higher-end Gotrax models often feature a more advanced control system with a dedicated light button. This gives you greater control over when the light is on—even when the scooter is in standby mode.
Step 1: Power On the Scooter
As with all models, start by pressing and holding the power button for 2–3 seconds. Wait for the display to activate and the scooter to beep.
Step 2: Find the Light Button
Look for a small button on the right or left handlebar with a lightbulb icon (💡). On the GXL V2, it’s usually on the right side, near the throttle. On the XR Elite and XR Pro, it may be integrated into the display panel or located just below it.
Step 3: Press the Light Button
Press the light button once. The headlight should turn on immediately. Press it again to turn it off. This allows you to use the light without riding—perfect for walking your scooter through a dark parking garage.
Step 4: Use the Display Menu (XR Pro and XR Elite)
On models with a digital display, you may also control the light through the menu:
– Press the “Mode” or “Menu” button to navigate.
– Use the up/down arrows to find the “Light” option.
– Press “OK” or “Select” to toggle it on or off.
Pro Tip: Enable Auto-Light Mode (if Available)
Some advanced models offer an “Auto” mode where the light turns on automatically in low-light conditions. Check your user manual or display settings to see if this feature is available.
Model-Specific Instructions
Not all Gotrax scooters are created equal. Here’s a quick breakdown of how to turn on the light on some of the most popular models:
Gotrax GKS
– Power on by holding the power button.
– The front light turns on automatically.
– No separate light button.
Gotrax G2 and G3
– Press and hold the power button to turn on.
– Light activates with the scooter.
– Some G3 units may have a double-tap feature for brighter light.
Gotrax G4
– Power on as usual.
– Double-tap the power button to activate high-beam mode.
– Great for nighttime commuting.
Gotrax GXL V2
– Power on the scooter.
– Press the dedicated light button (lightbulb icon) on the handlebar.
– Light can be turned on independently of riding.
Gotrax XR Elite
– Power on the scooter.
– Use the light button or navigate the display menu.
– Auto-light mode may be available.
Gotrax XR Pro
– Full digital display with menu controls.
– Use the menu to toggle the light on/off.
– Supports auto-light and brightness adjustment.
Troubleshooting: What to Do If Your Gotrax Scooter Light Won’t Turn On
Even with the right steps, sometimes the light just won’t cooperate. Don’t panic—here are the most common issues and how to fix them.
Issue 1: The Light Doesn’t Turn On at All
Possible Causes:
– Dead or low battery
– Scooter not fully powered on
– Faulty light bulb or LED
– Loose wiring
Solutions:
– Charge the scooter fully and try again.
– Ensure you’re holding the power button long enough (2–3 seconds).
– Try the light button multiple times—sometimes it takes a few presses.
– If nothing works, perform a hard reset (see below).
Issue 2: The Light Flickers or Is Very Dim
Possible Causes:
– Low battery
– Dirty or foggy lens
– Loose connection
Solutions:
– Recharge the battery.
– Clean the front lens with a soft, dry cloth.
– Check for loose wires near the headlight (requires basic disassembly—see maintenance section).
Issue 3: Light Turns On But Turns Off After a Few Seconds
Possible Causes:
– Battery saving mode
– Overheating
– Software glitch
Solutions:
– Ride the scooter for a minute to see if the light stays on while in motion.
– Let the scooter cool down if it feels hot.
– Perform a hard reset.
How to Perform a Hard Reset
A hard reset can fix many software-related issues:
1. Turn off the scooter completely.
2. Disconnect the battery (if accessible—check your model’s manual).
3. Wait 30 seconds.
4. Reconnect the battery and power on the scooter.
5. Try turning on the light again.
Note: Not all Gotrax models allow easy battery access. If you’re unsure, contact Gotrax support before attempting.
Maintaining Your Gotrax Scooter Light
A well-maintained light lasts longer and performs better. Here’s how to keep yours in top shape:
Clean the Lens Regularly
Dirt, mud, and bugs can block the light beam. Use a microfiber cloth and mild soap to gently clean the front lens. Avoid harsh chemicals or abrasive materials.
Check for Physical Damage
Inspect the headlight housing for cracks or loose parts. A damaged housing can let moisture in, which may short-circuit the LED.
Inspect Wiring (Advanced Users Only)
If you’re comfortable with basic scooter maintenance, open the stem cover (if applicable) and check that the light’s wires are securely connected. Look for frayed or disconnected cables.
Update Firmware (if Available)
Some newer Gotrax models support firmware updates via the Gotrax app. Updated software can improve light performance and fix bugs.
Store in a Dry Place
Moisture is the enemy of electronics. Always store your scooter in a dry, covered area—especially after riding in the rain.
Safety Tips for Riding with Your Gotrax Scooter Light
Turning on the light is just the first step. Here’s how to use it safely:
– Test Before You Ride: Always check that your light is working before heading out at night.
– Use Reflective Gear: Combine your scooter light with reflective clothing or stickers for maximum visibility.
– Avoid Over-Reliance: The built-in light is helpful, but it’s not a substitute for streetlights or bike paths. Ride in well-lit areas when possible.
– Pair with a Rear Light: Consider adding an aftermarket rear LED light for extra safety.
– Follow Local Laws: Some areas require both front and rear lights, plus reflectors. Check your local regulations.
Upgrading Your Gotrax Scooter Light (Optional)
If you’re not satisfied with the stock light, you can upgrade it—though this requires some technical skill.
Aftermarket LED Lights
You can install a brighter, rechargeable LED light on your handlebar. Look for waterproof, USB-rechargeable models with multiple brightness settings.
Installation Tips:
– Use zip ties or mounting brackets to secure the light.
– Route wires neatly to avoid interference with controls.
– Test the light before finalizing the setup.
Note: Modifying your scooter may void the warranty. Proceed with caution.
Final Thoughts: Stay Safe and Seen
Knowing how to turn on your Gotrax scooter light is a small but vital part of safe scooter ownership. Whether your model uses a simple power-button activation or a dedicated light switch, the process is straightforward once you know what to look for.
Remember: a working light isn’t just convenient—it’s a lifesaver. It helps you see the road ahead and ensures others can see you. So before every ride, especially at night, take a moment to check that your light is on and functioning properly.
With the tips and troubleshooting steps in this guide, you’ll be prepared for any lighting issue that comes your way. Ride smart, stay visible, and enjoy the freedom of your Gotrax scooter—day or night.