
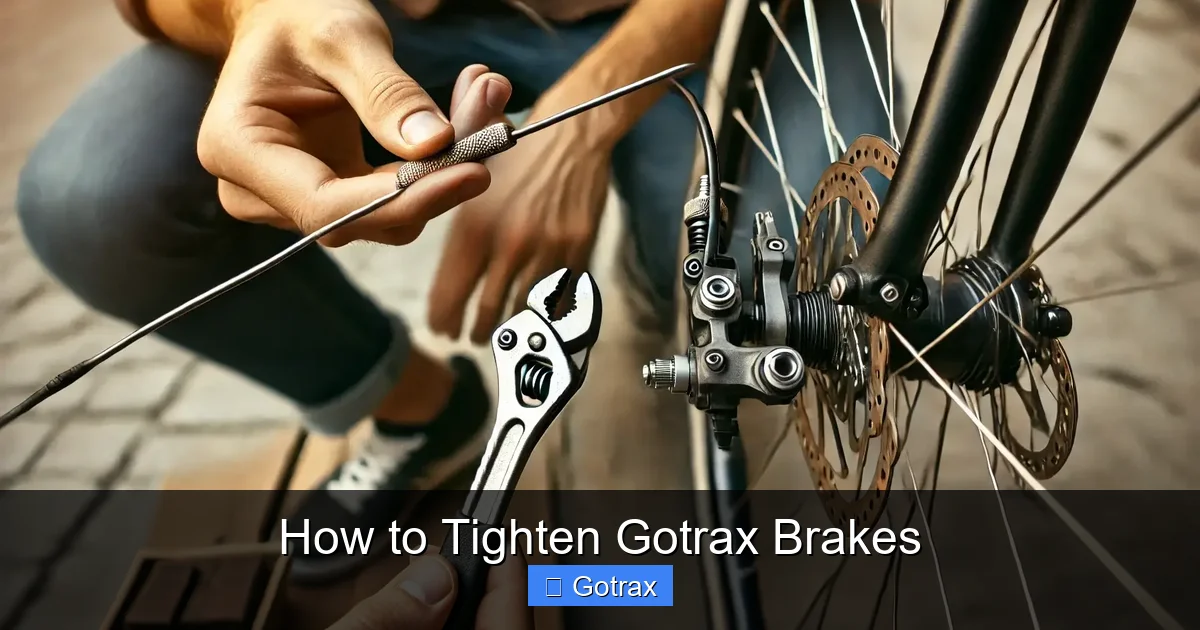
Discover how to tighten Gotrax brakes quickly and safely to ensure optimal stopping power and rider safety. This guide covers everything from tools needed to troubleshooting common issues, helping you maintain your scooter like a pro.
Key Takeaways
- Regular brake maintenance is essential: Tightening Gotrax brakes improves safety and extends the life of your scooter’s braking system.
- Use the right tools: A hex key, wrench, and screwdriver are typically all you need for most Gotrax models.
- Check brake pad alignment: Misaligned pads reduce braking efficiency and can cause uneven wear.
- Adjust cable tension carefully: Over-tightening can damage cables or cause brake drag; under-tightening leads to poor stopping power.
- Test brakes after adjustment: Always ride slowly in a safe area to confirm brakes engage smoothly and stop effectively.
- Know when to replace parts: Worn brake pads or frayed cables should be replaced—not just tightened.
- Consult your manual: Different Gotrax models (like GXL, G2, or G4) may have slight variations in brake setup.
How to Tighten Gotrax Brakes: A Complete Step-by-Step Guide
Whether you’re a daily commuter or weekend rider, having properly functioning brakes on your Gotrax electric scooter is non-negotiable. Over time, brake cables can loosen, pads may wear down, or adjustments can shift—leading to reduced stopping power and potential safety risks. Fortunately, tightening Gotrax brakes is a straightforward DIY task that doesn’t require professional tools or mechanical expertise.
In this comprehensive guide, you’ll learn exactly how to tighten Gotrax brakes on popular models like the GXL, G2, G3, and G4. We’ll walk you through identifying brake types, gathering the right tools, performing safe adjustments, and testing your work. By the end, you’ll feel confident maintaining your scooter’s braking system for smoother, safer rides.
Why Brake Maintenance Matters
Your Gotrax scooter relies on mechanical or electronic braking systems—most commonly rear drum brakes or front/rear disc brakes depending on the model. Unlike cars, scooters have minimal mass and rely heavily on responsive brakes to stop quickly, especially in urban environments with traffic, pedestrians, and unexpected obstacles.
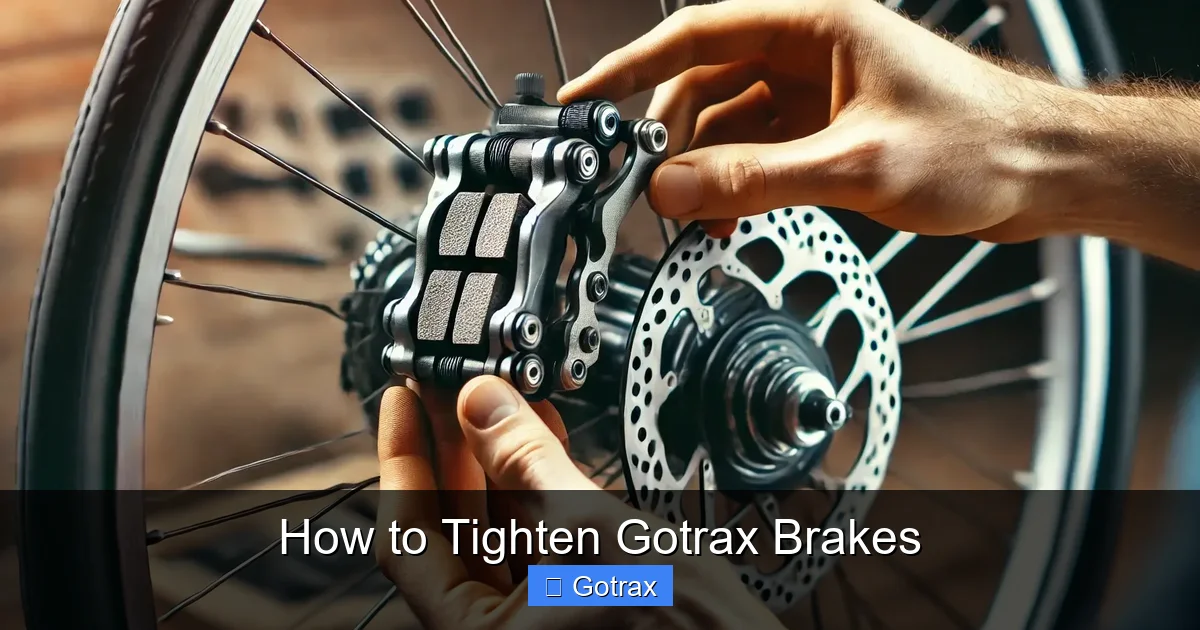
Visual guide about How to Tighten Gotrax Brakes
Image source: cdn.shopify.com
When brakes become loose or misaligned, you might notice:
- Longer stopping distances
- A spongy or slack brake lever feel
- Brakes that squeak or grind
- Uneven wear on brake pads
- The scooter rolling slightly when the brake is applied
Ignoring these signs can lead to accidents or costly repairs down the line. Regular checks and minor adjustments—like tightening the brake cable—can prevent these issues and keep your rides safe and enjoyable.
Tools You’ll Need
Before diving in, gather these basic tools. Most are likely already in your garage or toolkit:
- Hex key set (usually 4mm or 5mm for Gotrax scooters)
- Adjustable wrench or socket wrench
- Flathead and Phillips screwdrivers
- Clean rag
- Lubricant (optional, for cable maintenance)
- Flashlight (to inspect hard-to-see areas)
No need for expensive equipment—Gotrax designs its scooters with user-friendly maintenance in mind. If you’re missing a hex key, they’re inexpensive and widely available at hardware stores or online.
Identify Your Gotrax Brake Type
Gotrax scooters use different braking systems across models. Knowing your brake type is crucial because adjustment methods vary slightly.
Rear Drum Brakes (Common on GXL, G2)
These are enclosed within the rear wheel hub. They’re durable and low-maintenance but can be trickier to adjust since they’re not easily visible. Tightening usually involves adjusting a tension screw near the brake lever or inside the hub.
Front and Rear Disc Brakes (Common on G3, G4, GMAX)
Disc brakes use a caliper that squeezes brake pads against a rotor. These are more visible and easier to adjust. You’ll typically tighten them by adjusting the cable tension at the lever or caliper.
Electronic Regenerative Braking (Supplement on Most Models)
Many Gotrax scooters also feature electronic braking that activates when you release the throttle. This works alongside mechanical brakes but doesn’t require manual tightening—focus your efforts on the physical brake system.
Check your user manual or look at your scooter’s wheels to identify which type you have. If unsure, visit the Gotrax website and search your model number for specifications.
Step-by-Step: How to Tighten Gotrax Disc Brakes
Disc brakes are common on newer Gotrax models and offer strong, reliable stopping power. Here’s how to tighten them safely.
Step 1: Secure Your Scooter
Flip your scooter upside down or place it on a stand so the wheels spin freely. This gives you easy access to the brake components and lets you test adjustments without riding.
Step 2: Inspect the Brake Cable and Pads
Look at the brake lever on the handlebar. Follow the cable down to the caliper near the wheel. Check for:
- Frayed or rusty cables
- Worn brake pads (less than 1/8 inch thick)
- Loose bolts or misaligned caliper
If pads are worn, replace them before tightening. Damaged cables should also be replaced—tightening won’t fix internal wear.
Step 3: Locate the Barrel Adjuster
Near the brake lever, you’ll see a small cylindrical knob—this is the barrel adjuster. It’s used for fine-tuning cable tension without tools.
Turn it counterclockwise to tighten the cable (increase tension). Only turn it a few turns at a time. If the brake becomes too tight (wheel won’t spin freely), turn it clockwise to loosen.
Step 4: Adjust Cable Tension at the Caliper (If Needed)
If the barrel adjuster is maxed out and brakes are still loose, you’ll need to adjust the cable at the caliper.
- Loosen the cable anchor bolt on the caliper using a hex key.
- Pull the cable gently to remove slack.
- Retighten the bolt while holding the cable taut.
Don’t over-tighten—this can bend the cable or damage the caliper. The goal is snug tension, not maximum force.
Step 5: Check Pad Alignment
Squeeze the brake lever. The pads should contact the rotor evenly on both sides. If one pad hits before the other, the caliper may be misaligned.
Loosen the two caliper mounting bolts slightly, squeeze the brake lever to center the caliper, then retighten the bolts. This ensures even pad contact and smoother braking.
Step 6: Test the Brakes
Spin the wheel by hand. It should rotate freely when the brake is released. Squeeze the lever—the wheel should stop quickly without dragging.
If the brake drags (wheel slows or stops when released), loosen the cable slightly. If it feels too loose, tighten a bit more. Fine-tune using the barrel adjuster.
Step-by-Step: How to Tighten Gotrax Drum Brakes
Drum brakes are sealed and less accessible, but adjustments are still possible with patience.
Step 1: Access the Brake Adjuster
On most Gotrax models with drum brakes, there’s an adjustment screw located near the rear wheel, often on the side of the fender or under a rubber cap.
Use a flathead screwdriver to turn the screw. Turning it clockwise tightens the brake (increases tension). Turn counterclockwise to loosen.
Step 2: Make Small Adjustments
Turn the screw a quarter-turn at a time. After each turn, spin the wheel to check resistance. You want the brake to engage firmly when the lever is squeezed, but the wheel should still spin freely when released.
Step 3: Test the Brake Lever
Squeeze the brake lever. It should engage about halfway through its travel. If it hits the handlebar too quickly, the brake is too tight. If it travels too far, it’s too loose.
Adjust until the lever feels firm and responsive.
Step 4: Check for Even Wear
Drum brakes wear internally, so visual inspection is limited. However, if one side of the scooter feels less responsive, the brake shoes inside may be unevenly worn. In this case, consider professional servicing or replacement.
Tips for Safe and Effective Brake Adjustment
Follow these best practices to get the best results:
- Work in a well-lit area: Good lighting helps you spot wear, alignment issues, and loose parts.
- Clean components first: Wipe down the brake lever, cable, and caliper with a dry rag. Dirt and grime can affect performance.
- Lubricate cables (sparingly): If the cable feels stiff, apply a drop of bike cable lubricant. Avoid getting grease on brake pads or rotors—it reduces friction and braking power.
- Don’t overtighten: Over-tightening can stretch cables, warp rotors, or cause brake drag, which wears parts faster and drains battery life.
- Check both brakes: Even if only one feels loose, inspect both front and rear systems for consistency.
- Keep a maintenance log: Note when you last adjusted or replaced parts. This helps track wear and plan future maintenance.
Troubleshooting Common Brake Issues
Even after tightening, you might encounter problems. Here’s how to fix them:
Brake Lever Feels Spongy or Soft
This often means air in the system (for hydraulic brakes) or excessive cable slack. For mechanical brakes, re-tighten the cable. If the issue persists, the cable may be stretched and need replacement.
Brake Squeaks or Grinds
Squeaking can come from dirty rotors, glazed pads, or misalignment. Clean the rotor with isopropyl alcohol and sand the pads lightly with fine-grit sandpaper. Realign the caliper if needed.
Wheel Doesn’t Spin Freely After Adjustment
The brake is too tight. Loosen the cable slightly using the barrel adjuster or caliper bolt. Spin the wheel—it should rotate without resistance.
Brake Doesn’t Engage at All
Check for a broken cable, disconnected lever, or seized caliper. Inspect the entire cable route for damage. If the lever moves freely but nothing happens, the cable may be snapped inside the housing.
Uneven Braking (One Side Stops Better)
This suggests uneven pad wear or caliper misalignment. Realign the caliper and check pad thickness. Replace pads if one is significantly thinner than the other.
When to Replace Brake Parts
Tightening is a temporary fix if parts are worn. Replace these components when needed:
- Brake pads: Less than 1/8 inch thick, cracked, or glazed.
- Brake cables: Frayed, rusted, or stretched (won’t hold tension).
- Rotors: Warped, deeply scored, or thinner than manufacturer specs.
- Drum brake shoes: Worn down or damaged (requires professional inspection).
Gotrax sells replacement parts online, or you can find compatible third-party options. Always use parts rated for your specific model.
Preventative Maintenance Schedule
To avoid frequent adjustments, follow this simple schedule:
- Weekly: Visual inspection of brakes, cables, and pads.
- Monthly: Test brake function and tighten if needed.
- Every 3–6 months: Clean and lubricate cables, check pad thickness.
- Annually: Full brake system inspection—consider professional servicing if you’re unsure.
Regular care keeps your scooter safe and saves money on repairs.
Final Thoughts
Tightening Gotrax brakes is a simple but vital skill for any scooter owner. With the right tools and a little patience, you can ensure your brakes respond instantly when you need them most. Whether you’re adjusting disc or drum brakes, the key is careful, incremental changes and thorough testing.
Remember: safety comes first. If you’re ever unsure about a repair, consult your user manual or contact Gotrax customer support. And always test your brakes in a safe, controlled environment before riding at speed.
By following this guide, you’ll extend the life of your scooter, improve your riding experience, and ride with confidence—knowing your brakes are ready for whatever the road brings.