
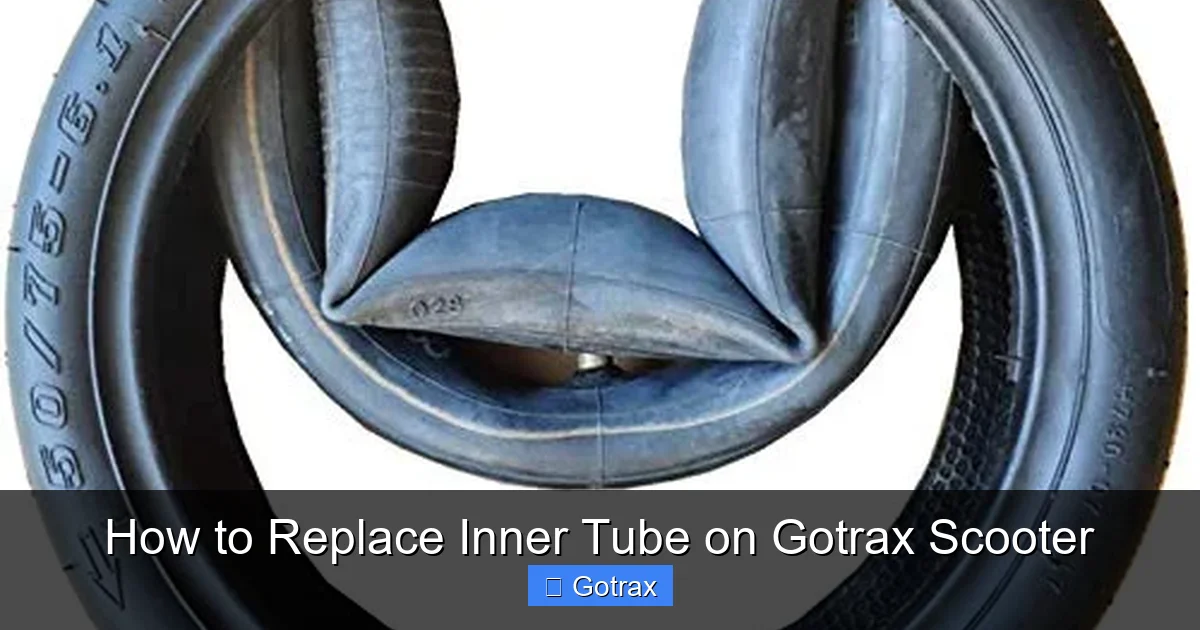
Replacing the inner tube on a Gotrax scooter is simpler than it looks—even for beginners. This guide walks you through every step, from removing the wheel to inflating the new tube, so you can fix flats quickly and confidently at home.
Key Takeaways
- Always check tire pressure before riding: Proper inflation prevents pinch flats and extends tube life.
- Use tire levers to avoid damaging the rim: Metal spoons or plastic levers make prying the tire off safer and easier.
- Inspect the tire for debris before installing a new tube: A small nail or thorn left behind will cause another flat.
- Pump the new tube slightly before inserting it: This helps prevent twisting and makes seating the tube smoother.
- Reinstall the wheel carefully to avoid pinching the tube: Align the axle properly and tighten bolts evenly.
- Test ride slowly after replacement: Check for wobbling, rubbing, or air leaks before full-speed use.
- Keep a spare tube and patch kit handy: Being prepared saves time and gets you back on the road faster.
How to Replace Inner Tube on Gotrax Scooter
If you’ve ever been stranded mid-ride because of a flat tire on your Gotrax scooter, you know how frustrating it can be. The good news? Replacing the inner tube is a straightforward DIY fix that doesn’t require professional tools or mechanical expertise. Whether you’re dealing with a slow leak or a sudden blowout, this complete guide will walk you through the entire process—from diagnosing the problem to getting back on the road safely.
In this article, you’ll learn exactly how to replace the inner tube on your Gotrax scooter, including which tools to use, how to remove the wheel without damaging components, and tips to avoid common mistakes. We’ll cover both front and rear wheels (though most Gotrax models have similar setups), and we’ll even share troubleshooting advice if things don’t go as planned. By the end, you’ll feel confident handling flats like a pro—and save money by skipping the repair shop.
Let’s get started!
Why Inner Tubes Fail (And How to Prevent It)
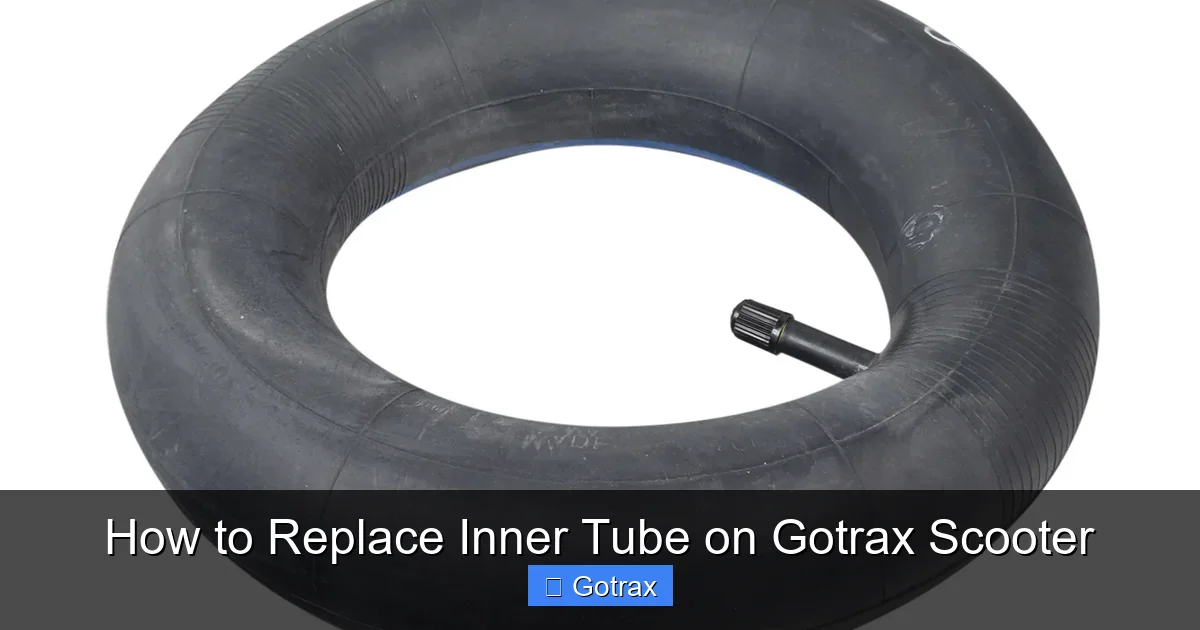
Visual guide about How to Replace Inner Tube on Gotrax Scooter
Image source: monsterscooterparts.com
Before diving into the replacement process, it’s helpful to understand why inner tubes fail in the first place. Most flats on electric scooters like the Gotrax series happen due to one of three reasons: punctures, pinch flats, or valve damage.
Punctures occur when sharp objects—like glass, nails, or thorns—penetrate the tire and pierce the inner tube. These are common in urban environments or trails with debris. Pinch flats (also called “snake bites”) happen when you hit a hard edge—like a curb or pothole—at low tire pressure. The tube gets compressed between the rim and the obstacle, causing two small holes close together. Valve damage is less common but can occur if the valve stem gets bent during installation or is struck by road debris.
The best prevention? Regular maintenance. Check your tire pressure weekly using a reliable gauge—Gotrax recommends around 40–50 PSI for most models, but always verify in your user manual. Also, inspect tires visually before each ride for cuts, embedded objects, or excessive wear. A well-maintained scooter is far less likely to leave you stranded.
Tools and Materials You’ll Need
You don’t need a full bike mechanic’s toolkit to replace a Gotrax inner tube. Here’s what you should gather before starting:
- New inner tube: Make sure it matches your scooter’s wheel size (usually 8.5” or 9.5” for Gotrax models). Look for a Schrader valve (the same type used on car tires) unless your model specifies Presta.
- Tire levers: Two or three plastic or nylon levers work best—avoid metal ones that can scratch rims or puncture tubes.
- Hand pump or portable air compressor: You’ll need this to inflate the new tube. A pump with a pressure gauge is ideal.
- Wrench or Allen key: Most Gotrax scooters use either a 13mm wrench or a 6mm Allen key to remove axle nuts or bolts.
- Soapy water (optional): Useful for locating slow leaks—bubbles will form where air escapes.
- Clean rag: For wiping down the rim and tire interior.
Pro tip: Keep a small repair kit in your backpack or scooter storage compartment. Include a spare tube, tire levers, a mini pump, and a patch kit. You’ll thank yourself the next time you’re caught off guard!
Step 1: Prepare Your Scooter
Safety first! Before touching any parts, make sure your Gotrax scooter is powered off and placed on a stable, flat surface. If possible, flip it upside down so it rests on the handlebars and deck—this gives you easy access to the wheels. Use a stand or prop it securely to prevent it from tipping.
Next, release any remaining air from the flat tube by pressing down on the valve stem. For Schrader valves, press the small pin in the center with a pen or key. This makes removing the tire much easier.
If you’re replacing the rear wheel (which houses the motor on most Gotrax models), be extra careful not to strain the motor wires. You may need to disconnect the brake sensor or motor connector—but only if absolutely necessary. On many models, you can remove the wheel without disconnecting anything, thanks to slack in the wiring. Still, handle cables gently to avoid damage.
Step 2: Remove the Wheel
Now it’s time to take off the wheel. The process differs slightly between front and rear wheels, but the basics are the same.
For the Front Wheel:
Locate the axle nut or bolt on the left side of the fork. Use your wrench or Allen key to loosen it counterclockwise. Once loose, you should be able to slide the wheel out of the fork dropouts. If it’s tight, gently wiggle the wheel while pulling outward.
For the Rear Wheel:
The rear wheel is trickier because of the motor and brake components. Start by loosening the axle nuts or bolts on both sides. On some Gotrax models, you’ll need to remove the fender or chain guard first—check your manual if unsure. Once the bolts are loose, carefully pull the wheel straight back. The motor shaft may have a slight taper, so it might take a firm but gentle tug. Avoid yanking or twisting, as this can damage the motor coupler.
Once the wheel is free, set it on your work surface with the tire facing up.
Step 3: Deflate and Remove the Tire
Even if the tube is already flat, double-check that all air is out. Then, use your tire levers to pry the tire bead over the rim.
Insert one lever under the bead (the inner edge of the tire) and hook it to a spoke or rim notch. Insert a second lever about 4–6 inches away and lift the bead up and over the rim. Once a section is loose, you can often run the lever around the rim to fully unseal one side of the tire.
With one side of the tire off, gently pull out the old inner tube. Start at the valve stem—it should pop out easily once the tire is loose. Pull the entire tube out, inspecting it as you go. Look for holes, tears, or melted spots (a sign of overheating from underinflation).
Step 4: Inspect the Tire and Rim
This step is critical—and often skipped! Before installing a new tube, you must ensure the tire and rim are free of hazards.
Run your fingers carefully along the inside of the tire. Feel for sharp objects like glass shards, staples, or thorns. If you find anything, remove it with pliers. Also check for worn spots, cracks, or bulges—these indicate the tire itself needs replacing.
Next, inspect the rim tape (the strip covering the spoke holes inside the rim). It should be intact and centered. If it’s shifted or torn, it can rub against the new tube and cause another flat. Replace it if necessary—most bike shops sell adhesive rim tape for under $5.
Finally, wipe down the rim interior with a clean rag to remove dirt or debris.
Step 5: Install the New Inner Tube
Now for the fun part! Follow these steps carefully to avoid pinching or twisting the new tube.
Partially Inflate the Tube:
Give the new tube a small puff of air—just enough to hold its shape. This prevents it from kinking when you insert it into the tire.
Insert the Valve Stem:
Push the valve stem through the valve hole in the rim. Make sure it’s straight and seated properly.
Tuck the Tube Into the Tire:
Starting at the valve, work the tube into the tire cavity. Use your hands to gently guide it around the entire circumference. Avoid using tools here—they can puncture the tube.
Seat the Tire Bead:
Begin reseating the tire bead onto the rim opposite the valve. Use your thumbs to push the bead over the edge. Work your way around the wheel, applying even pressure. If it gets tight near the valve, go slowly—forcing it can pinch the tube.
Once most of the bead is on, use your tire levers if needed—but only as a last resort. Hook the lever under the bead and gently pry it over the rim. Never force it; if it won’t go on easily, double-check that the tube isn’t trapped underneath.
Step 6: Inflate and Check for Leaks
With the tire fully seated, it’s time to inflate. Attach your pump to the valve and begin adding air slowly. Watch the tire as it expands—the bead should “pop” into place evenly on both sides. If one side remains low, deflate slightly, adjust the bead, and try again.
Inflate to the recommended PSI (usually 40–50 for Gotrax scooters). Don’t overinflate—this can stress the tube and tire.
Once inflated, listen for hissing sounds. If you suspect a leak but can’t hear it, spray soapy water around the valve, bead, and any suspicious areas. Bubbles will reveal the leak source.
Give the wheel a gentle spin and inspect for wobbles or bulges. A properly installed tube should sit smoothly inside the tire.
Step 7: Reinstall the Wheel
Carefully place the wheel back into the fork or dropouts. For the rear wheel, align the motor shaft with the coupler and slide it in gently. Make sure the brake rotor (if applicable) fits between the brake pads without rubbing.
Tighten the axle nuts or bolts evenly on both sides. Use a torque wrench if you have one—overtightening can warp the axle or damage threads. Hand-tight is usually sufficient, but ensure it’s snug enough that the wheel doesn’t wobble.
If you disconnected any wires (like the motor connector or brake sensor), reconnect them now. Double-check that cables aren’t pinched or stretched.
Step 8: Final Checks and Test Ride
Flip your scooter back over and give it a once-over. Spin each wheel to confirm smooth rotation. Squeeze the brakes to ensure they engage properly. Check that the tire isn’t rubbing against the fender or frame.
Take a short test ride in a safe, flat area. Start slow—walk alongside your scooter at first, then gradually increase speed. Listen for unusual noises and feel for vibrations. If everything feels solid, you’re good to go!
Troubleshooting Common Issues
Even with careful installation, problems can arise. Here’s how to handle the most common ones:
- Tube keeps going flat after replacement: This usually means debris is still in the tire or the rim tape is damaged. Recheck both thoroughly.
- Tire won’t seat evenly: Deflate completely, reposition the bead, and reinflate slowly. Sometimes a little soapy water on the bead helps it slide into place.
- Valve stem leaks: Tighten the valve core with a valve tool, or replace the tube if the stem is cracked.
- Wheel wobbles after reinstallation: Loosen the axle bolts, center the wheel, and retighten evenly.
- Motor doesn’t engage on rear wheel: Check that the motor connector is fully seated and undamaged.
If you’re still stuck, consult your Gotrax user manual or contact customer support. Most issues are fixable with patience and attention to detail.
Conclusion
Replacing the inner tube on your Gotrax scooter might seem intimidating at first, but it’s a skill worth mastering. Not only does it save you time and money, but it also builds confidence in maintaining your ride. With the right tools, a little patience, and this step-by-step guide, you can handle flats like a seasoned rider.
Remember: prevention is key. Regular tire checks, proper inflation, and avoiding debris-filled paths will keep you rolling smoothly. And when a flat does happen, stay calm—you’ve got this!
Keep a spare tube in your gear, practice the process at home before you need it on the road, and don’t hesitate to reach out to the Gotrax community for tips. Happy riding!