
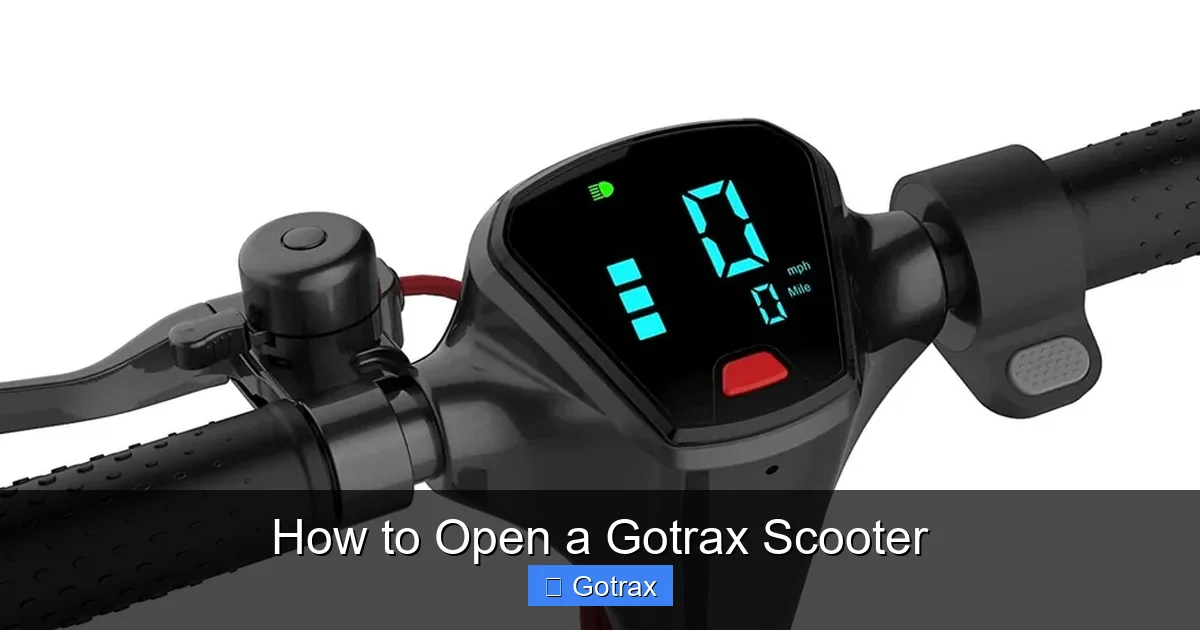
Opening a Gotrax scooter is simple when you follow the right steps. This guide walks you through the process from start to finish, including setup, folding, and troubleshooting common issues.
Key Takeaways
- Always charge your scooter before first use: A full charge ensures the scooter powers on and functions properly during setup.
- Locate the folding mechanism correctly: Most Gotrax models use a lever or latch near the stem to unlock and unfold the scooter.
- Secure the stem before riding: After opening, lock the stem in place using the clamp or folding latch to prevent wobbling or collapse.
- Check tire pressure and brakes: Ensure tires are inflated and brakes are responsive before your first ride for safety.
- Use the user manual for model-specific instructions: Gotrax models vary slightly, so always refer to your included manual for accurate guidance.
- Practice unfolding and folding safely: Rehearse the motion a few times to build confidence and avoid accidental drops.
- Keep tools handy for adjustments: A hex key or Allen wrench may be needed to tighten bolts after repeated use.
How to Open a Gotrax Scooter: A Complete Step-by-Step Guide
So you’ve just unboxed your brand-new Gotrax scooter—congratulations! Whether you’re commuting to work, cruising around campus, or just exploring your neighborhood, your Gotrax is ready to roll. But before you hit the pavement, you’ll need to know how to open it properly. Don’t worry—it’s easier than it looks. In this guide, we’ll walk you through every step of opening a Gotrax scooter, from initial setup to folding it back up for storage. We’ll also cover safety checks, troubleshooting tips, and model-specific advice to make sure you get the most out of your ride.
Gotrax scooters are known for their sleek design, portability, and user-friendly features. Most models, like the Gotrax GXL, XR, and FLEX, come folded in the box and require a few simple steps to open and secure. While the process is generally consistent across models, there are small differences depending on the version you own. That’s why it’s important to follow this guide closely and refer to your user manual when needed.
By the end of this article, you’ll be able to confidently open, set up, and ride your Gotrax scooter. You’ll also know how to fold it back down for easy storage or transport. Let’s get started!
What You’ll Need Before Opening Your Gotrax Scooter
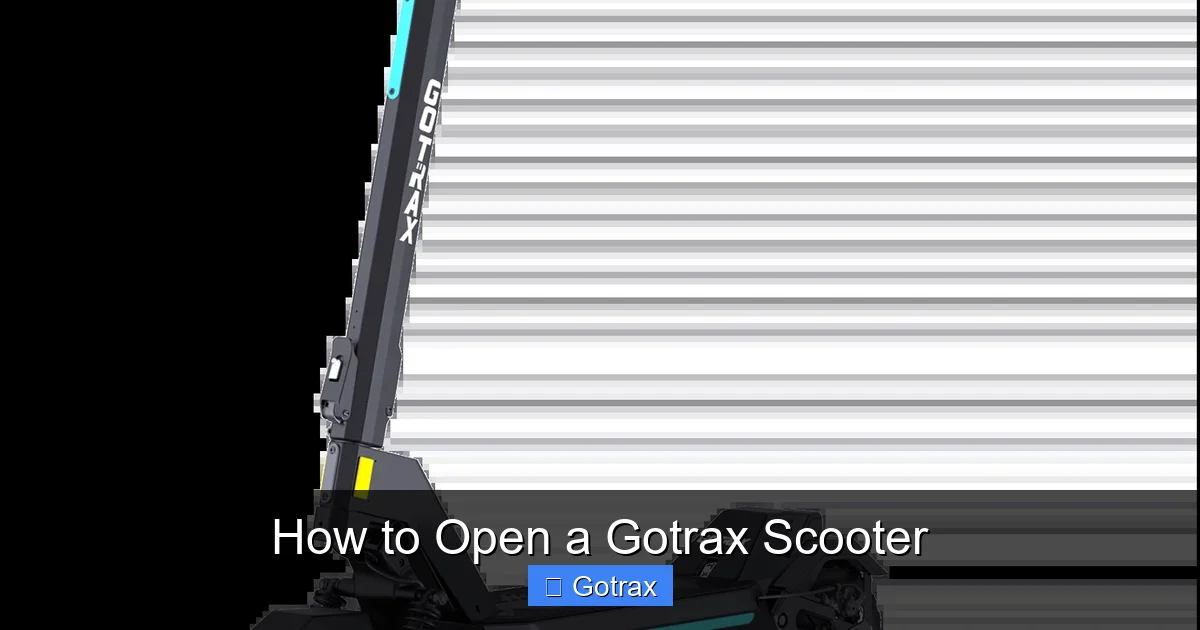
Visual guide about How to Open a Gotrax Scooter
Image source: gotrax.ca
Before you begin, make sure you have everything you need. Most Gotrax scooters come with the essentials in the box, but it’s good to double-check.
Included Items
- The folded Gotrax scooter
- Charging cable and adapter
- User manual (model-specific)
- Hex key or Allen wrench (for adjustments)
- Safety pamphlet or quick-start guide
Optional but Helpful Items
- A clean, flat surface to work on
- A measuring tape (to check tire pressure)
- A bike pump with a pressure gauge (if tires need air)
- Gloves (to protect your hands during setup)
Having these items ready will make the process smoother and help you avoid frustration. Now, let’s move on to the actual steps.
Step 1: Unbox and Inspect Your Gotrax Scooter
The first step is to carefully unbox your scooter. Remove all packaging materials, including foam inserts, zip ties, and plastic wrap. Be gentle—some parts, like the stem or deck, may be loosely secured during shipping.
Check for Damage
Inspect the scooter for any visible damage, such as scratches, dents, or loose parts. Look closely at the wheels, handlebars, stem, and folding mechanism. If you notice anything unusual, contact Gotrax customer support before proceeding.
Locate the Folding Mechanism
Most Gotrax scooters fold at the stem, just above the front wheel. You’ll see a lever, latch, or clamp that holds the stem in the folded position. This is the key to opening your scooter.
Read the Manual
Take a moment to skim the user manual. It will show you exactly how your model folds and unfolds, and may include diagrams or warnings specific to your scooter.
Step 2: Charge the Battery Before First Use
This step is critical. Even if your scooter shows some charge, it’s best to give it a full charge before your first ride.
Why Charging First Matters
The battery powers the motor, display, and safety features. A low battery can cause the scooter to behave unpredictably or fail to start. A full charge ensures everything works as intended.
How to Charge
- Locate the charging port—usually on the side or rear of the deck.
- Plug in the charger and connect it to a wall outlet.
- The LED light on the charger will turn red while charging and green when complete.
- Charge for at least 4–6 hours for a full battery.
Pro Tip
Don’t leave the scooter charging overnight unattended. While Gotrax chargers are designed to prevent overcharging, it’s always safer to monitor the process.
Step 3: Unfold the Stem – The Main Step
Now for the main event: opening the scooter. This is where most beginners get stuck, but it’s actually quite simple once you know how.
Step 3.1: Locate the Folding Latch or Lever
On most Gotrax models, you’ll find a folding mechanism near the base of the stem. It’s usually a red or black lever, clamp, or button. Some models, like the Gotrax XR, use a quick-release lever, while others, like the GXL V2, use a twist-lock clamp.
Step 3.2: Release the Lock
- For lever-style latches: Pull the lever outward or upward to release the stem.
- For clamp-style locks: Twist the clamp counterclockwise to loosen it.
- For button-style releases: Press the button while gently pulling the stem upward.
You should feel the stem loosen. Don’t force it—if it doesn’t move easily, double-check that the latch is fully released.
Step 3.3: Lift the Stem to Upright Position
Slowly lift the stem until it’s fully extended and perpendicular to the deck. You’ll hear or feel a “click” when it locks into place. This means the stem is secure and ready for riding.
Step 3.4: Secure the Folding Mechanism
Once the stem is upright, re-engage the lock:
- For levers: Push the lever back into the locked position.
- For clamps: Twist the clamp clockwise until it’s tight.
- For buttons: Ensure the button has snapped back into place.
Give the stem a gentle shake to confirm it’s locked. If it wobbles, tighten the mechanism or check the manual for adjustment instructions.
Step 4: Adjust the Handlebars (If Applicable)
Some Gotrax models, like the Gotrax FLEX, have adjustable handlebars. If yours does, now is the time to set them to a comfortable height.
How to Adjust
- Loosen the handlebar clamp using the included hex key.
- Slide the handlebars up or down to your preferred height.
- Tighten the clamp securely—don’t overtighten, but make sure it won’t slip during use.
Recommended Height
Your handlebars should be at waist level or slightly below. This gives you better control and reduces strain on your back and arms.
Step 5: Check Tire Pressure and Brakes
Safety first! Before riding, make sure your scooter is in top condition.
Check the Tires
Gotrax scooters typically use air-filled (pneumatic) or solid rubber tires. If your model has pneumatic tires:
- Use a bike pump with a pressure gauge.
- Inflate to the recommended PSI (usually 40–50 PSI, found on the tire sidewall).
- Underinflated tires reduce speed and increase wear; overinflated tires can burst.
For solid tires, just inspect for cracks or damage.
Test the Brakes
Most Gotrax scooters have a rear foot brake and/or electronic brakes.
- Stand behind the scooter and press the brake lever (if equipped).
- The brake light should activate, and the motor should cut off.
- Test the foot brake by pressing it with your foot—it should stop the wheel smoothly.
If the brakes feel loose or unresponsive, consult your manual or contact support.
Step 6: Power On and Test the Display
Now it’s time to turn on your scooter and make sure everything is working.
How to Power On
- Press and hold the power button (usually on the handlebar or deck) for 2–3 seconds.
- The display should light up, showing battery level, speed mode, and other info.
- If nothing happens, check the battery charge or try recharging.
Test the Throttle and Modes
- Twist the throttle (if your model has one) gently to test acceleration.
- Use the mode button to switch between speed settings (Eco, Normal, Sport).
- Listen for any unusual noises from the motor.
If the scooter doesn’t respond, try turning it off and on again. If problems persist, refer to the troubleshooting section below.
Step 7: Take a Short Test Ride
Before you go full speed, take a short test ride in a safe, open area—like a driveway or empty parking lot.
Safety Tips for Your First Ride
- Wear a helmet and protective gear.
- Start in Eco mode for slower acceleration.
- Keep both feet on the deck and hold the handlebars firmly.
- Test braking at low speed.
- Avoid steep hills or rough terrain on your first ride.
This test ride will help you get comfortable with the scooter’s handling and confirm that everything is working properly.
How to Fold Your Gotrax Scooter Back Up
When you’re done riding, you’ll want to fold the scooter for storage or transport.
Step 1: Power Off the Scooter
Always turn off the scooter before folding to avoid accidental activation.
Step 2: Release the Folding Mechanism
Repeat the steps you used to open it:
- Pull the lever, twist the clamp, or press the button.
- Gently lower the stem toward the deck.
Step 3: Secure the Folded Scooter
Some models have a magnetic latch or strap to hold the stem in place when folded. Make sure it’s secure so the scooter doesn’t unfold accidentally.
Step 4: Store or Carry
Use the built-in carry handle (usually on the stem) to lift the folded scooter. It should be compact and lightweight enough to carry comfortably.
Troubleshooting Common Issues When Opening a Gotrax Scooter
Even with the best instructions, things can go wrong. Here are some common problems and how to fix them.
The Stem Won’t Unfold
- Cause: Lock not fully released.
- Solution: Double-check the lever or clamp. Make sure it’s in the fully open position before lifting the stem.
The Stem Wobbles After Unfolding
- Cause: Loose clamp or worn mechanism.
- Solution: Tighten the clamp or lever. If it still wobbles, use the hex key to adjust the bolt inside the folding joint.
The Scooter Won’t Power On
- Cause: Dead battery or faulty connection.
- Solution: Recharge the battery. If it still doesn’t turn on, check the power button and wiring. Contact support if needed.
The Display Shows an Error Code
- Cause: Sensor or motor issue.
- Solution: Refer to your manual for error code meanings. Common codes include low battery, motor fault, or brake sensor error.
The Handlebars Are Too Loose
- Cause: Clamp not tightened properly.
- Solution: Use the hex key to tighten the handlebar clamp. Don’t overtighten—just enough to prevent movement.
Tips for Maintaining Your Gotrax Scooter
To keep your scooter in great shape, follow these maintenance tips:
- Charge regularly: Don’t let the battery drop below 20% for long periods.
- Clean after rides: Wipe down the deck and stem to remove dirt and moisture.
- Lubricate moving parts: Use a light lubricant on the folding mechanism and brake cables every few months.
- Store indoors: Keep your scooter in a dry, cool place to protect the battery and electronics.
- Check bolts periodically: Vibration can loosen bolts over time. Tighten them as needed.
Conclusion
Opening a Gotrax scooter is a straightforward process once you know the steps. From unboxing and charging to unfolding the stem and testing the brakes, each step ensures your scooter is safe and ready to ride. Remember to always refer to your user manual for model-specific instructions, and don’t skip the safety checks.
With your Gotrax now open and ready, you’re all set for smooth, eco-friendly rides. Whether you’re commuting, exercising, or just having fun, your scooter is a reliable companion. And when it’s time to pack up, folding it back down is just as easy.
Enjoy the ride—and ride safe!