
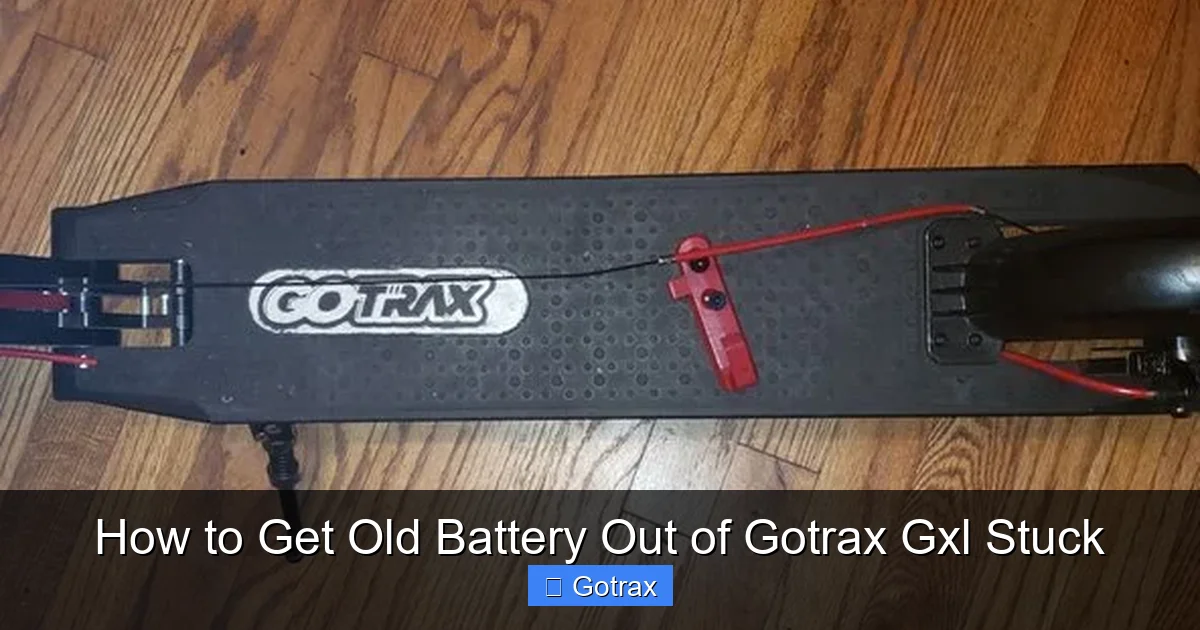
If your Gotrax GXL battery is stuck, don’t panic—this common issue can be resolved with the right tools and techniques. This guide walks you through a safe, detailed process to extract the old battery without damaging your scooter.
Key Takeaways
- Safety first: Always disconnect power and wear protective gear before handling the battery to avoid shocks or short circuits.
- Use the right tools: A Phillips screwdriver, flathead screwdriver, and plastic pry tools are essential for opening the deck without damage.
- Work slowly and gently: Forcing the battery can damage connectors or the battery casing—patience prevents costly mistakes.
- Check for corrosion or swelling: Inspect the battery for physical damage before removal; swollen batteries require extra caution.
- Lubricate if needed: A small amount of silicone spray can help loosen a tightly fitted battery—avoid oil-based lubricants.
- Label wires before disconnecting: Take photos or use tape to mark wire connections so reassembly is accurate and safe.
- Dispose of old batteries properly: Never throw lithium-ion batteries in the trash—recycle them at authorized centers.
Introduction: Why Your Gotrax GXL Battery Might Be Stuck
If you’ve ever tried to replace the battery in your Gotrax GXL electric scooter only to find it wedged tightly inside the deck, you’re not alone. Many riders face this frustrating issue, especially after years of use. Dirt, moisture, vibration, and thermal expansion can cause the battery to become difficult to remove. The good news? With the right approach, you can safely extract the old battery and get your scooter back in action.
In this comprehensive guide, you’ll learn exactly how to get the old battery out of a Gotrax GXL when it’s stuck. We’ll walk you through every step—from preparing your workspace to troubleshooting common problems—so you can complete the job confidently and safely. Whether you’re a DIY enthusiast or a first-time scooter owner, this guide is designed to be clear, practical, and easy to follow.
By the end, you’ll not only have removed the stubborn battery but also gained valuable knowledge about scooter maintenance and battery care. Let’s get started!
Tools and Materials You’ll Need
Before diving into the removal process, make sure you have the right tools on hand. Using the correct equipment not only makes the job easier but also reduces the risk of damaging your scooter or injuring yourself.
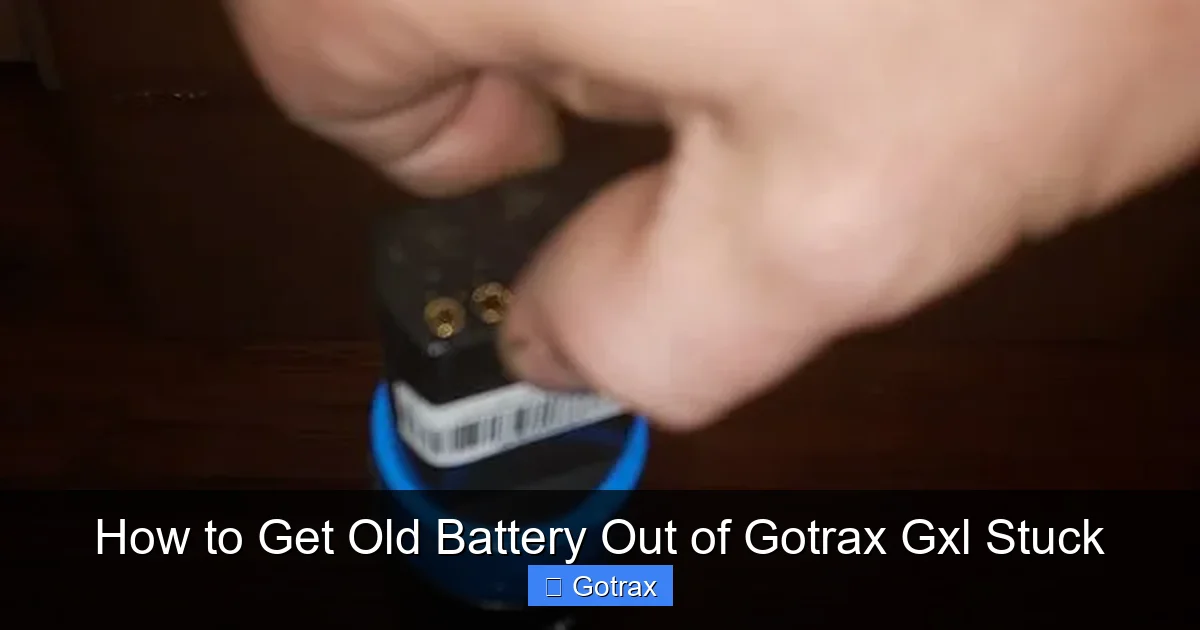
Visual guide about How to Get Old Battery Out of Gotrax Gxl Stuck
Image source: guide-images.cdn.ifixit.com
Essential Tools
- Phillips-head screwdriver: Used to remove screws from the deck panel.
- Flathead screwdriver or plastic pry tool: Helps gently separate the deck without scratching or cracking it.
- Needle-nose pliers: Useful for gripping small connectors or wires.
- Flashlight or headlamp: Provides visibility inside the battery compartment.
- Work gloves: Protect your hands from sharp edges and battery chemicals.
- Safety goggles: Prevent debris or battery acid from getting into your eyes.
Optional but Helpful Items
- Silicone spray or WD-40: Can help loosen a stuck battery (use sparingly and avoid contact with electrical components).
- Multimeter: To test voltage and ensure the battery is fully discharged before removal.
- Electrical tape: For labeling wires during disassembly.
- Small container: To hold screws and small parts so they don’t get lost.
- Cleaning cloth: For wiping down the battery compartment after removal.
Workspace Setup
Choose a clean, well-lit, and flat surface to work on. A garage floor, workbench, or table is ideal. Make sure the area is dry and free of clutter. If possible, work on a non-conductive surface like wood or rubber to reduce electrical risks. Keep your tools organized and within reach to avoid unnecessary movement during the process.
Step 1: Power Down and Prepare the Scooter
Safety is the most important part of any repair job. Before touching any internal components, you must ensure the scooter is completely powered off and cannot accidentally turn on.
Turn Off the Scooter
Press and hold the power button until the display turns off. This ensures the motor and electronics are inactive. Even if the scooter appears off, some circuits may still hold a charge, so proceed with caution.
Remove the Key (If Applicable)
If your Gotrax GXL has a physical key, remove it from the ignition. This adds an extra layer of safety and prevents accidental activation.
Let the Battery Cool Down
If you’ve recently ridden the scooter, allow it to sit for at least 30 minutes. Lithium-ion batteries can get warm during use, and handling them while hot increases the risk of burns or damage.
Discharge the Battery (Optional but Recommended)
To minimize risk, fully discharge the battery before removal. You can do this by turning the scooter on and letting it idle until the battery dies naturally. Alternatively, use a multimeter to check the voltage—most Gotrax GXL batteries operate at around 36V. If the voltage is above 30V, consider discharging it further using a resistor or by riding it until it shuts off.
Step 2: Remove the Deck Cover
The battery is housed beneath the deck panel, so you’ll need to remove it to access the battery compartment. This step requires care to avoid damaging the plastic casing.
Locate the Screws
Flip the scooter over so the deck is facing up. You’ll see several Phillips-head screws along the edges of the deck. Most Gotrax GXL models have 8–10 screws securing the cover. Use your Phillips screwdriver to remove them one by one. Place the screws in your container to avoid losing them.
Gently Pry Open the Deck
Once all screws are removed, use a flathead screwdriver or plastic pry tool to carefully separate the deck cover from the frame. Start at one corner and work your way around the edges. Apply gentle pressure—don’t force it. The cover is held in place by clips, and forcing it can crack the plastic.
Tip: Use a Plastic Tool
Metal tools can scratch or damage the deck. If you don’t have a plastic pry tool, a guitar pick or old credit card works well. Insert it between the deck and frame and slowly twist to release the clips.
Lift the Cover
Once all clips are released, lift the deck cover straight up. Be careful not to pull too hard—wires from the throttle, display, and battery may still be connected. Set the cover aside in a safe place.
Step 3: Locate and Inspect the Battery
With the deck open, you’ll now have access to the internal components. The battery is typically a rectangular black or gray box located near the center of the deck.
Identify the Battery Pack
Look for a rectangular unit with wires connected to it. It’s usually secured with Velcro straps or plastic brackets. The battery in the Gotrax GXL is a 36V lithium-ion pack, about the size of a small laptop.
Check for Physical Damage
Before attempting removal, inspect the battery for signs of swelling, leakage, or corrosion. A swollen battery is dangerous and should be handled with extreme care. If you notice any of these issues, stop immediately and consult a professional or contact Gotrax support.
Look for Obstructions
Sometimes dirt, debris, or dried lubricant can cause the battery to stick. Check around the edges of the battery compartment for anything that might be holding it in place. Use a cloth to wipe away dust or grime.
Step 4: Disconnect the Battery Wires
Before removing the battery, you must disconnect it from the scooter’s electrical system. This prevents short circuits and ensures safe handling.
Label the Wires (Important!)
Take a photo of the wiring setup before disconnecting anything. Alternatively, use electrical tape and a marker to label each wire (e.g., “Main Power,” “Display,” “Throttle”). This will make reassembly much easier.
Disconnect the Main Power Connector
Locate the large connector that links the battery to the motor controller. It’s usually a thick, black or red plug. Gently pull it apart by gripping the connector—not the wires. If it’s stuck, wiggle it slightly while pulling.
Disconnect Other Connectors
Some models have additional wires for the display, lights, or USB port. Disconnect these one by one, using needle-nose pliers if needed. Again, pull on the connector, not the wire itself.
Tip: Use a Multimeter to Confirm Power Is Off
After disconnecting, use a multimeter to check for voltage across the battery terminals. If there’s still power, wait a few minutes and test again. Never handle a live battery.
Step 5: Remove the Battery Retention Straps or Brackets
The battery is often secured with Velcro straps or plastic brackets to prevent movement during rides. You’ll need to remove these before the battery can be extracted.
Undo Velcro Straps
If your scooter uses Velcro, simply peel the straps back. They’re usually easy to remove, but be gentle to avoid tearing them.
Remove Plastic Brackets
Some models have plastic brackets screwed into the deck. Use your Phillips screwdriver to remove the screws, then lift the brackets off. Keep the screws with the others for reassembly.
Check for Adhesive or Tape
In rare cases, the battery may be held in place with double-sided tape or adhesive. If you find any, use a plastic tool to gently pry the battery away. Avoid using heat or solvents unless absolutely necessary.
Step 6: Gently Extract the Stuck Battery
Now comes the tricky part—removing the battery itself. If it’s stuck, don’t panic. There are several safe methods to loosen it.
Rock It Side to Side
Place your hands on opposite sides of the battery and gently rock it back and forth. This can break the seal caused by dirt or minor warping. Don’t twist or bend the battery—this can damage internal cells.
Lift from One End
Try lifting one end of the battery slightly, then the other. This can help dislodge it from the compartment. Use both hands and apply even pressure.
Use a Plastic Pry Tool
Slide a plastic pry tool between the battery and the deck. Gently lever it upward, working your way around the edges. Be careful not to puncture the battery casing.
Apply Silicone Spray (If Needed)
If the battery is still stuck, apply a small amount of silicone spray to the edges. Let it sit for 5–10 minutes to penetrate. Avoid spraying near connectors or electronics. Wipe away any excess with a cloth.
Avoid Oil-Based Lubricants
Never use WD-40 or petroleum-based products directly on the battery. They can degrade plastic components and are flammable. Silicone spray is safer and more effective.
Step 7: Clean the Battery Compartment
Once the battery is out, take the opportunity to clean the compartment. This helps prevent future sticking and keeps your scooter in good condition.
Wipe Down the Area
Use a dry cloth to remove dust, dirt, and debris. If there’s moisture, let the compartment air dry completely before installing a new battery.
Check for Corrosion
Look for white or green powder around the connectors—this is a sign of corrosion. Use a cotton swab dipped in vinegar or lemon juice to gently clean it. Rinse with a damp cloth and dry thoroughly.
Inspect for Damage
Check the deck and frame for cracks or warping that might have contributed to the battery getting stuck. If you find damage, consider reinforcing the area before reassembly.
Troubleshooting Common Issues
Even with careful preparation, you might run into problems. Here’s how to handle the most common issues.
Battery Won’t Budge After Multiple Attempts
If the battery is still stuck, it may be due to swelling or warping. In this case, stop and assess the battery. A swollen battery is a fire hazard and should not be forced. Contact Gotrax or a professional technician for help.
Wires Are Too Short to Disconnect
Some connectors are tucked tightly under the battery. Use needle-nose pliers to gently pull them free. If needed, temporarily lift the battery slightly to access the wires.
Deck Cover Won’t Close After Reassembly
This usually means a wire is pinched or the battery isn’t seated properly. Double-check all connections and ensure the battery is flush with the deck. Reattach the cover slowly, checking for obstructions.
Battery Smells or Leaks
If you notice a burning smell or liquid, stop immediately. Lithium-ion batteries can release toxic fumes when damaged. Move the scooter to a safe, ventilated area and contact a professional.
Step 8: Install the New Battery (Optional Guidance)
If you’re replacing the old battery, here’s how to install the new one safely.
Position the New Battery
Place the new battery into the compartment, aligning it with the mounting points. Make sure it sits flat and doesn’t interfere with wires.
Reconnect the Wires
Refer to your photos or labels to reconnect each wire. Start with the main power connector, then attach the others. Ensure all connections are secure.
Secure the Battery
Reattach the Velcro straps or brackets to hold the battery in place. Don’t overtighten screws—this can crack the deck.
Test Before Closing
Turn on the scooter and check that the display, throttle, and motor work. If everything functions, proceed to close the deck.
Reattach the Deck Cover
Align the cover with the frame and press down gently to engage the clips. Replace all screws and tighten them evenly.
Disposing of the Old Battery Safely
Never throw a lithium-ion battery in the trash. They contain hazardous materials and can cause fires in landfills.
Find a Recycling Center
Use websites like Call2Recycle or Earth911 to locate a nearby drop-off location. Many electronics stores, including Best Buy and Home Depot, accept old batteries.
Package the Battery Properly
Place the battery in a non-conductive bag or wrap the terminals with electrical tape to prevent short circuits during transport.
Transport Safely
Keep the battery in a cool, dry place away from flammable materials. Don’t leave it in a hot car or direct sunlight.
Preventing Future Battery Sticking
To avoid this problem in the future, follow these maintenance tips.
Clean the Compartment Regularly
Every few months, open the deck and wipe out dust and debris. This prevents buildup that can cause sticking.
Check Battery Fit
Ensure the battery is snug but not overly tight. If it’s too loose, add foam padding. If it’s too tight, consider sanding the edges slightly.
Avoid Extreme Temperatures
Store your scooter in a cool, dry place. Heat and cold can cause materials to expand and contract, leading to fit issues.
Inspect Annually
Once a year, inspect the battery and connectors for signs of wear, corrosion, or damage. Early detection prevents bigger problems.
Conclusion
Removing a stuck battery from your Gotrax GXL may seem daunting, but with patience and the right tools, it’s entirely doable. By following this step-by-step guide, you’ve learned how to safely access, disconnect, and extract the battery—even when it’s stubbornly lodged in place. Remember to prioritize safety, work slowly, and never force components.
Regular maintenance and proper handling can prevent this issue from recurring, keeping your scooter running smoothly for years. And when it’s time to replace the battery, you’ll be confident in your ability to do it yourself. Happy riding!