
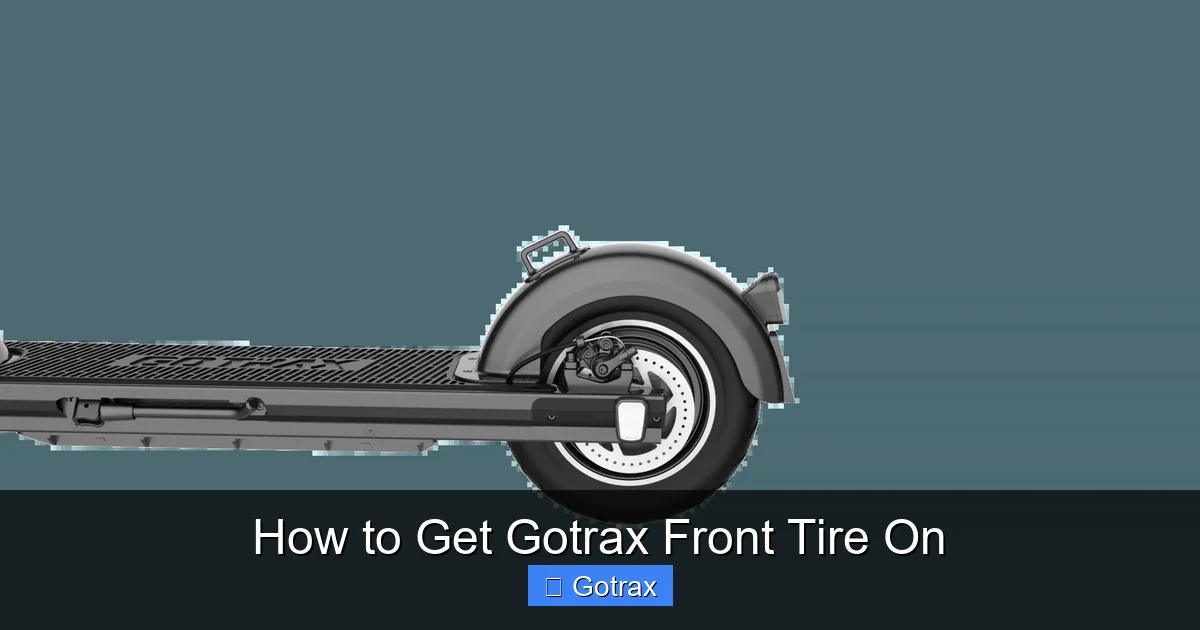
This guide walks you through how to get Gotrax front tire on with clear, beginner-friendly steps. You’ll learn the tools needed, safety tips, and troubleshooting advice to make tire installation quick and stress-free.
Key Takeaways
- Gather the right tools first: You’ll need a wrench, tire levers, air pump, and possibly a torque wrench to safely install your Gotrax front tire.
- Always deflate the tire before removal: This prevents damage to the inner tube and makes the process much easier.
- Align the tire correctly on the rim: Mismatched alignment can cause wobbling or poor performance once the scooter is back on the road.
- Check tire pressure after installation: Proper inflation ensures a smooth ride and extends tire life.
- Test ride in a safe area: Before hitting busy streets, take a short test ride to confirm everything is secure and functioning.
- Inspect for wear and damage regularly: Routine checks help prevent future tire issues and keep your Gotrax running safely.
- Don’t force components: If something doesn’t fit easily, double-check alignment or consult the manual—forcing parts can cause damage.
How to Get Gotrax Front Tire On: A Complete Step-by-Step Guide
If you’ve ever had a flat tire on your Gotrax electric scooter, you know how frustrating it can be. Whether you’re replacing a worn-out tire or fixing a puncture, knowing how to get Gotrax front tire on correctly is essential for safety, performance, and longevity. The good news? With the right tools and a little patience, you can do it yourself—no mechanic required.
This guide will walk you through the entire process, from removing the old tire to installing and inflating the new one. We’ll cover everything you need to know, including safety tips, common mistakes to avoid, and troubleshooting advice. By the end, you’ll feel confident handling tire changes like a pro.
Why You Might Need to Replace Your Gotrax Front Tire
Before diving into the installation, it’s helpful to understand why you might need to replace your front tire in the first place. Gotrax scooters are built for durability, but like any vehicle, their tires wear down over time.
Common reasons for replacement include:
- Flat tires: Caused by punctures from nails, glass, or sharp debris.
- Worn tread: Reduced grip and traction, especially in wet conditions.
- Cracks or bulges: Signs of aging or damage that can lead to blowouts.
- Uneven wear: Often due to improper inflation or alignment issues.
- Upgrade to a better tire: Some riders prefer upgraded tires for better performance or comfort.
Replacing the front tire promptly ensures your scooter remains safe and enjoyable to ride. Ignoring tire issues can lead to poor handling, reduced braking efficiency, and even accidents.
Tools and Materials You’ll Need
Before starting, make sure you have all the necessary tools and materials. Having everything ready will save time and prevent frustration.
Here’s what you’ll need:
- Gotrax scooter (obviously!)
- New front tire (make sure it matches your model—check the sidewall for size, e.g., 8.5” or 9”)
- Tire levers (plastic or metal—plastic is gentler on rims)
- Wrench or socket set (usually 10mm or 13mm, depending on your model)
- Air pump (with pressure gauge—manual or electric)
- Soapy water or tire lubricant (optional, but helpful for seating the tire)
- Clean rag (for wiping dirt and grease)
- Safety gloves (to protect your hands)
- Work surface (a clean, flat area like a garage floor or table)
Optional but helpful:
- Torque wrench (for precise tightening of bolts)
- Valve core tool (to remove and reinstall valve cores if needed)
- Jack or stand (to lift the scooter slightly—some models allow you to flip the scooter upside down)
Having the right tools makes the job much smoother. If you’re missing something, check your local hardware store or order online before starting.
Step 1: Prepare Your Workspace and Scooter
Safety and preparation are key. Start by choosing a well-lit, flat area to work. A garage, driveway, or even a large table works well. Make sure the scooter is turned off and the battery is disconnected if possible (some models allow this).
Turn Off and Secure the Scooter
Power down your Gotrax completely. If your model has a removable battery, take it out to prevent accidental activation. This is especially important if your scooter has a motor near the front wheel.
Visual guide about How to Get Gotrax Front Tire On
Image source: gotrax.com
Lift or Flip the Scooter
Most Gotrax models allow you to flip the scooter upside down so it rests on the handlebars and deck. This gives you easy access to the front wheel. If flipping isn’t safe or comfortable, use a small jack or stand to lift the front end slightly.
Remove Any Obstacles
Clear the area around the front wheel. Remove fenders, lights, or accessories that might get in the way. Use a clean rag to wipe down the wheel and fork to remove dirt and grease.
Step 2: Remove the Front Wheel
Now it’s time to take off the old wheel. This step is crucial—if you skip it or do it incorrectly, you won’t be able to install the new tire.
Loosen the Axle Nut
Locate the axle nut on the front wheel. It’s usually on the left or right side of the fork. Use your wrench or socket to loosen it. Turn counterclockwise. Don’t remove it completely yet—just loosen it enough so the wheel can move.
Release the Brake (If Applicable)
Some Gotrax models have front disc brakes. If yours does, you’ll need to disconnect the brake caliper or loosen the brake cable to free the wheel. Check your user manual for specific instructions. For scooters with only rear brakes, you can skip this step.
Slide the Wheel Out
Once the nut is loose and the brake is released, gently wiggle the wheel to slide it out of the fork dropouts. Be careful not to damage the brake rotor (if present) or the fork itself. Set the wheel aside on a clean surface.
Step 3: Remove the Old Tire from the Rim
With the wheel removed, you can now take off the old tire. This part can be tricky, especially if the tire is tight or the tube is stuck.
Deflate the Tire Completely
Press the valve stem to release all air. If it’s a Presta valve, unscrew the tip first. Make sure no air remains—this makes removal much easier.
Use Tire Levers to Pry the Tire Off
Insert one tire lever under the bead of the tire (the edge that sits on the rim). Hook it to a spoke. Insert a second lever a few inches away and gently pry the tire over the rim. Work your way around the wheel, using the levers to lift the bead off.
Remove the Inner Tube
Once one side of the tire is off, pull out the inner tube. Check it for punctures or damage. If you’re replacing the tire due to a flat, inspect the tube to confirm the cause.
Fully Remove the Tire
Continue using the levers to remove the rest of the tire from the rim. Set the old tire and tube aside. Inspect the rim for damage, cracks, or sharp edges that could damage the new tire.
Step 4: Install the New Tire on the Rim
Now comes the fun part—putting the new tire on. Take your time here. Rushing can lead to pinched tubes or misaligned tires.
Check the New Tire and Tube
Inspect the new tire for defects, such as cuts, bubbles, or manufacturing flaws. Also, check the inner tube for leaks by inflating it slightly and listening for hissing sounds.
Partially Inflate the Inner Tube
Give the new tube a small puff of air—just enough to give it shape. This prevents it from getting pinched during installation.
Insert the Tube into the Tire
Place the tube inside the tire, making sure it’s not twisted. Align the valve stem with the valve hole in the rim.
Start Mounting the Tire on the Rim
Begin by placing one side of the tire bead onto the rim. Start at the valve stem and work your way around. Use your hands to push the bead over the rim. If it’s tight, use tire levers gently—don’t force it.
Seat the Second Bead
Once one side is on, work on the second bead. This is usually the hardest part. Use your thumbs to push the bead over the rim. If it’s too tight, apply a small amount of soapy water or tire lubricant to reduce friction.
Check for Proper Seating
Make sure the tire is evenly seated on both sides of the rim. Look around the wheel—there should be no bulges or gaps. The valve stem should be straight and not bent.
Step 5: Inflate the Tire
With the tire mounted, it’s time to add air. Proper inflation is critical for performance and safety.
Attach the Pump
Connect your air pump to the valve stem. Make sure it’s secure to avoid air leaks.
Inflate Gradually
Start inflating slowly. Watch the tire as it expands. Listen for any hissing sounds that might indicate a leak.
Check the Recommended PSI
Gotrax tires typically require between 40–50 PSI, but check the sidewall of your tire or the user manual for the exact number. Overinflation can cause blowouts; underinflation leads to poor handling.
Use a Pressure Gauge
Most pumps have built-in gauges, but double-check with a separate gauge if possible. Accuracy matters.
Final Check
Once inflated, spin the wheel to ensure it rotates smoothly. Listen for any rubbing or unusual noises. The tire should sit evenly on the rim.
Step 6: Reinstall the Front Wheel
Now that the tire is ready, it’s time to put the wheel back on the scooter.
Align the Wheel in the Fork
Slide the wheel back into the fork dropouts. Make sure it’s centered and the axle sits properly in the slots.
Reconnect the Brake (If Applicable)
If you disconnected the brake earlier, reattach it now. Ensure the brake pads are aligned with the rotor and the cable is tight.
Tighten the Axle Nut
Hand-tighten the axle nut first, then use your wrench to secure it. Don’t overtighten—this can damage the fork or axle. If you have a torque wrench, follow the manufacturer’s recommended torque setting (usually around 15–20 Nm).
Double-Check Alignment
Spin the wheel to make sure it turns freely and doesn’t rub against the fork or brake. The tire should be straight and not wobble.
Step 7: Final Safety Checks and Test Ride
Before you hit the road, do a few final checks to ensure everything is safe.
Inspect All Connections
Make sure the axle nut is tight, the brake is working, and the tire is properly inflated.
Test the Brakes
Squeeze the brake lever to confirm it stops the wheel effectively. If the brake feels loose, adjust the cable tension.
Take a Short Test Ride
Ride slowly in a safe, open area like a driveway or empty parking lot. Listen for unusual noises, check for wobbling, and test braking.
Recheck Tire Pressure After Riding
Sometimes tires lose a little air after installation. Check the pressure again and top off if needed.
Troubleshooting Common Issues
Even with careful installation, problems can arise. Here’s how to handle the most common ones.
Tire Won’t Seat Properly
If the tire bead won’t snap into place, try deflating slightly, applying soapy water to the bead, and inflating again. Use your hands to push the bead evenly around the rim.
Air Leaks After Installation
Check the valve stem for damage. If it’s loose, tighten it with a valve core tool. If the tube is punctured, patch it or replace it.
Wheel Wobbles or Rubs
This could mean the wheel isn’t centered in the fork. Loosen the axle nut, adjust the wheel position, and retighten. Also, check for bent rims or damaged spokes.
Brake Doesn’t Work
Ensure the brake caliper is aligned and the cable is tight. If the pads are worn, replace them.
Tire Loses Air Quickly
This might indicate a slow leak. Submerge the inflated tire in water and look for bubbles. Common leak spots include the valve, bead, or puncture sites.
Maintenance Tips to Extend Tire Life
Now that your new tire is installed, keep it in great shape with regular maintenance.
- Check tire pressure weekly: Air naturally leaks over time. Keep it at the recommended PSI.
- Inspect for damage: Look for cuts, cracks, or embedded objects after every few rides.
- Avoid rough terrain: Potholes, curbs, and debris can damage tires quickly.
- Store properly: Keep your scooter in a dry, cool place to prevent rubber degradation.
- Rotate tires (if applicable): Some riders swap front and rear tires to even out wear.
Conclusion
Learning how to get Gotrax front tire on might seem daunting at first, but with this guide, you’ve got everything you need to succeed. From gathering tools to testing your ride, each step is designed to be simple, safe, and effective.
Remember, taking care of your scooter’s tires isn’t just about fixing flats—it’s about safety, performance, and enjoying every ride. With regular maintenance and careful installation, your Gotrax will keep rolling smoothly for miles to come.
So the next time you hear that dreaded hiss or notice a flat, don’t panic. Grab your tools, follow these steps, and get back on the road with confidence.