
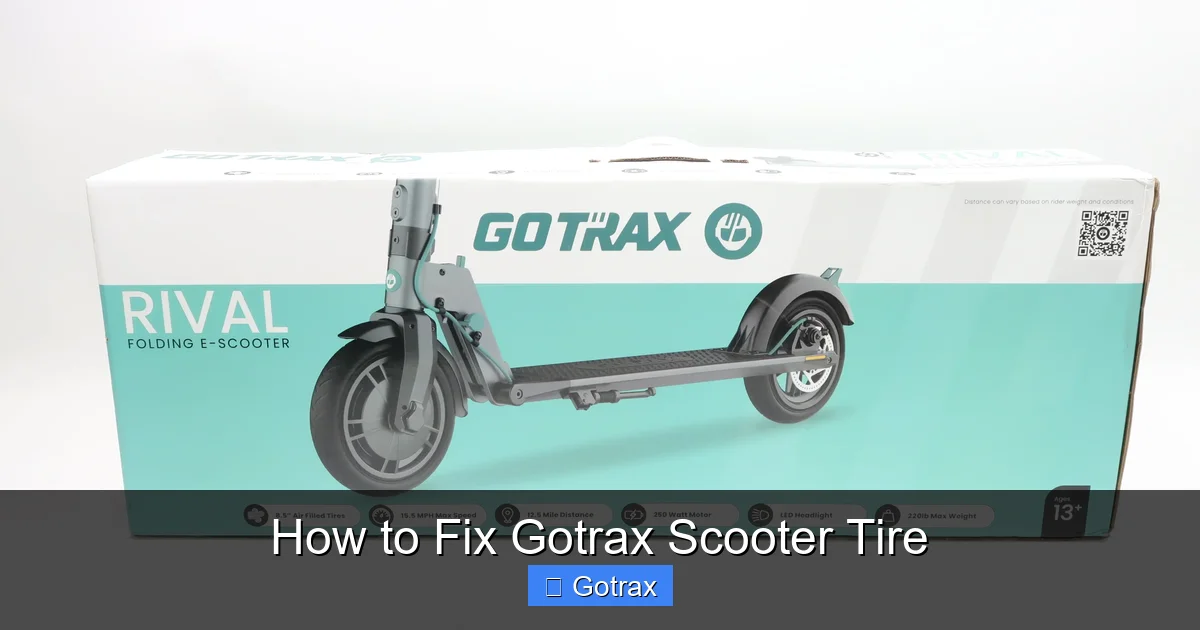
Got a flat or damaged Gotrax scooter tire? This guide walks you through diagnosing, removing, repairing, and replacing your tire—whether it’s a solid or pneumatic type. Save time and money with expert tips and clear instructions.
Key Takeaways
- Identify your tire type: Gotrax scooters use either solid rubber or pneumatic (air-filled) tires—knowing the difference is crucial for proper repair.
- Gather the right tools: You’ll need a wrench, tire levers, patch kit (for pneumatic), or replacement tire, depending on the issue.
- Check for punctures or wear: Inspect the tire surface, sidewalls, and inner tube (if applicable) for damage before starting repairs.
- Follow safe removal steps: Always disconnect the battery and support the scooter securely before removing wheels.
- Patch or replace as needed: Small punctures in pneumatic tires can often be patched; solid tires usually require full replacement.
- Reassemble carefully: Ensure proper alignment and torque when reinstalling wheels to avoid wobbling or unsafe riding.
- Test before riding: Always do a short test ride in a safe area to confirm the repair is successful.
How to Fix Gotrax Scooter Tire: A Complete Step-by-Step Guide
Gotrax electric scooters are known for their reliability, portability, and smooth rides—but like any vehicle, they require maintenance. One of the most common issues riders face is a flat or damaged tire. Whether you’re dealing with a slow leak, a puncture, or a worn-out solid tire, knowing how to fix your Gotrax scooter tire can save you time, money, and frustration.
In this comprehensive guide, we’ll walk you through everything you need to know to diagnose, repair, and replace your Gotrax scooter tire—whether it’s a front or rear wheel, pneumatic or solid. We’ll cover the tools you’ll need, step-by-step instructions, safety tips, and troubleshooting advice to get you back on the road quickly and safely.
By the end of this guide, you’ll be confident in handling tire repairs on your own, extending the life of your scooter, and avoiding unnecessary trips to the repair shop.
Understanding Your Gotrax Scooter Tire
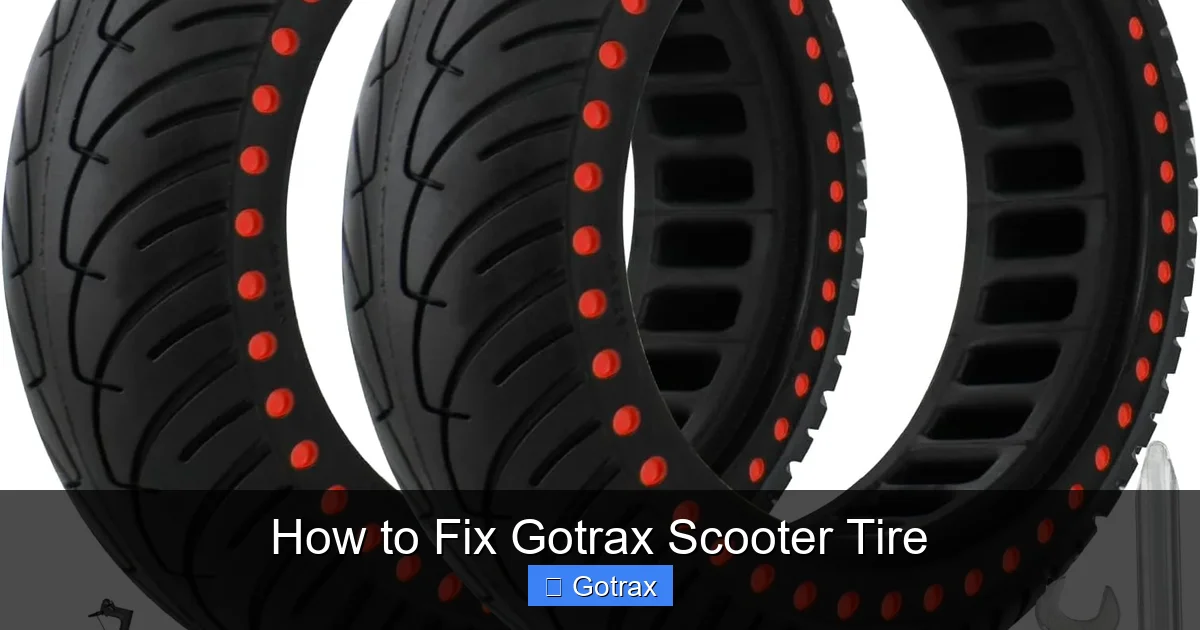
Visual guide about How to Fix Gotrax Scooter Tire
Image source: m.media-amazon.com
Before diving into repairs, it’s important to understand the type of tire your Gotrax scooter uses. Gotrax offers models with two main tire types:
- Pneumatic (air-filled) tires: These are similar to bicycle tires and contain an inner tube filled with air. They offer better shock absorption and a smoother ride, especially on rough surfaces. However, they’re more prone to punctures and require regular air pressure checks.
- Solid rubber tires: These are puncture-proof and require no air. They’re low-maintenance and great for city commuting, but they provide a firmer ride and less grip on wet or uneven terrain.
Most Gotrax models, such as the GXL, G2, and G4, come with pneumatic tires, while some entry-level models like the G1 or G3 may feature solid tires. Check your scooter’s user manual or look at the tire sidewall to confirm the type.
Knowing your tire type will determine your repair approach. Pneumatic tires can often be patched or have their inner tube replaced, while solid tires usually need full replacement if damaged.
Tools and Materials You’ll Need
Having the right tools on hand makes the repair process much smoother. Here’s a list of what you’ll need depending on your tire type:
For Pneumatic Tire Repairs:
- Wrench or Allen key (usually 10mm or 13mm for axle nuts)
- Tire levers (2–3 recommended)
- Pump or air compressor
- Puncture repair kit (includes patches, glue, and sandpaper)
- Replacement inner tube (optional, but good to have)
- Bucket of soapy water (for leak detection)
- Clean cloth or rag
For Solid Tire Repairs or Replacements:
- Wrench or Allen key
- Rubber mallet (optional, for seating new solid tires)
- Replacement solid tire (must match size and model)
- Lubricant (like soapy water or silicone spray, to ease installation)
- Screwdriver (for some models with fender or brake adjustments)
General Safety Gear:
- Gloves (to protect your hands)
- Safety glasses (especially when removing tight tires)
- Work stand or sturdy surface (to elevate the scooter)
Pro tip: Keep a basic repair kit in your scooter bag or at home so you’re always prepared for minor issues.
Step 1: Diagnose the Problem
Before you start disassembling anything, take a moment to assess the issue.
Check for Visible Damage
Inspect the tire carefully. Look for:
- Nails, screws, or sharp objects stuck in the tread
- Cuts, cracks, or bulges on the sidewall
- Excessive wear or bald spots
- Low air pressure (for pneumatic tires)
If you see a foreign object, don’t pull it out yet—mark the spot and proceed carefully to avoid making the hole larger.
Test for Leaks (Pneumatic Tires Only)
If your tire is flat or losing air quickly:
- Inflate the tire to the recommended PSI (usually 35–50 PSI—check the sidewall).
- Listen for hissing sounds.
- Spray soapy water over the tire, especially around the valve stem, tread, and sidewalls.
- Bubbles will form at the leak location.
If no bubbles appear, the valve stem might be loose or damaged. Try tightening it with a valve core tool.
Determine Repair vs. Replacement
- Small punctures (under 1/4 inch): Can usually be patched.
- Large cuts, sidewall damage, or multiple punctures: Replace the inner tube or entire tire.
- Solid tires with cracks or chunks missing: Must be replaced.
If you’re unsure, it’s better to replace the tire or tube to ensure safety.
Step 2: Prepare Your Scooter for Repair
Safety first! Before removing any parts, prepare your workspace and scooter properly.
Turn Off and Disconnect the Battery
Even though you’re not working on electronics, it’s a good practice to power down the scooter and disconnect the battery (if removable) to prevent accidental activation.
Secure the Scooter
Place your scooter on a flat, stable surface. Use a scooter stand or prop it up with a box or stand so the wheel you’re working on is off the ground. If you’re fixing the rear wheel, flip the scooter upside down (handlebars and deck on the ground) for better access.
Remove the Fender or Brake Components (If Needed)
On some Gotrax models, the rear fender or brake caliper may block access to the wheel. Check your model:
- Use a screwdriver to remove fender screws.
- Loosen brake caliper bolts slightly to create clearance (don’t disconnect brake lines).
Label screws and parts as you remove them to make reassembly easier.
Step 3: Remove the Wheel
Now it’s time to take off the wheel. The process is similar for front and rear wheels, but rear wheels may have a motor or brake cable to consider.
Loosen the Axle Nut
Use the appropriate wrench or Allen key to loosen the axle nut on the side of the wheel. Don’t remove it completely yet—just loosen it enough to slide the wheel out.
Disconnect the Motor Cable (Rear Wheel Only)
If you’re removing the rear wheel:
- Locate the motor connector near the axle.
- Gently unplug it by pressing the release tab and pulling apart.
- Wrap the connector in electrical tape to prevent dirt or moisture damage.
Slide the Wheel Out
Once the axle nut is loose and cables are disconnected:
- Wiggle the wheel gently to free it from the dropouts (the fork ends).
- Pull the wheel straight out.
Set the wheel aside on a clean surface.
Step 4: Repair or Replace the Tire
This is where the real work happens. The steps differ based on your tire type.
Repairing a Pneumatic Tire
Remove the Tire from the Rim
- Deflate the tire completely by pressing the valve stem.
- Insert a tire lever between the tire bead and rim.
- Lever the tire over the rim edge.
- Insert a second lever a few inches away and slide it around the rim to loosen one side.
- Once one side is off, pull the inner tube out.
Locate and Patch the Leak
- Inflate the inner tube slightly and listen for leaks.
- Submerge it in soapy water to find bubbles.
- Mark the hole with a pen.
- Use sandpaper from the patch kit to roughen the area around the hole.
- Apply rubber cement and let it dry for 30 seconds.
- Press the patch firmly onto the hole and hold for 30 seconds.
Reinstall the Inner Tube and Tire
- Partially inflate the inner tube (just enough to hold shape).
- Insert the valve stem into the rim hole.
- Tuck the tube inside the tire.
- Starting at the valve, push the tire bead back onto the rim.
- Use tire levers if needed, but avoid pinching the tube.
- Inflate to recommended PSI.
Replacing a Pneumatic Inner Tube
If the tube is beyond repair:
- Remove the old tube as described above.
- Check the inside of the tire for sharp objects (run your fingers carefully along the tread).
- Insert the new tube, ensuring it’s not twisted.
- Reinstall the tire and inflate.
Replacing a Solid Tire
Solid tires are trickier to install because they don’t stretch.
Remove the Old Solid Tire
- Use tire levers to pry the tire bead over the rim.
- Work your way around the rim until the tire pops off.
- Be patient—this may take some force.
Install the New Solid Tire
- Apply soapy water or silicone spray to the rim and tire bead to reduce friction.
- Start by fitting one side of the tire onto the rim.
- Use tire levers to work the other side over the rim.
- Once fully seated, spin the wheel to ensure it’s evenly positioned.
- Use a rubber mallet to gently tap any stubborn sections into place.
Pro tip: Some riders use a zip tie to compress the tire slightly during installation—just cut it off once the tire is on.
Step 5: Reinstall the Wheel
Now that your tire is fixed or replaced, it’s time to put everything back together.
Reconnect the Motor Cable (Rear Wheel)
Plug the motor connector back in securely. Make sure it clicks into place.
Slide the Wheel Back Into Place
- Align the wheel with the dropouts.
- Slide the axle into position.
- Tighten the axle nut by hand first, then use a wrench to secure it.
- Torque to manufacturer specs (usually 15–20 Nm)—don’t overtighten.
Reattach Fender or Brake Components
Replace any screws or bolts you removed earlier. Double-check that brakes are aligned and functioning properly.
Step 6: Test and Final Checks
Before hitting the road, do a thorough inspection.
Check Tire Pressure (Pneumatic Only)
Use a pressure gauge to ensure the tire is inflated to the correct PSI. Underinflated tires wear faster and reduce range; overinflated tires are more prone to punctures.
Spin the Wheel
Lift the scooter and spin the wheel. It should rotate smoothly without wobbling or rubbing against the fender or brake.
Test the Brakes
Squeeze the brake lever to ensure the wheel stops quickly and the brake pads aren’t dragging.
Take a Short Test Ride
Ride slowly in a safe, open area. Listen for unusual noises, feel for vibrations, and check that the scooter handles normally.
Troubleshooting Common Issues
Even with careful repair, problems can arise. Here’s how to fix them:
Tire Won’t Stay Inflated
- Check the valve stem for leaks—tighten or replace if needed.
- Ensure the inner tube isn’t pinched between the tire and rim.
- Inspect the rim tape—it should cover spoke holes completely.
Wheel Wobbles After Reinstallation
- Loosen the axle nut and realign the wheel.
- Check that the axle is fully seated in the dropouts.
- Tighten the nut evenly on both sides.
New Solid Tire Is Hard to Install
- Use more lubricant (soapy water or silicone spray).
- Let the tire sit in warm water for 10 minutes to soften the rubber.
- Use a tire installation tool or zip tie trick.
Brake Rubs After Wheel Reinstallation
- Loosen brake caliper bolts and center the brake pads.
- Spin the wheel and adjust until there’s no rubbing.
- Tighten bolts securely.
Preventing Future Tire Problems
A little maintenance goes a long way. Here’s how to keep your Gotrax scooter tires in top shape:
- Check tire pressure weekly (for pneumatic tires)—use a portable pump with a gauge.
- Avoid sharp objects like glass, nails, and potholes when possible.
- Store your scooter indoors to prevent UV damage and cracking.
- Rotate tires if your model allows it—this promotes even wear.
- Clean tires regularly with a damp cloth to remove debris.
Conclusion
Fixing a Gotrax scooter tire might seem intimidating at first, but with the right tools and guidance, it’s a manageable DIY task. Whether you’re patching a pneumatic tire or replacing a solid one, following these steps will help you get back on the road safely and confidently.
Remember: always prioritize safety, take your time, and don’t skip the test ride. Regular maintenance and prompt repairs will extend the life of your scooter and ensure a smooth, enjoyable ride every time.
With this guide in your back pocket, you’re now equipped to handle tire issues like a pro. Happy riding!