
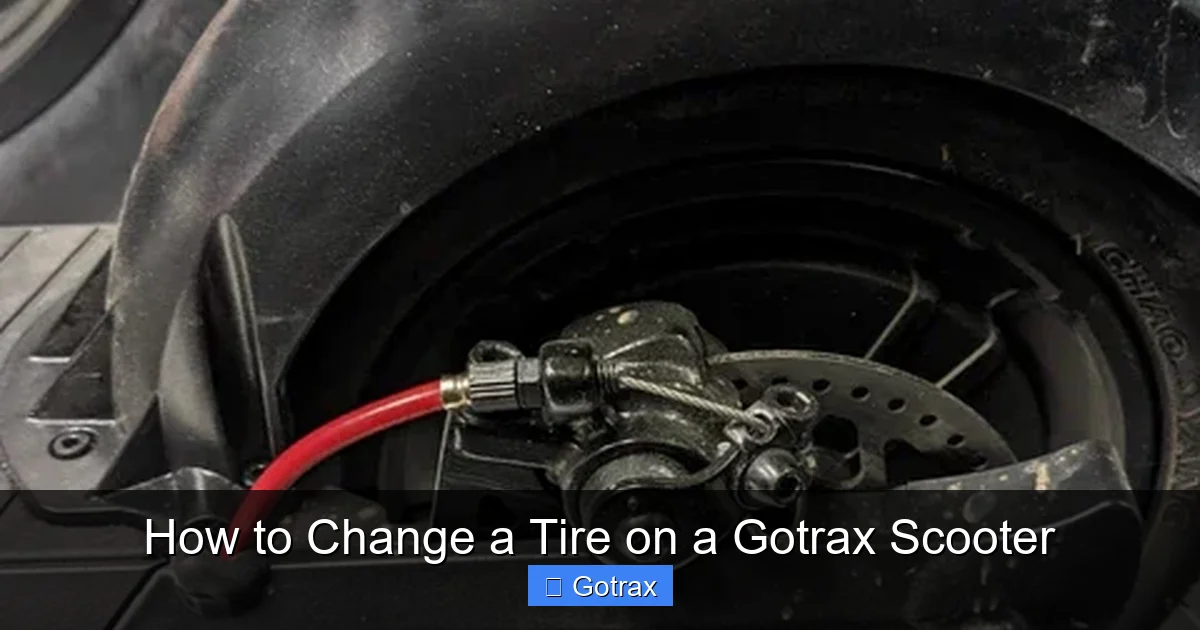
Changing a tire on a Gotrax scooter may seem tricky, but it’s totally doable with the right tools and know-how. This guide walks you through every step—from removing the wheel to installing a new tire—so you can get back to riding safely and smoothly.
Key Takeaways
- Always turn off and unplug your Gotrax scooter before starting any repair to prevent accidental activation or electrical damage.
- Use the correct tools like a tire lever, Allen wrench, and air pump to avoid damaging the tire or wheel during removal and installation.
- Check tire pressure regularly—Gotrax tires typically need 40–50 PSI—to extend tire life and improve ride quality.
- Inspect the inner tube and rim tape when replacing a tire to catch hidden punctures or wear that could cause future flats.
- Practice proper bead seating when reinstalling the tire to prevent air leaks and ensure a secure fit on the rim.
- Test your scooter at low speed after a tire change to confirm everything is working safely before regular use.
- Keep a spare tube and patch kit handy for quick fixes on the go, especially if you ride frequently or over rough terrain.
How to Change a Tire on a Gotrax Scooter
Gotrax scooters are a popular choice for urban commuters, students, and anyone who loves a quick, eco-friendly ride. But like any vehicle with wheels, they’re not immune to flat tires. Whether you’ve hit a pothole, run over a nail, or just worn down your tread, knowing how to change a tire on a Gotrax scooter is a valuable skill that saves time, money, and frustration.
In this comprehensive guide, you’ll learn exactly how to replace a flat or damaged tire on your Gotrax scooter—step by step. We’ll cover everything from gathering the right tools to safely reinstalling the wheel and testing your ride. No prior mechanical experience? No problem. This guide is written in simple, everyday language so anyone can follow along.
By the end, you’ll not only be able to fix a flat tire, but you’ll also understand how to prevent future issues and maintain your scooter for smoother, safer rides. Let’s get started!
Why Tires Go Flat on Gotrax Scooters
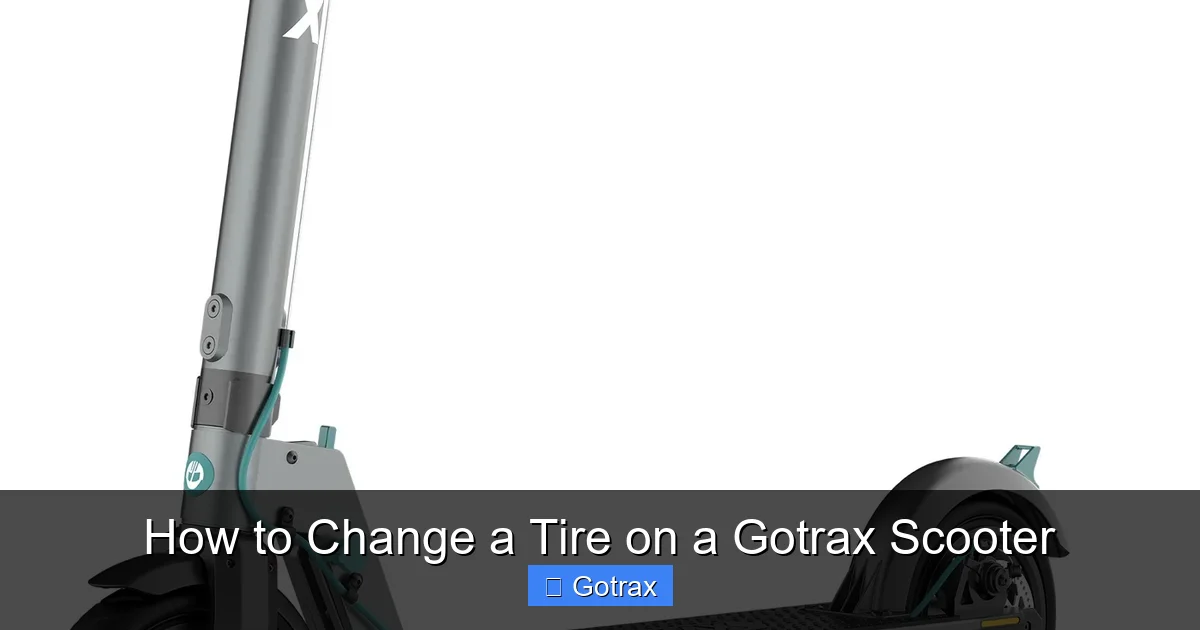
Visual guide about How to Change a Tire on a Gotrax Scooter
Image source: gotrax.com
Before diving into the repair process, it helps to understand why Gotrax scooter tires go flat in the first place. Most Gotrax models—like the GXL, G2, G3, and G4—use pneumatic (air-filled) tires, which are great for shock absorption but prone to punctures.
Common causes of flats include:
- Sharp objects: Nails, glass, thorns, or metal shards on the road can pierce the tire and inner tube.
- Overinflation or underinflation: Too much air can cause the tire to burst; too little increases the risk of pinch flats (when the tube gets pinched between the rim and an obstacle).
- Wear and tear: Over time, tires lose tread and become thinner, making them more vulnerable to damage.
- Poor road conditions: Potholes, curbs, and rough terrain can damage tires even without punctures.
- Valve stem issues: The Schrader valve (the same type used on bike tires) can loosen or crack, causing slow leaks.
Knowing these causes helps you avoid future flats. For example, checking tire pressure weekly and avoiding debris-filled paths can go a long way in keeping your tires in good shape.
Tools and Materials You’ll Need
Before you begin, gather all the necessary tools and supplies. Having everything ready will make the process faster and less frustrating.
Essential Tools
- Allen wrench set (usually 4mm or 5mm for Gotrax wheel bolts)
- Tire levers (plastic or metal—plastic is safer for the rim)
- Air pump with pressure gauge (preferably a floor pump for accuracy)
- Adjustable wrench or socket wrench (for some models with nuts instead of bolts)
- Valve core tool (optional, but helpful for removing the valve core to deflate quickly)
Replacement Parts
- New inner tube (make sure it matches your tire size—common sizes include 8.5” or 9.5”)
- New tire (if the tire itself is damaged, not just the tube)
- Tire patch kit (a good backup if you only have a small puncture)
- Soapy water or tire lubricant (helps slide the tire onto the rim)
Safety Gear
- Gloves (to protect your hands from dirt and sharp edges)
- Safety glasses (optional, but recommended if you’re working in a dusty area)
Pro tip: Keep a small repair kit in your backpack or scooter storage compartment. It should include a spare tube, tire levers, a mini pump, and a patch kit. That way, you’re always prepared for a flat on the go.
Step 1: Prepare Your Scooter
Safety first! Before you touch any part of the scooter, make sure it’s completely powered down and stable.
Turn Off and Unplug the Scooter
Gotrax scooters are electric, so you must disable the power to avoid accidental throttle activation. Turn off the scooter using the power button, then remove the battery if possible (on models where the battery is removable). If your model doesn’t allow easy battery removal, at least ensure the scooter is off and the key (if applicable) is removed.
Stabilize the Scooter
Place your scooter on a flat, level surface. If you’re working outdoors, try to find a clean, dry spot. Use the kickstand if your model has one. For extra stability, you can place a block or book under the opposite wheel to prevent rolling.
Deflate the Tire Completely
If the tire isn’t already flat, you’ll need to let all the air out. Use a valve core tool to unscrew the small pin inside the Schrader valve, or simply press the valve stem with a screwdriver to release air. Listen for the hiss—once it stops, the tire is fully deflated.
Step 2: Remove the Wheel
Now it’s time to take the wheel off the scooter. The process varies slightly depending on your Gotrax model, but the general steps are the same.
Locate the Wheel Bolts
Most Gotrax scooters use a single bolt or nut on the axle to secure the wheel. This is usually on the rear wheel, though some models have front-wheel drive. Look for a bolt on the center of the wheel hub.
Loosen the Bolt
Use the appropriate Allen wrench (often 4mm or 5mm) to loosen the bolt. Turn counterclockwise. If it’s tight, you may need to hold the wheel steady with one hand while turning the wrench with the other. Some models use a nut instead of a bolt—in that case, use an adjustable wrench or socket.
Slide the Wheel Out
Once the bolt is removed, gently pull the wheel away from the scooter frame. On rear-wheel models, you may need to wiggle it slightly to free it from the motor connector or brake assembly. Be careful not to damage any wires or brake components.
Disconnect the Motor Cable (If Applicable)
On electric rear wheels, there’s usually a motor cable connected to the hub. Carefully unplug it by pressing the release tab and pulling the connector apart. Label the wires or take a photo so you remember how to reconnect them later.
Step 3: Remove the Tire from the Rim
With the wheel off, you can now work on removing the tire and accessing the inner tube.
Break the Bead
The bead is the edge of the tire that sits tightly against the rim. To remove the tire, you need to break this seal. Use your hands to press down on one side of the tire near the rim. This creates a gap between the tire and the rim. Repeat on the opposite side until the bead loosens.
Insert Tire Levers
Slide a tire lever under the bead and hook it to a spoke or the rim edge. Insert a second lever about 2–3 inches away. Gently pry the tire over the rim. Work your way around the wheel, using the levers to lift the tire off.
Remove the Inner Tube
Once one side of the tire is off, pull out the inner tube. Start at the valve stem—gently pull it through the rim hole, then ease the rest of the tube out. Inspect the tube for punctures, tears, or wear.
Inspect the Tire and Rim
Before installing a new tube, check the inside of the tire for sharp objects like glass or nails. Run your fingers along the inner surface (wear gloves!). Also, inspect the rim tape—the strip that covers the spoke holes—to make sure it’s intact and not exposing the tube to sharp edges.
Step 4: Install the New Inner Tube and Tire
Now it’s time to put everything back together—this time with a fresh tube (and tire, if needed).
Inflate the New Tube Slightly
Give the new inner tube a small puff of air—just enough to give it shape. This helps prevent pinching when you install it.
Insert the Tube into the Tire
Place the tube inside the tire, starting with the valve stem. Push the stem through the rim hole, then tuck the rest of the tube evenly around the inside of the tire.
Seat One Side of the Tire
Start by pushing one side of the tire bead onto the rim. Use your hands to work it on—this side should go on easily. Leave the other side off for now.
Seat the Second Side
This is the tricky part. Start at the valve stem and work your way around, pushing the bead over the rim. Use your thumbs to press it in. If it gets stuck, use a tire lever—but be gentle to avoid pinching the tube.
Lubricate if Needed
If the tire is tight, apply a small amount of soapy water or tire lubricant to the bead. This reduces friction and makes installation easier.
Check for Pinches
Before inflating, double-check that the tube isn’t pinched between the tire and rim. Run your fingers around the inside edge to make sure everything is seated properly.
Step 5: Inflate the Tire
Now it’s time to pump up your tire—but do it carefully.
Inflate Gradually
Start pumping slowly. Listen for any hissing sounds that might indicate a leak. Watch the tire as it inflates—make sure the bead seats evenly on both sides of the rim.
Check the Pressure
Gotrax tires typically require 40–50 PSI (pounds per square inch). Use a pump with a built-in gauge to monitor the pressure. Overinflation can cause blowouts; underinflation leads to poor performance and pinch flats.
Listen for the “Pop”
As the tire reaches full pressure, you may hear a soft “pop” as the bead fully seats. This is normal. If the tire doesn’t seat evenly, deflate slightly, adjust the bead, and reinflate.
Step 6: Reinstall the Wheel
With the tire inflated and seated, it’s time to put the wheel back on the scooter.
Reconnect the Motor Cable
If you disconnected the motor cable earlier, plug it back in now. Make sure it clicks securely into place.
Slide the Wheel into Place
Align the wheel with the axle and gently push it into position. Make sure it sits flush against the frame.
Tighten the Bolt
Reinsert the axle bolt and tighten it with your Allen wrench. Turn clockwise until snug—don’t overtighten, as this can damage the threads.
Double-Check Alignment
Spin the wheel to make sure it turns freely and doesn’t rub against the brake or frame. If it wobbles, the wheel may not be seated properly—loosen the bolt, adjust, and retighten.
Step 7: Test Your Scooter
You’re almost done! Now it’s time to make sure everything works safely.
Reconnect the Battery
If you removed the battery, plug it back in and secure it.
Turn On the Scooter
Power up your Gotrax and check that the display lights up normally.
Test the Throttle and Brakes
Stand next to the scooter and gently twist the throttle. The wheel should spin smoothly. Test the brakes to ensure they engage properly.
Take a Short Test Ride
Ride slowly in a safe, open area. Listen for unusual noises and feel for vibrations. If everything feels smooth, you’re good to go!
Troubleshooting Common Issues
Even with careful work, problems can arise. Here’s how to handle the most common issues.
Tire Won’t Stay Inflated
If the tire loses air quickly, check for:
- A pinched tube (reinstall and inspect)
- A damaged valve stem (replace the tube)
- A leak in the tire (use soapy water to find bubbles)
Wheel Wobbles After Reinstallation
This usually means the wheel isn’t seated properly on the axle. Loosen the bolt, realign the wheel, and retighten.
Brake Rubs Against the Tire
Adjust the brake caliper or reposition the wheel slightly. Some Gotrax models have adjustable brake mounts.
Motor Doesn’t Work After Reconnection
Double-check the motor cable connection. Ensure it’s fully plugged in and not damaged.
Tips for Preventing Future Flats
Now that you’ve fixed your tire, here’s how to avoid doing it again soon.
Check Tire Pressure Weekly
Use a reliable gauge to check pressure. Proper inflation reduces the risk of pinch flats and improves battery life.
Inspect Tires Before Riding
Look for cuts, bulges, or embedded objects. Remove debris promptly.
Avoid Rough Terrain
Stick to smooth paths when possible. Potholes and curbs are tire killers.
Rotate Tires (If Possible)
Some riders swap front and rear tires to even out wear. Check your model’s compatibility.
Use Tire Sealant
Consider adding a liquid sealant to the inner tube. It can automatically patch small punctures.
Conclusion
Changing a tire on a Gotrax scooter might seem intimidating at first, but with the right tools and a little patience, it’s a manageable task—even for beginners. By following this step-by-step guide, you’ve learned how to safely remove a wheel, replace a tube, reinstall the tire, and get back on the road with confidence.
Remember, regular maintenance is key. Check your tire pressure, inspect for damage, and keep a repair kit handy. Not only will this save you from unexpected flats, but it’ll also extend the life of your scooter and improve your riding experience.
So the next time you hear that dreaded hiss of air, don’t panic. You’ve got this. With practice, changing a tire will become second nature—and you’ll be back to zipping through the city in no time.